Docs
Scope
How to create a plan-specific URL in PC 2.0?
Do we have the option to create a plan link for in-app checkout?
Why PC 2.0 does not have a plan link as PC 1.0?
What is the Get Payment link?
How to get payments faster for a plan?
How to implement the ability to add in a discount code and also add add-ons at the checkout?
Summary
When you create and use an item-specific URL for checkout, the user interface of the In-app Checkout is retained but displayed as a pop-up window in a new tab. This is a manual process of adding the item ID's such as Plan ID, Addon ID, Charge ID to create a plan-specific URL and this process leads to maximum effort and time consumption. Now, every plan details page has a dynamic payment URL on each price point page, making it incredibly simple for you to share a payment link. Navigate from the Product Catalog > Plans index page > Plan details page > Customer-Facing Info > Get Payment Link (or) Settings > Configure Chargebee > Checkout & Self-Serve Portal > INTEGRATE WITH CHARGEBEE > Via Payment Link
Solution
Here's how an item-specific URL for a plan looks like
https://{sitename}.chargebee.com/hosted_pages/checkout?subscription_items[item_price_id][0]={item_price_id}&subscription_items[quantity][0]={quantity}
Now, to customize it for your usage, the placeholders need to be replaced with your Chargebee site name and Plan ID or Plan Price Point ID.
Furthermore, adding add-ons, charges, coupons, and many more to the query string with all the fields pre-filled and checking out the URL looks like this.
Click here to know more about Item specific URLs.
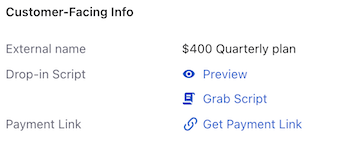
Get Payment Link
You can generate the URL from Plan Price Point Page & from Checkout & Self-Serve Portal
Plan Price Point Page
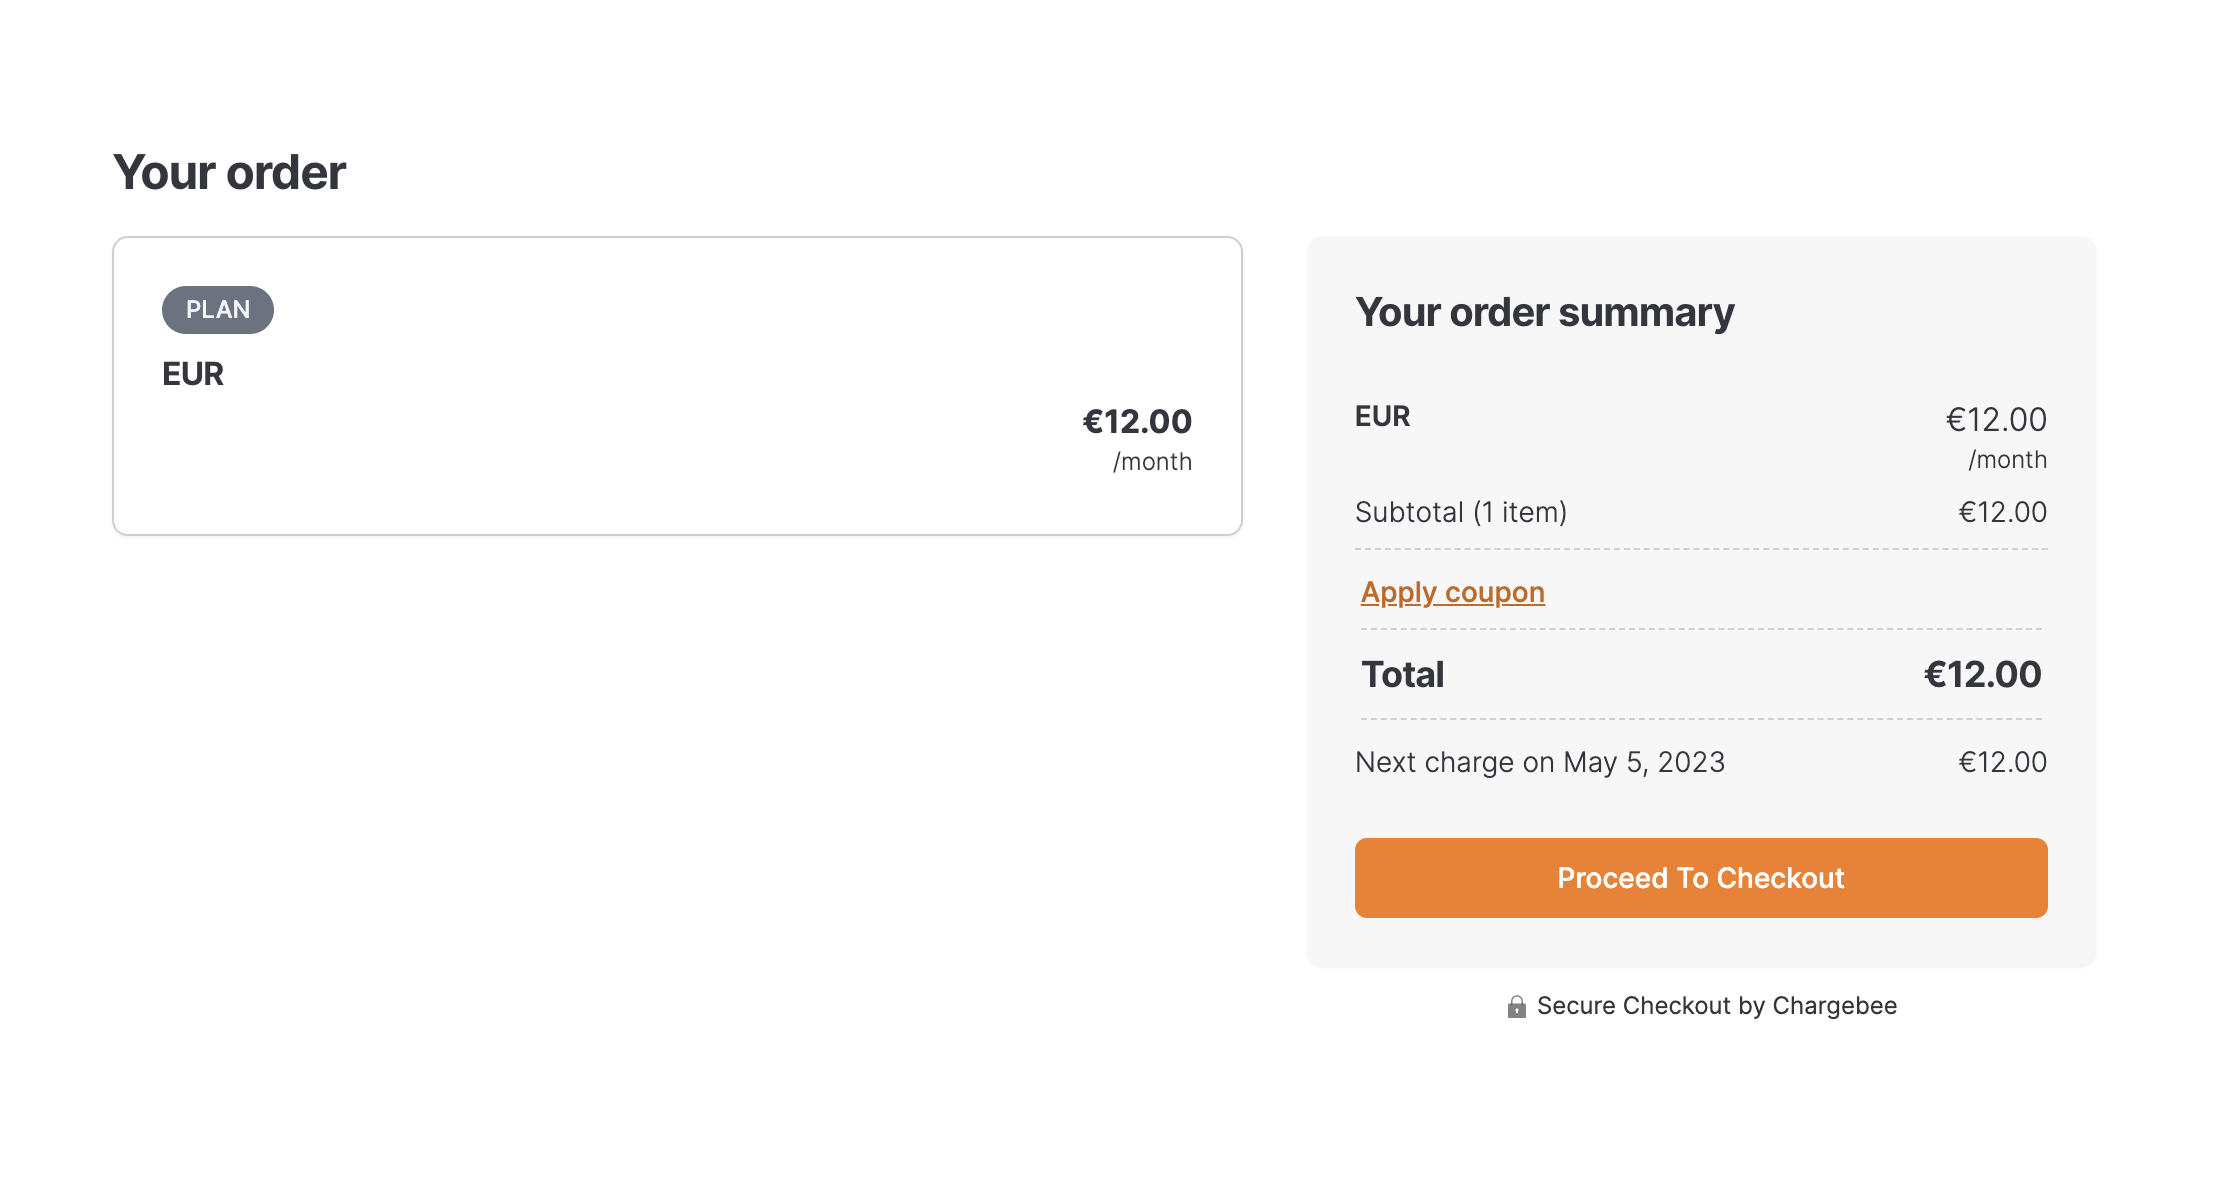
To minimize the above manual efforts, our goal is to include a dynamic payment URL on each price point page, making it incredibly simple for the merchant to share a payment link and begin collecting payments. When the user clicks on the Get Payment Link, they will be redirected to an in-app checkout with the line items and upon confirmation, they will be directed to the payments page to complete the checkout.
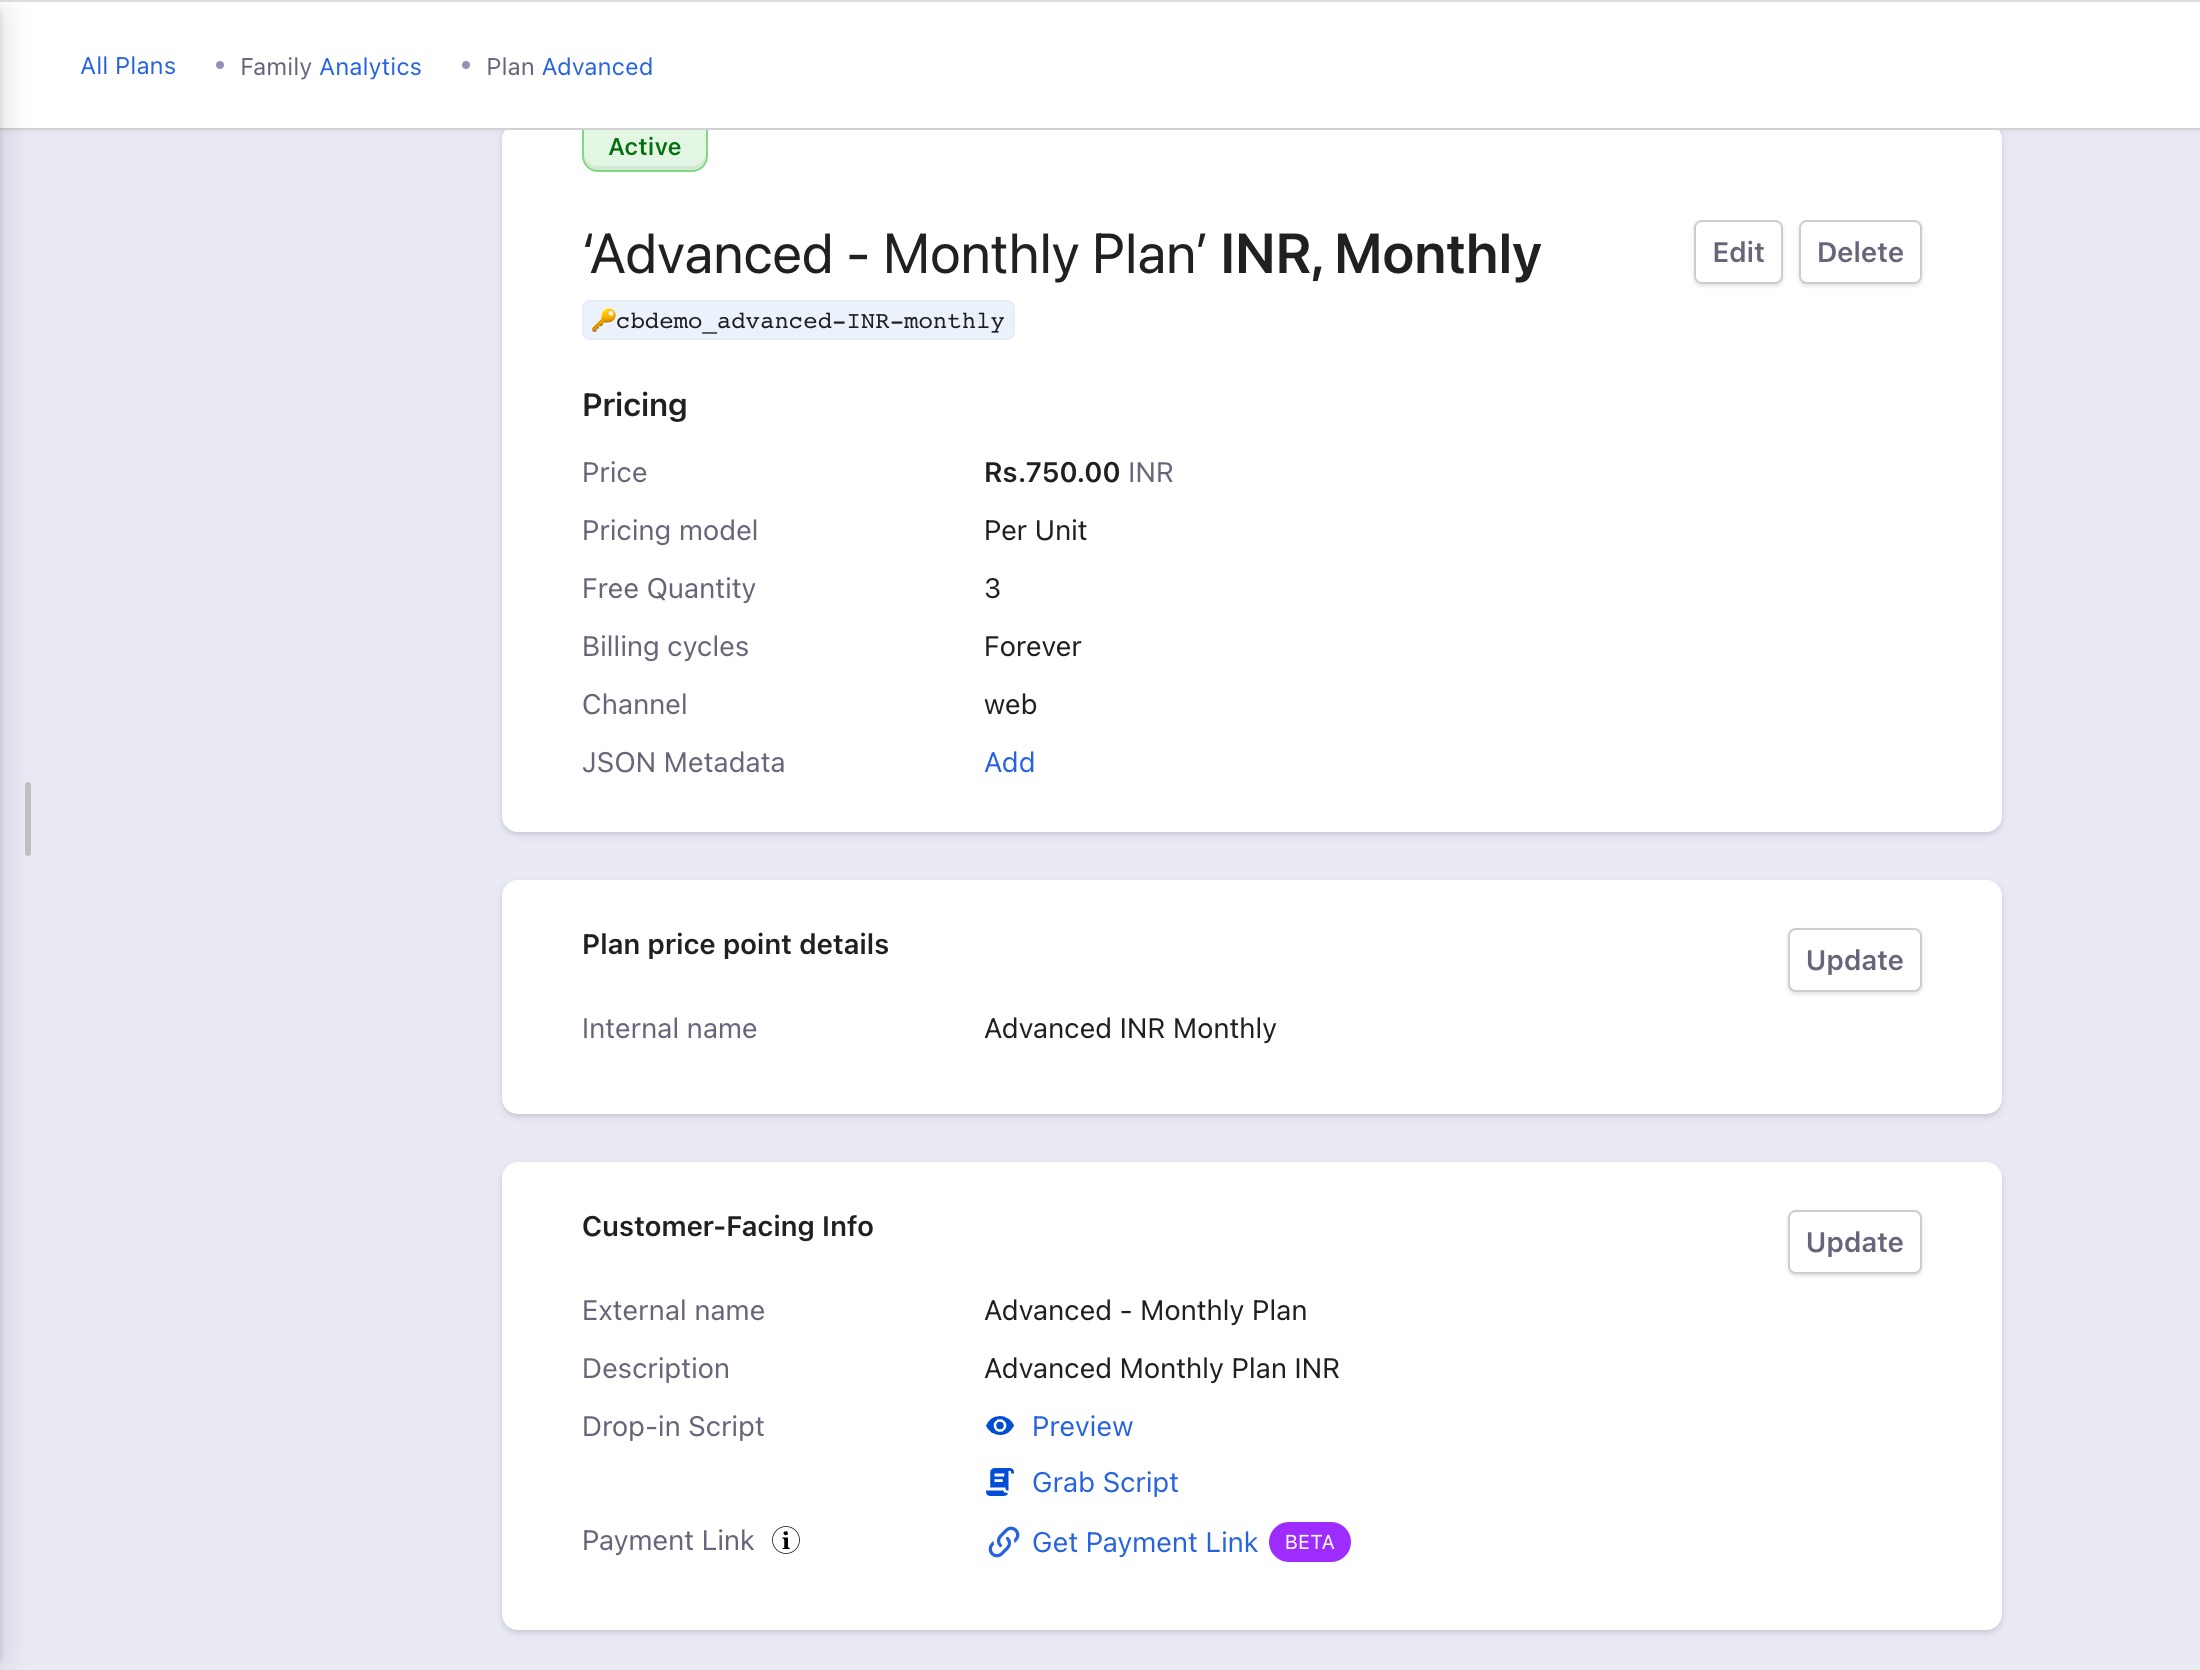
Navigate from the Product Catalog > Plans index page > Plan details page > Customer-Facing Info > Get Payment Link.
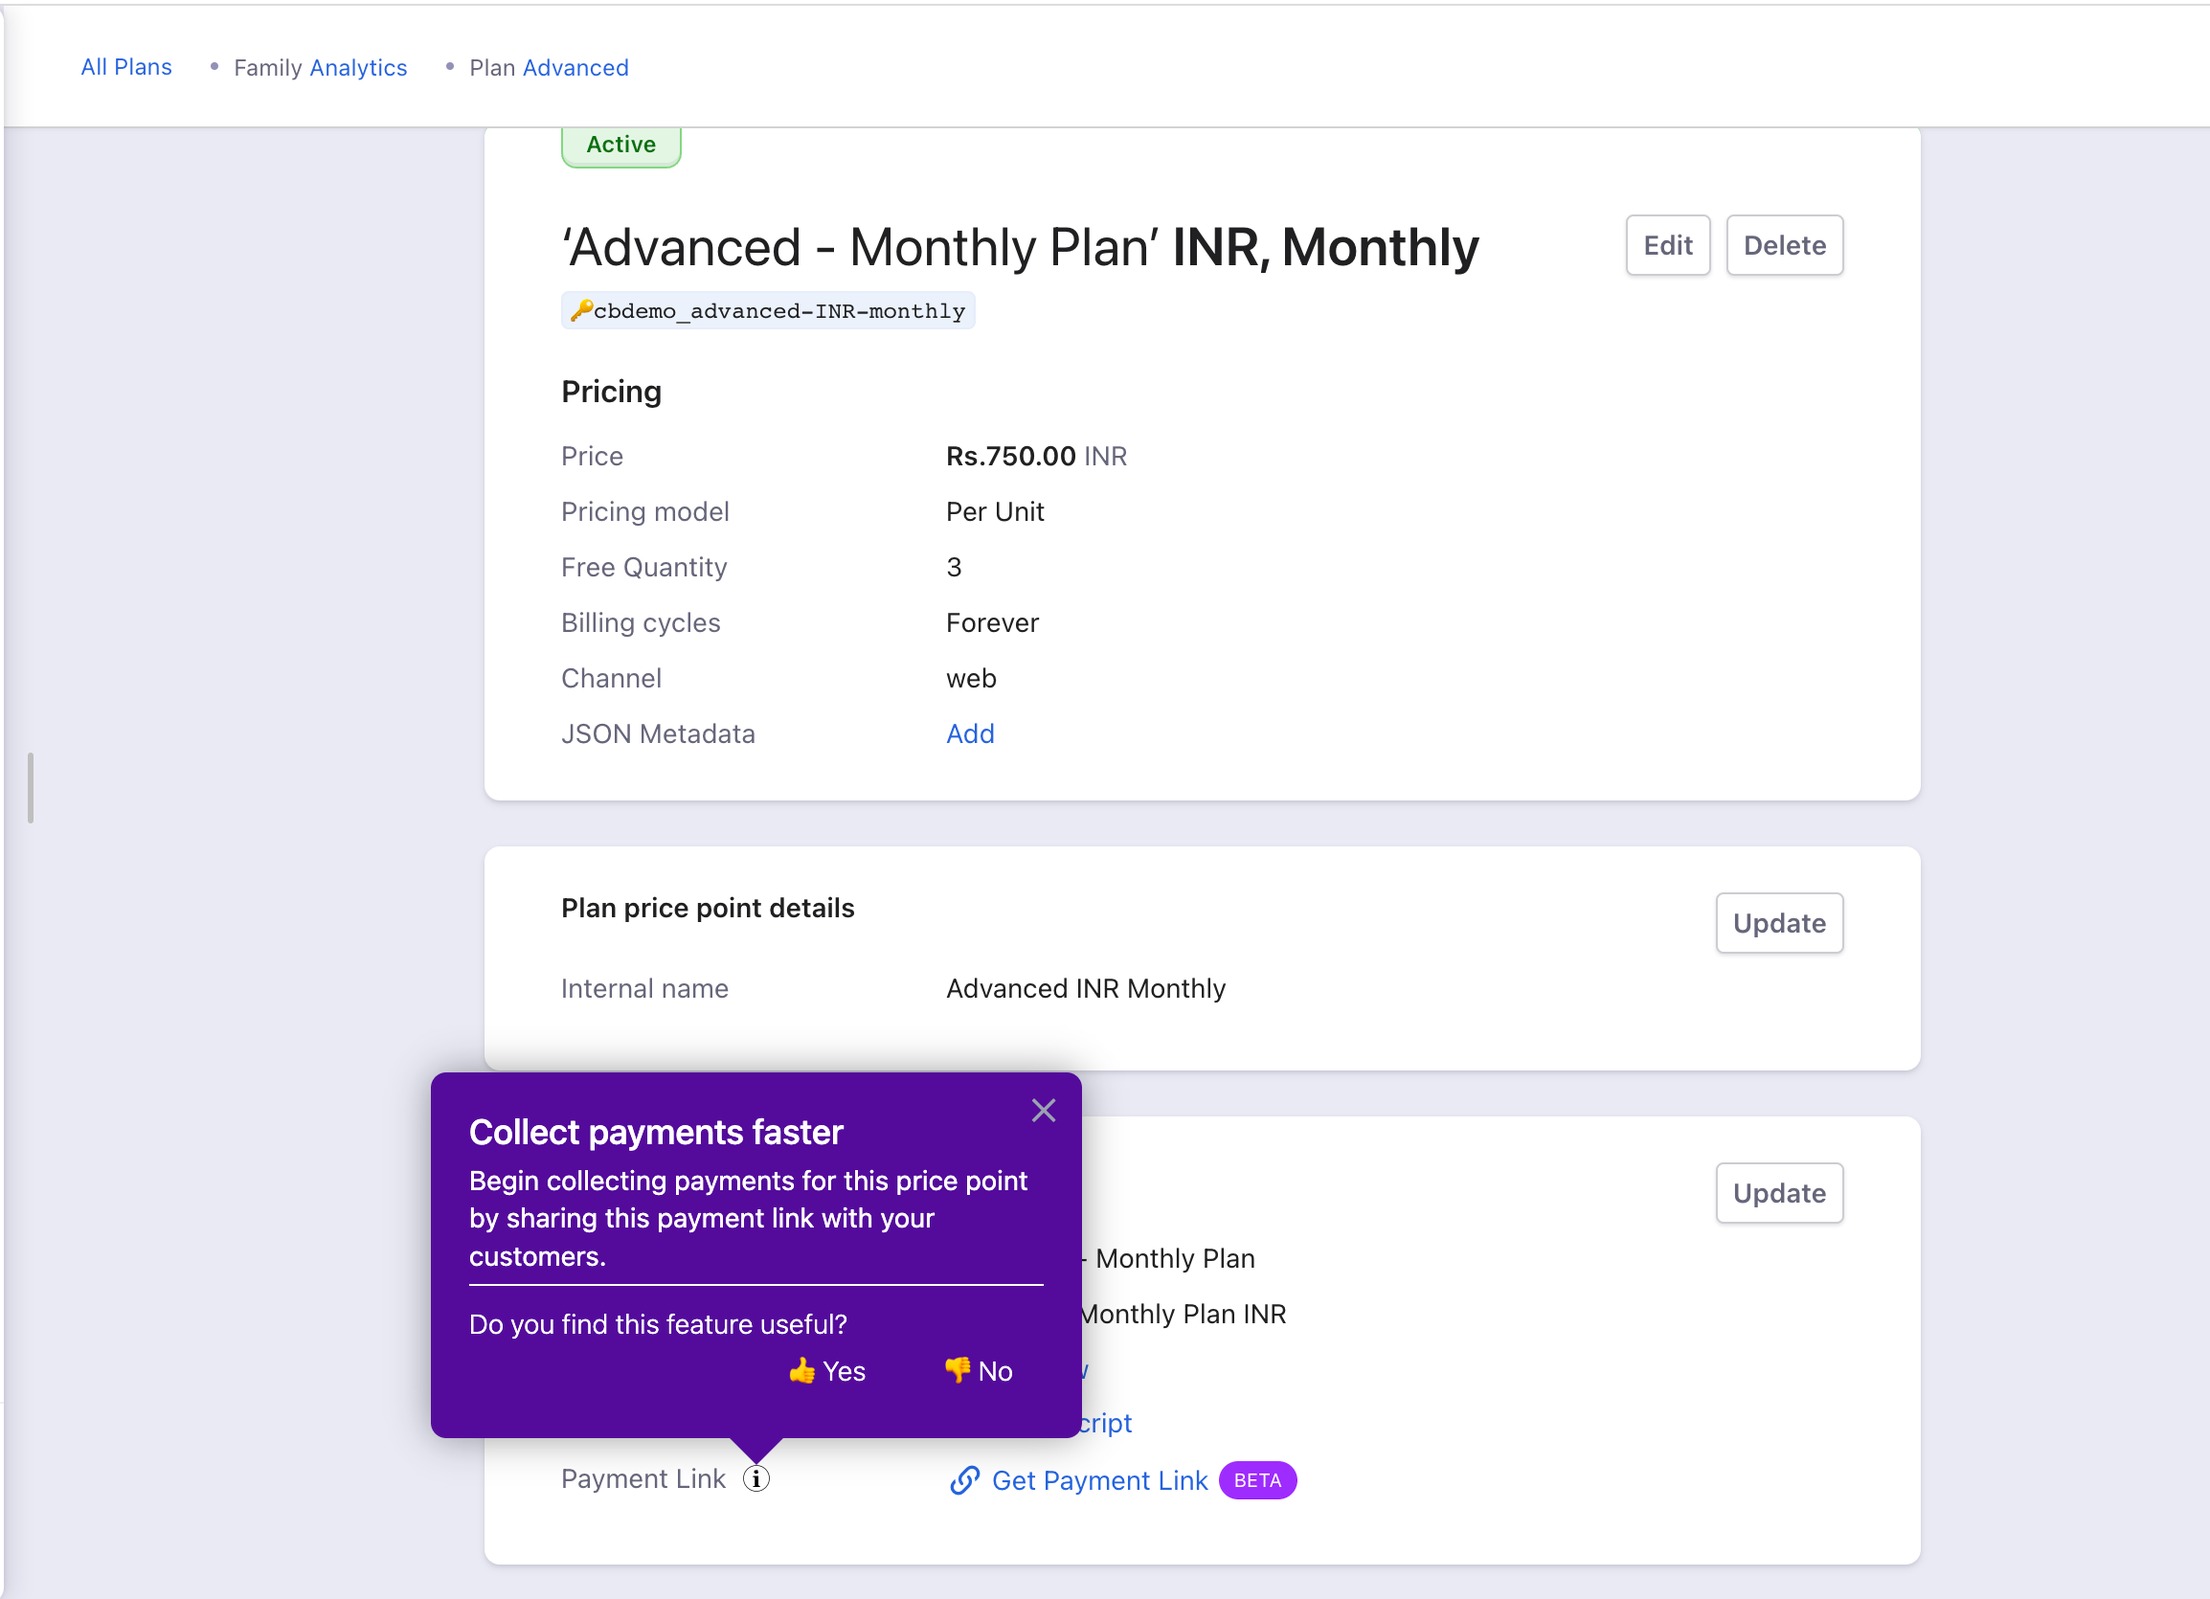
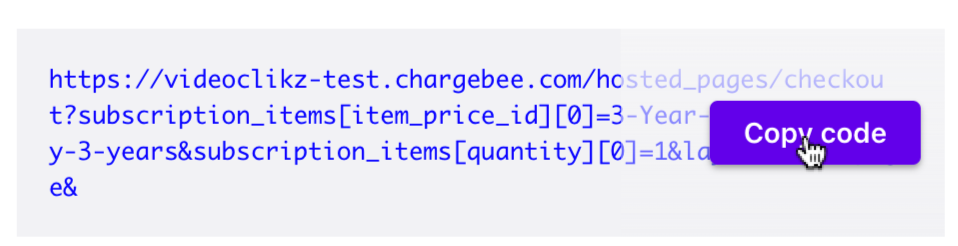
Now, you can copy the Plan's URL by clicking on Copy and share it directly with your customers.
Checkout & Self-Serve Portal page
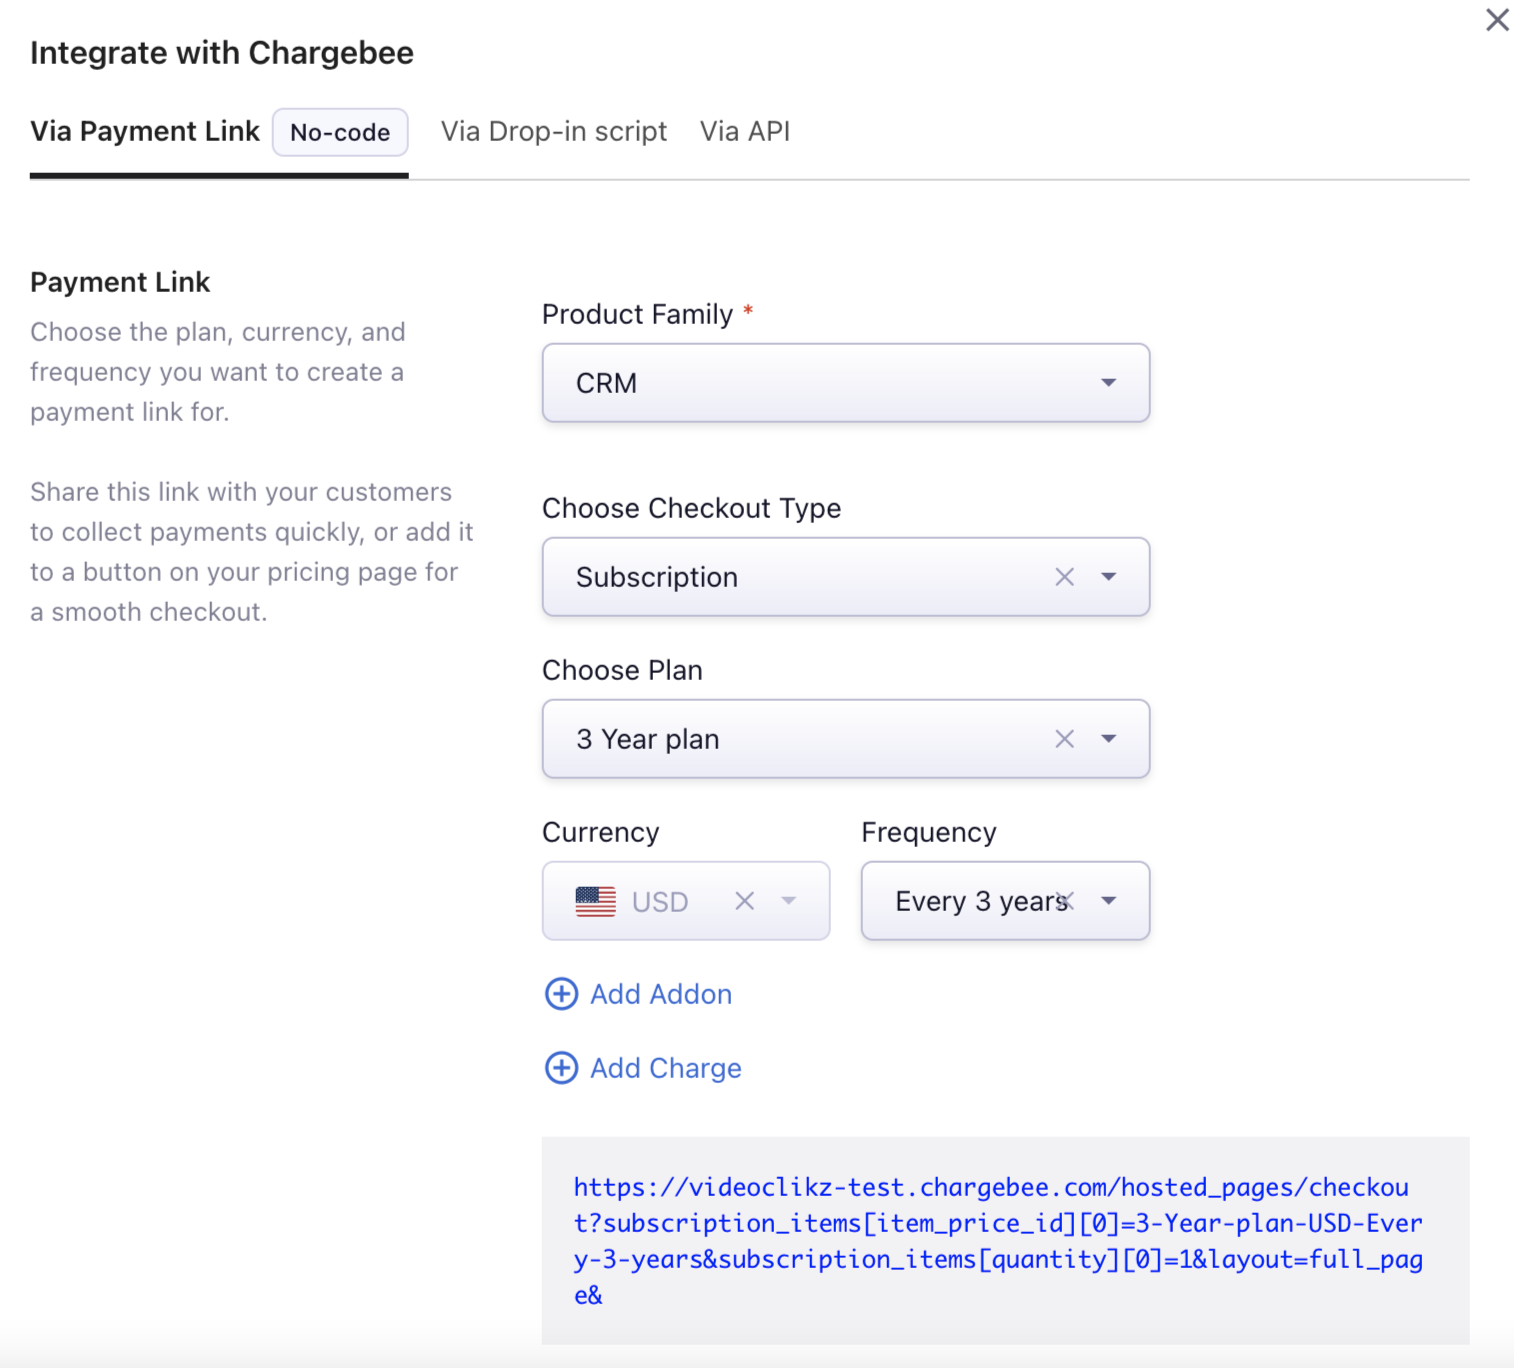
Navigate from Settings > Configure Chargebee > Checkout & Self-Serve Portal > INTEGRATE WITH CHARGEBEE > Via Payment Link.
You can add the Product Family, Checkout Type (Subscription/One Time Payment), Plan, Currency & Frequency.
You can also add Addon & Charge and once done, you can click on Copy Code.
Payment Link: Checkout & Self-Serve Portal
%%% cbext
Full Page Checkout (HPv4)
**%%% cbext


 Articles & FAQ