Docs
You have to create at least one rule to enable approval. To enable approval and create your first rule, follow these steps:
Login into your Chargebee account.
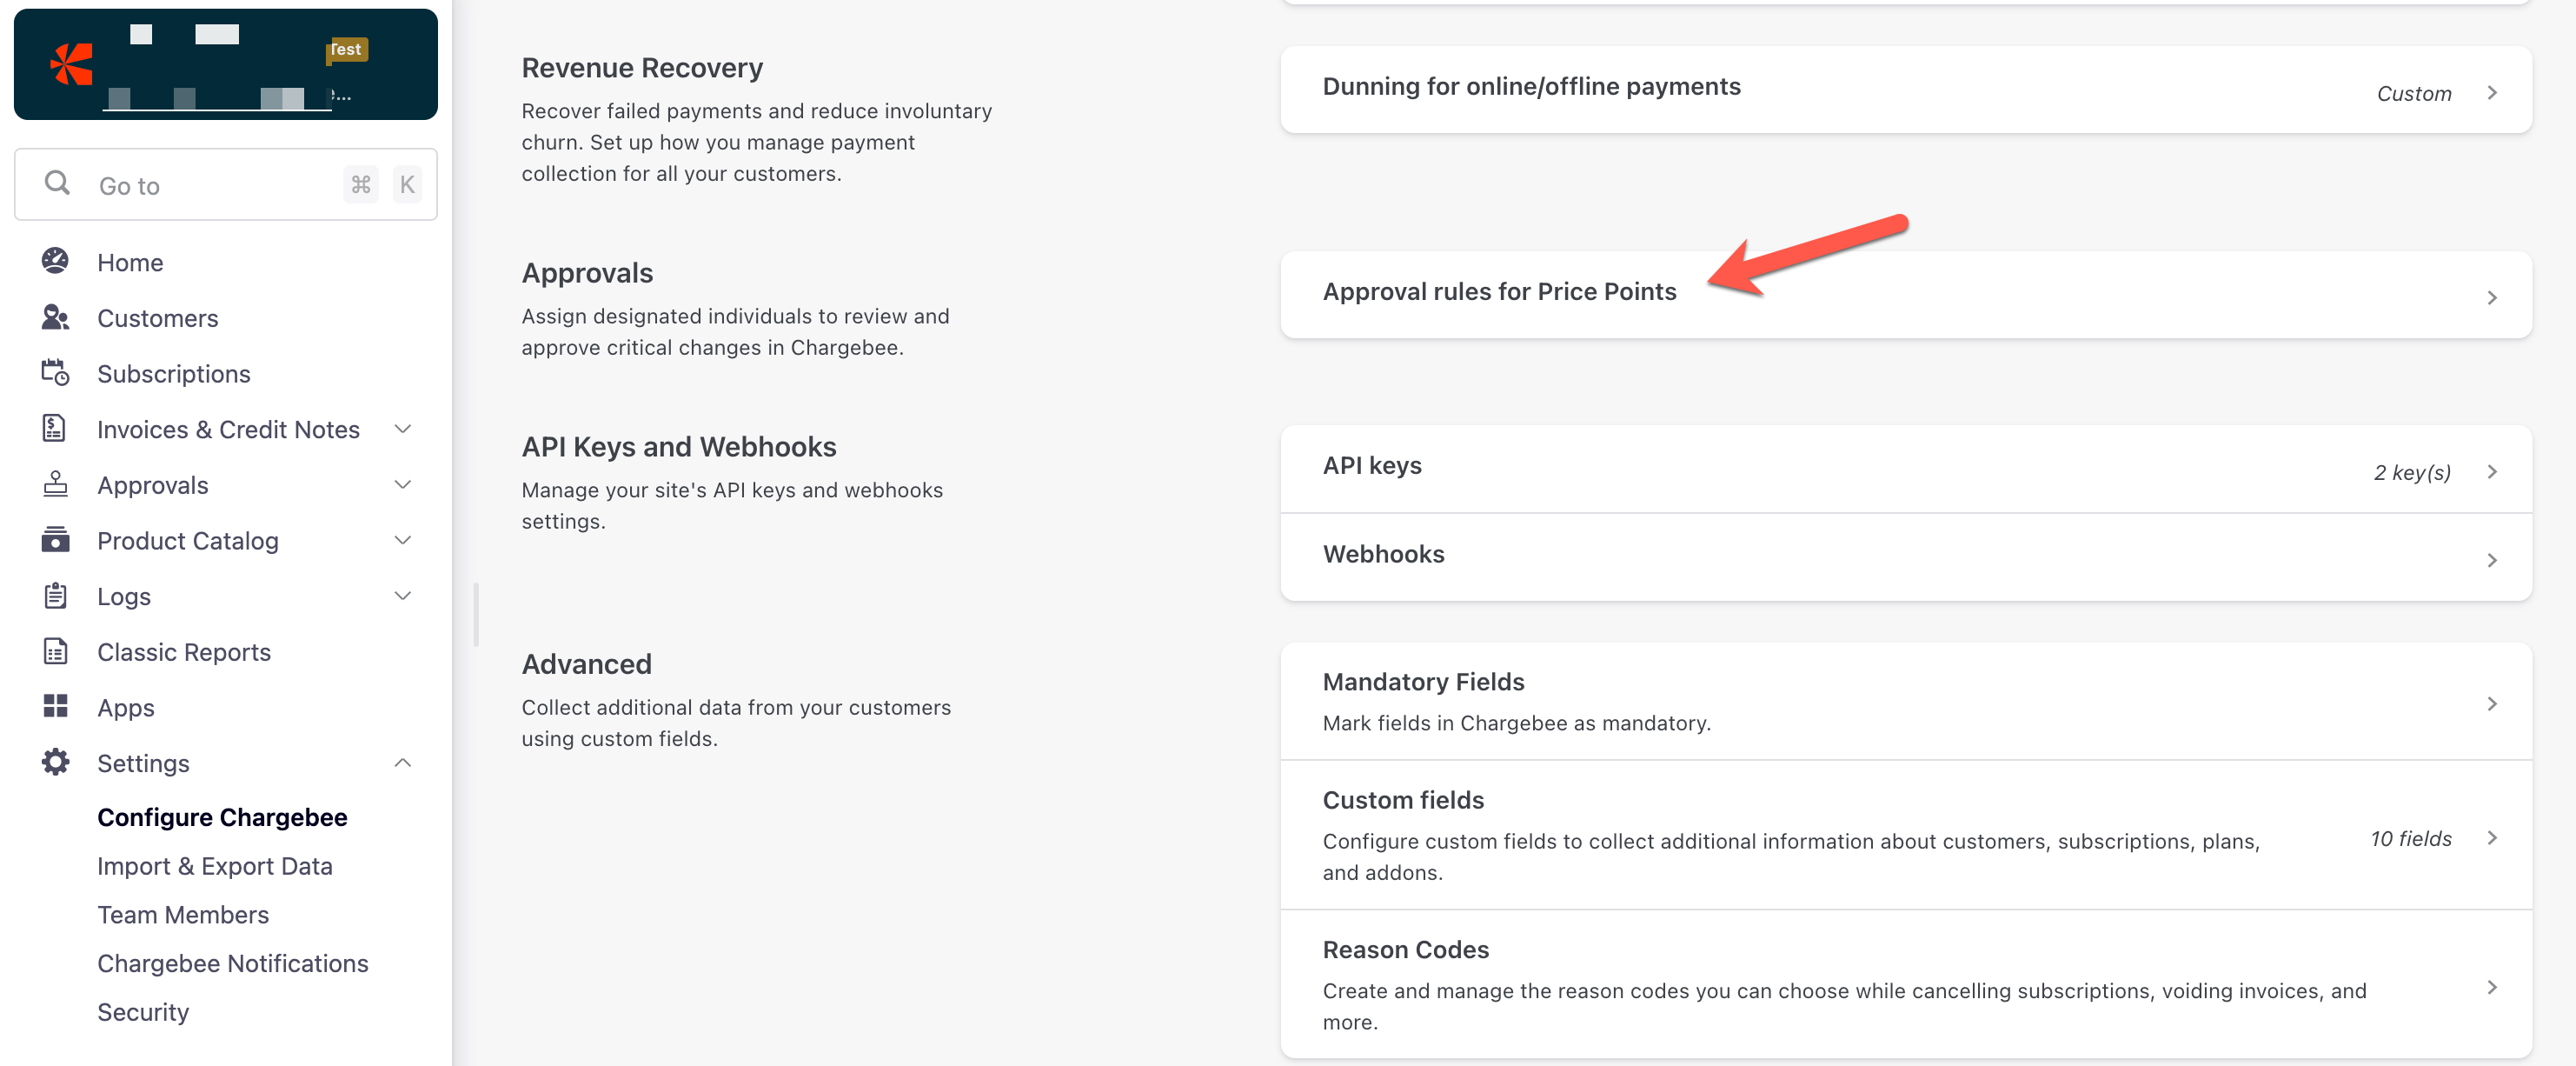
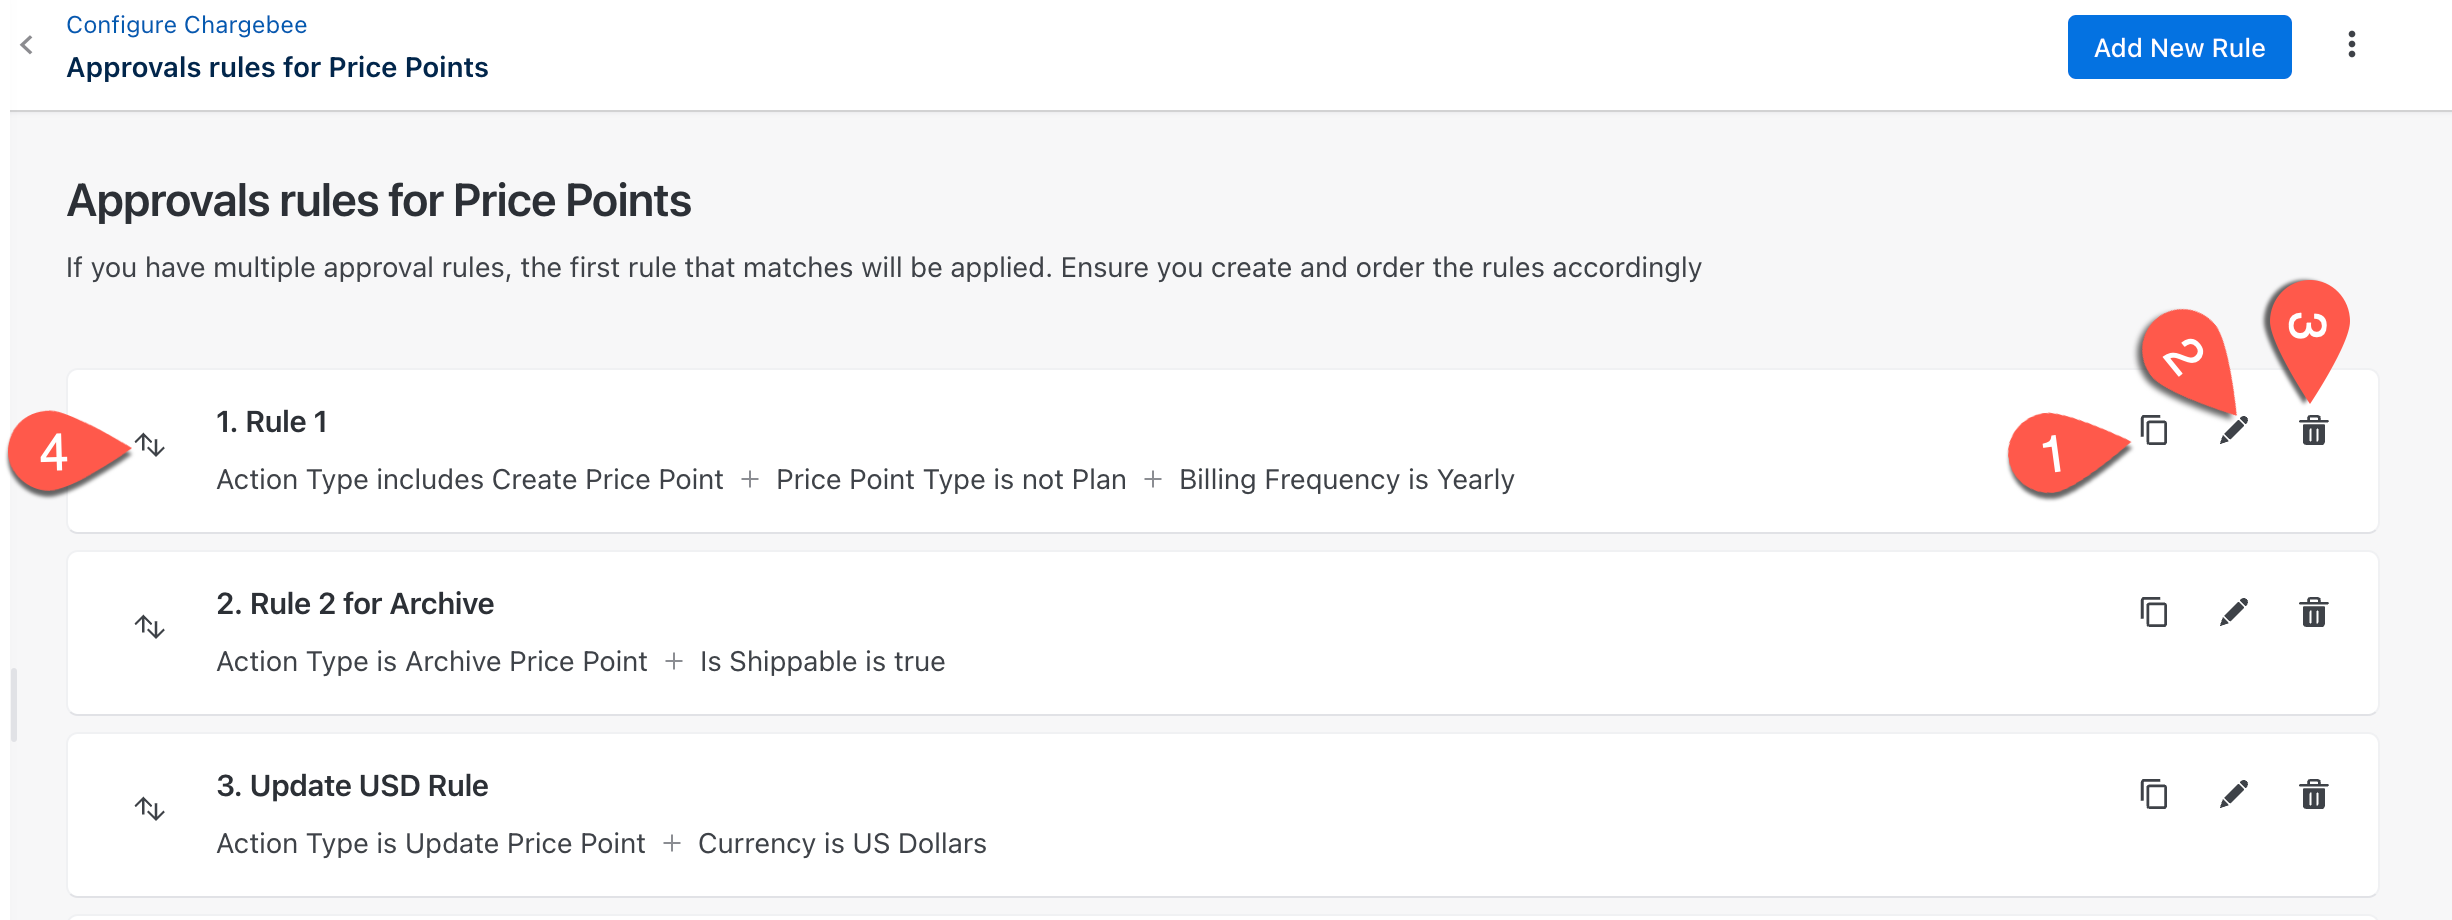
Navigate to Configure Chargebee > Approvals > Approval rules for Price Points.
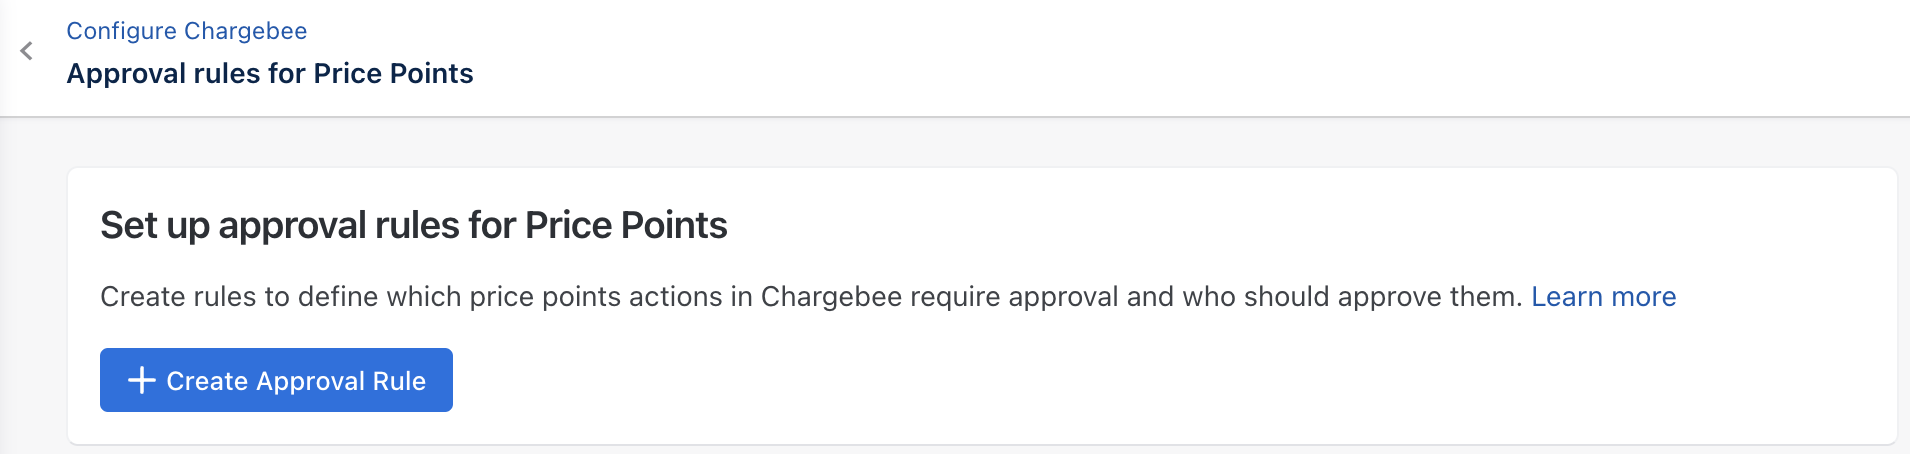
Click Create Approval Rule to create your first rule. This screen will only appear for the first approval rule creation for a price point. If you have already created a rule, then Approval on Price Point is enabled for your site.
Follow these steps to configure the first rule.
Click Create.
To add a new approval for the price point, follow these steps:
Login into your Chargebee account.
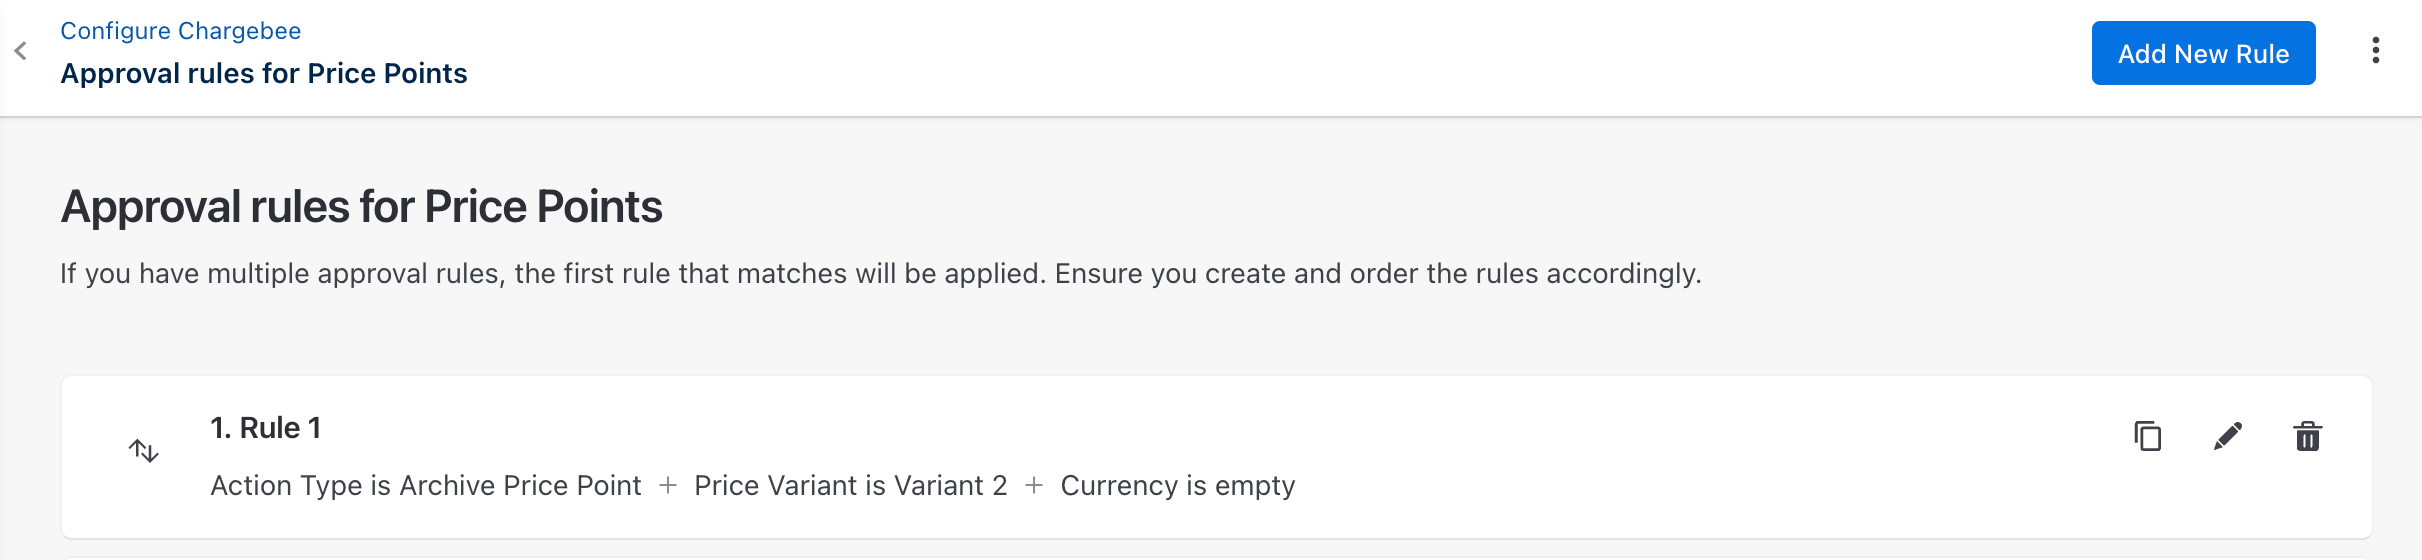
Navigate to Configure Chargebee > Approvals > Approval rules for Price Points > Add New Rule.
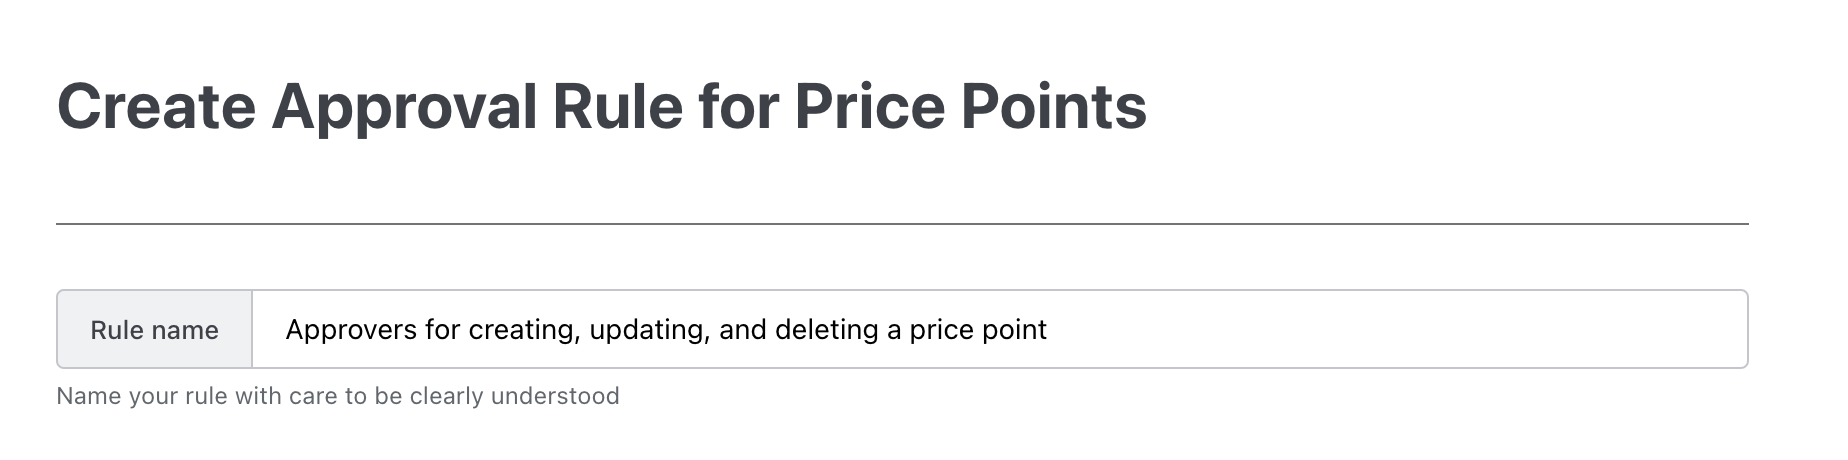
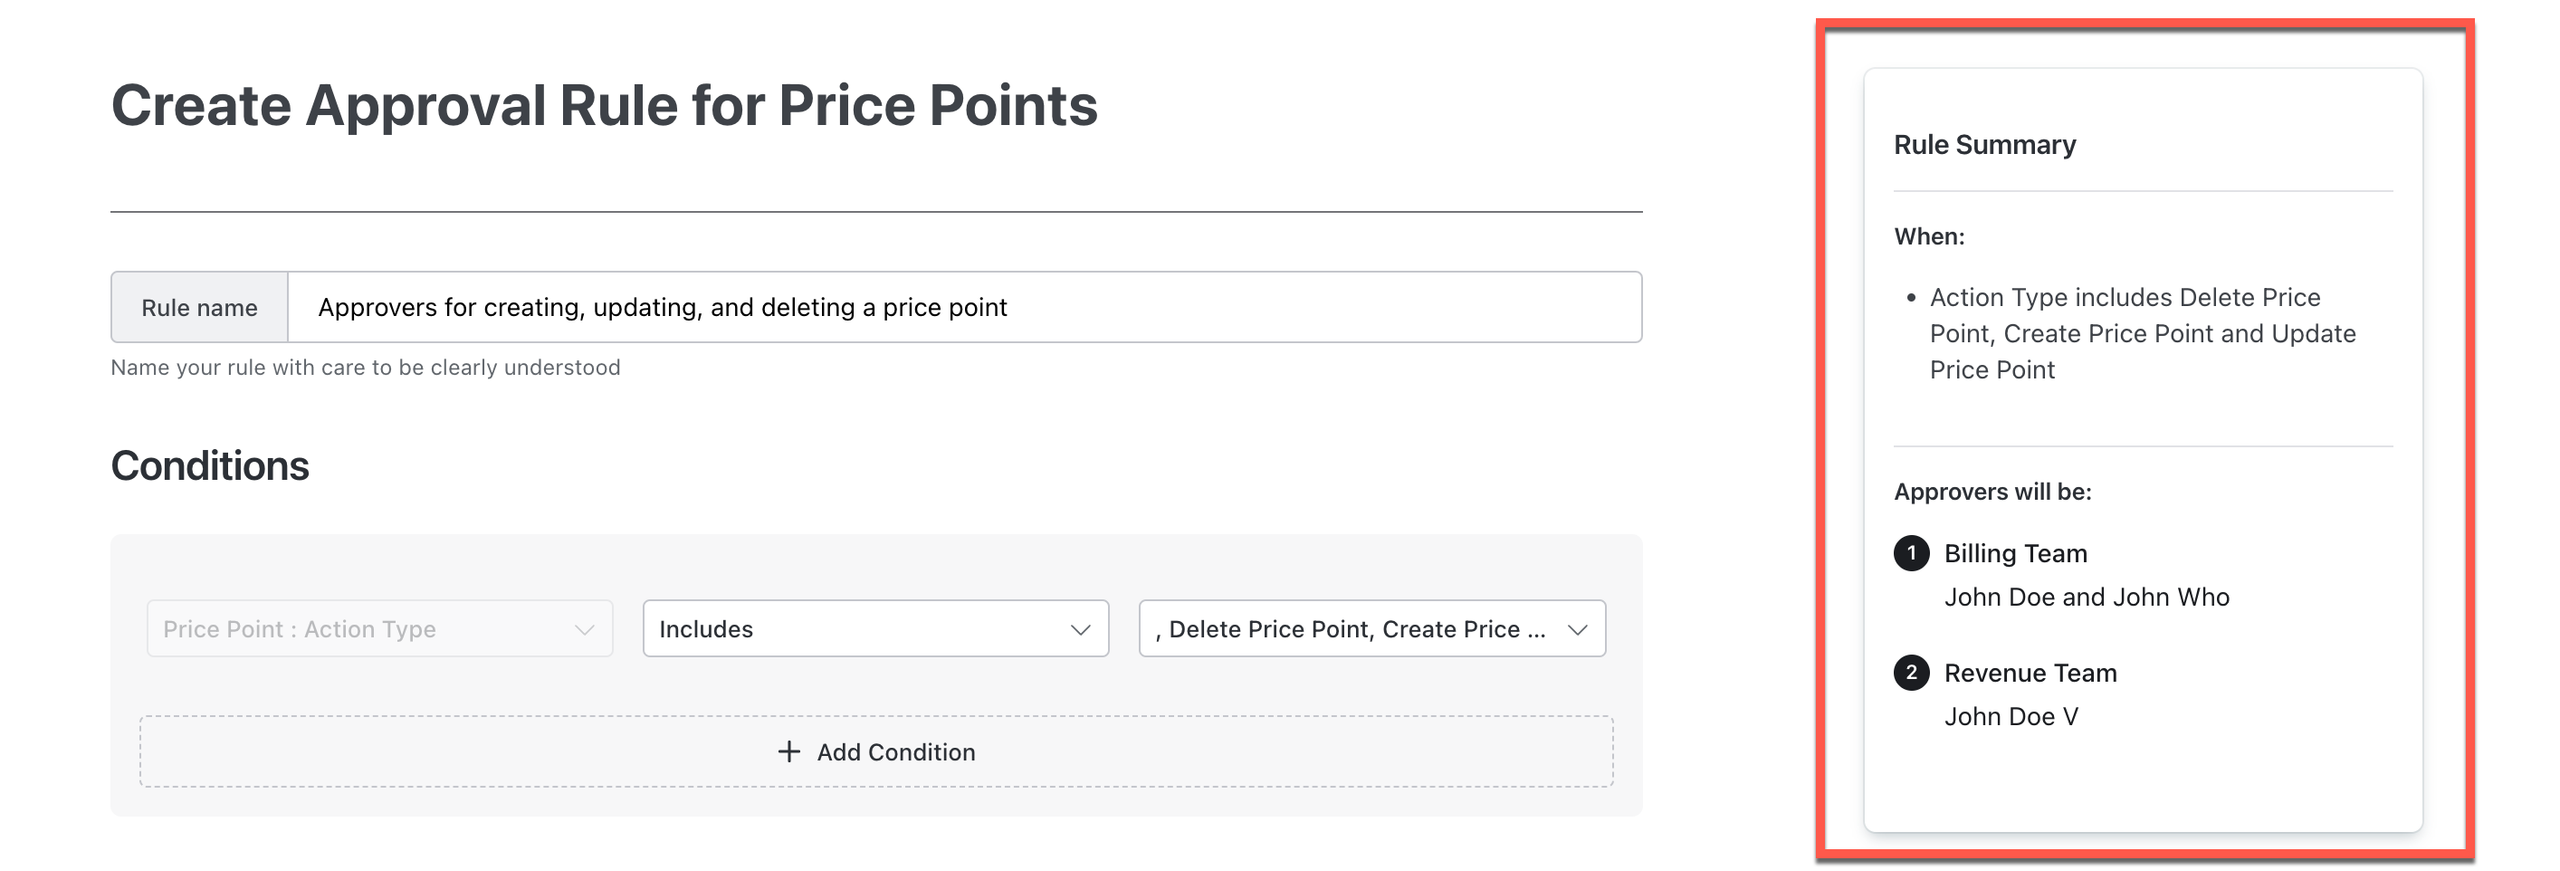
Enter the Rule Name. Ensure adding a meaningful name for a better understanding of your rule approvers.
Set up Conditions for your approvals. You can add one or more conditions for your approval rule.
This section consists of three fields:
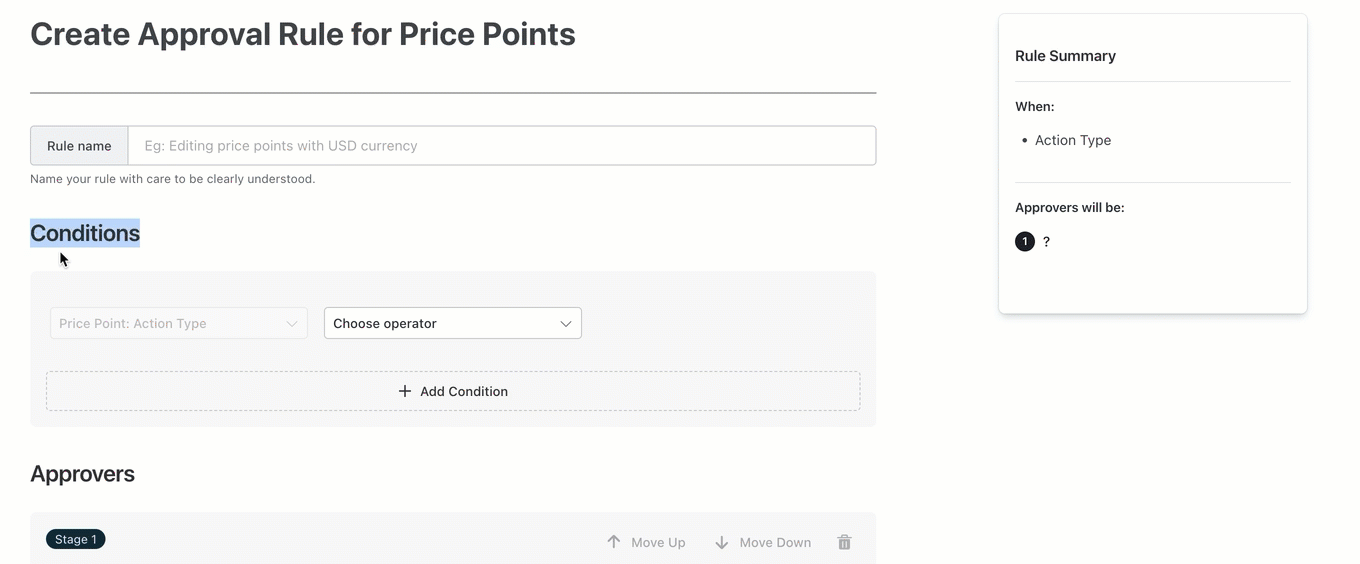
Assign Approvers for your approval. You can add one or more Approvers for different stages of your approval rule. You can add one or more approval stages as required.
This section consists of three fields:
Stage name: Enter the stage name.
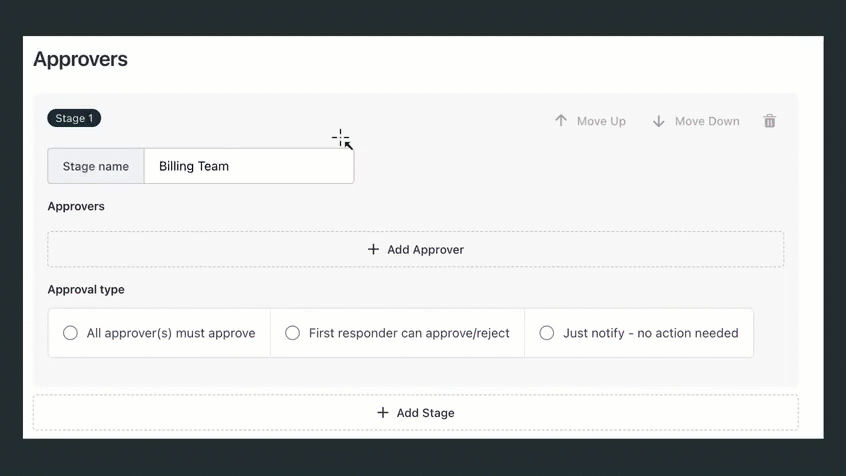
Approvers: Use the drop-down list to select the approvers.
Approval type: Use the radio button to select the type of approver:
When you have multiple stages of approvals, use Move Up and Move Down to change approval stages.

Preview the Rule Summary.
Click Create to save the approval rule for a price point.
To view and set up an approval chain for the price point, follow these steps:
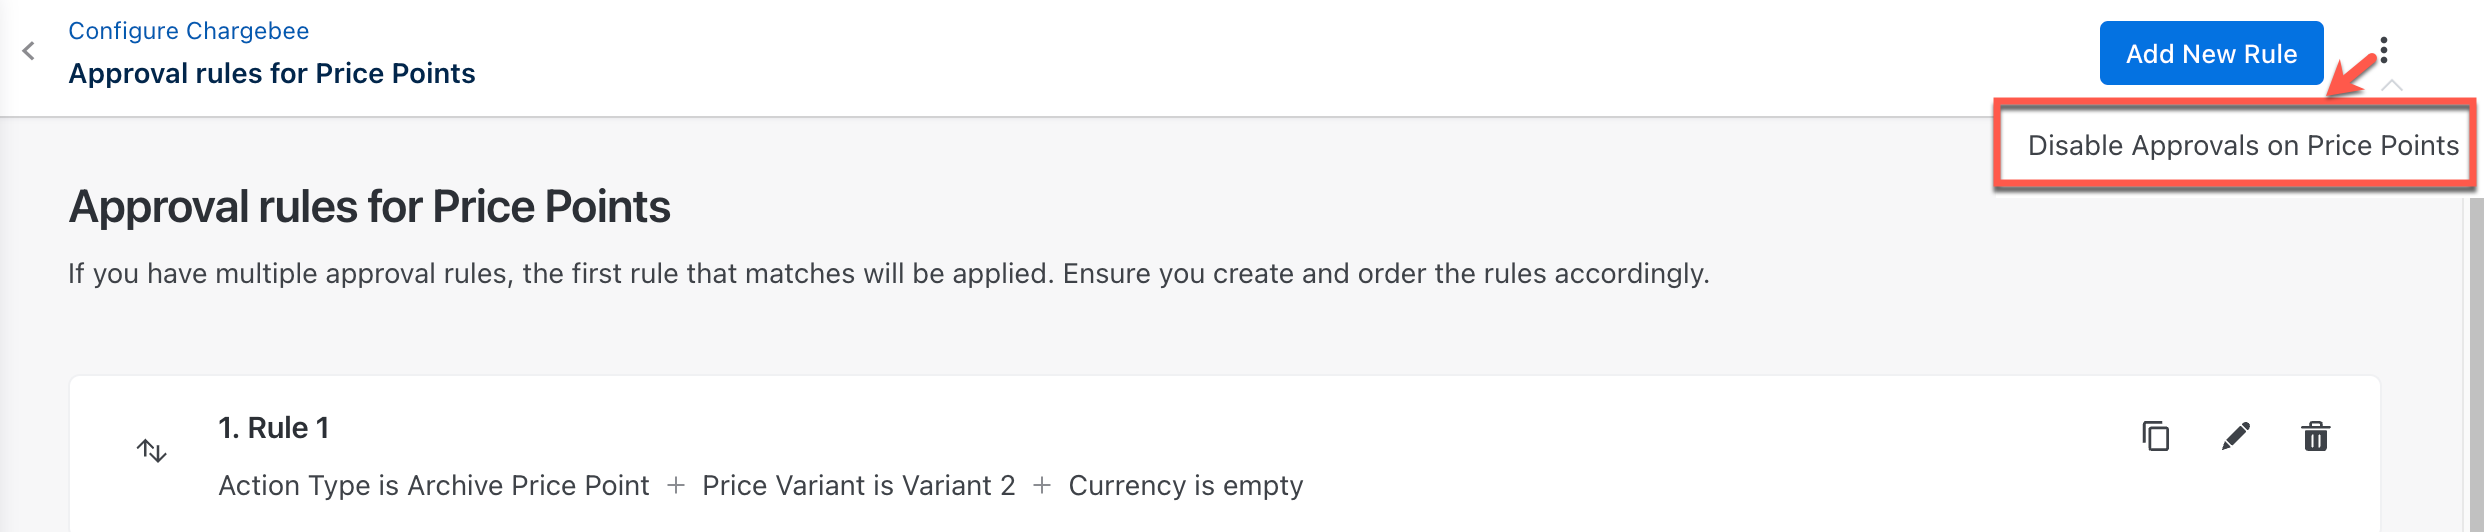
To disable approvals for price points on your site level, follow these steps:
Login into your Chargebee account.
Navigate to Configure Chargebee > Approvals > Approval rules for Price Points.
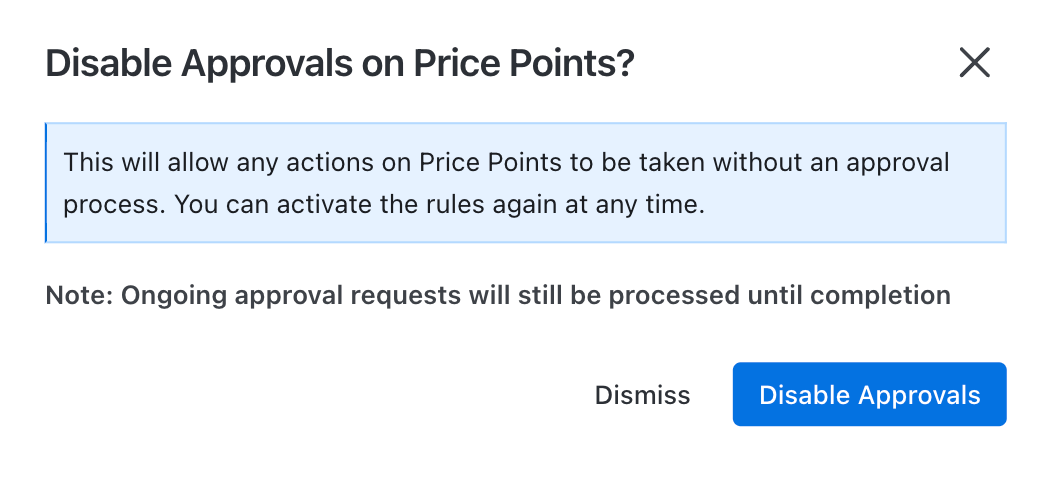
Click Disable Approvals on Price Points.
Click Disable Approvals.
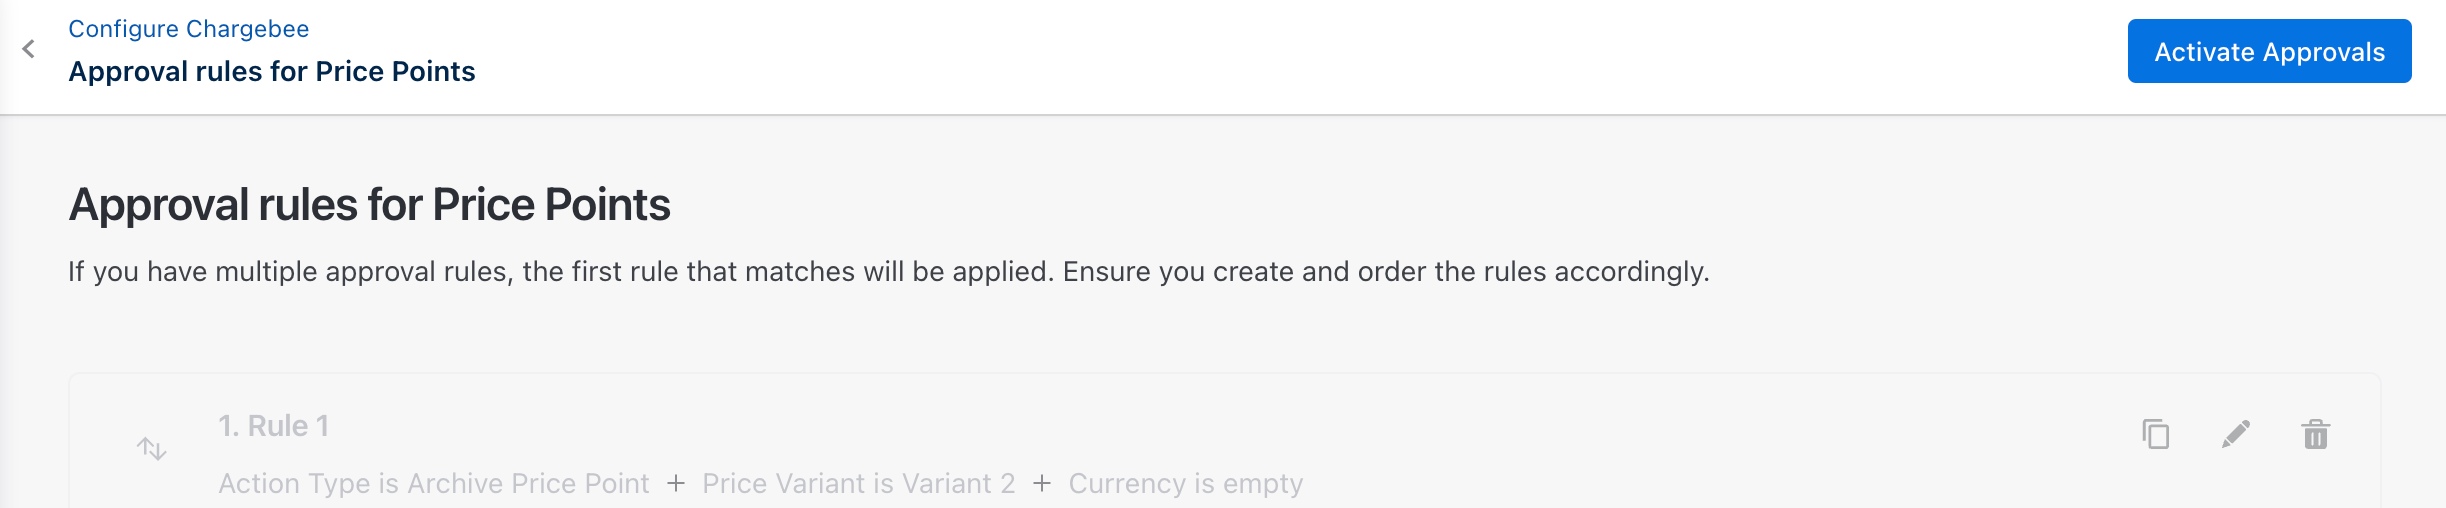
Once you Disable Approvals on Price Points, click Activate Approvals to enable it again.


 Articles & FAQ