Record Mapping in QuickBooks
Chargebee provides a user-friendly interface to manage Object-to-Record mapping for QuickBooks integration.
Key benefits include:
- Migrating smaller data batches at your convenience.
- Correcting incorrect record mappings post-migration.
Setting up the Record Mapping feature
Step 1: Set up the Integration
- Log in to your Chargebee site.
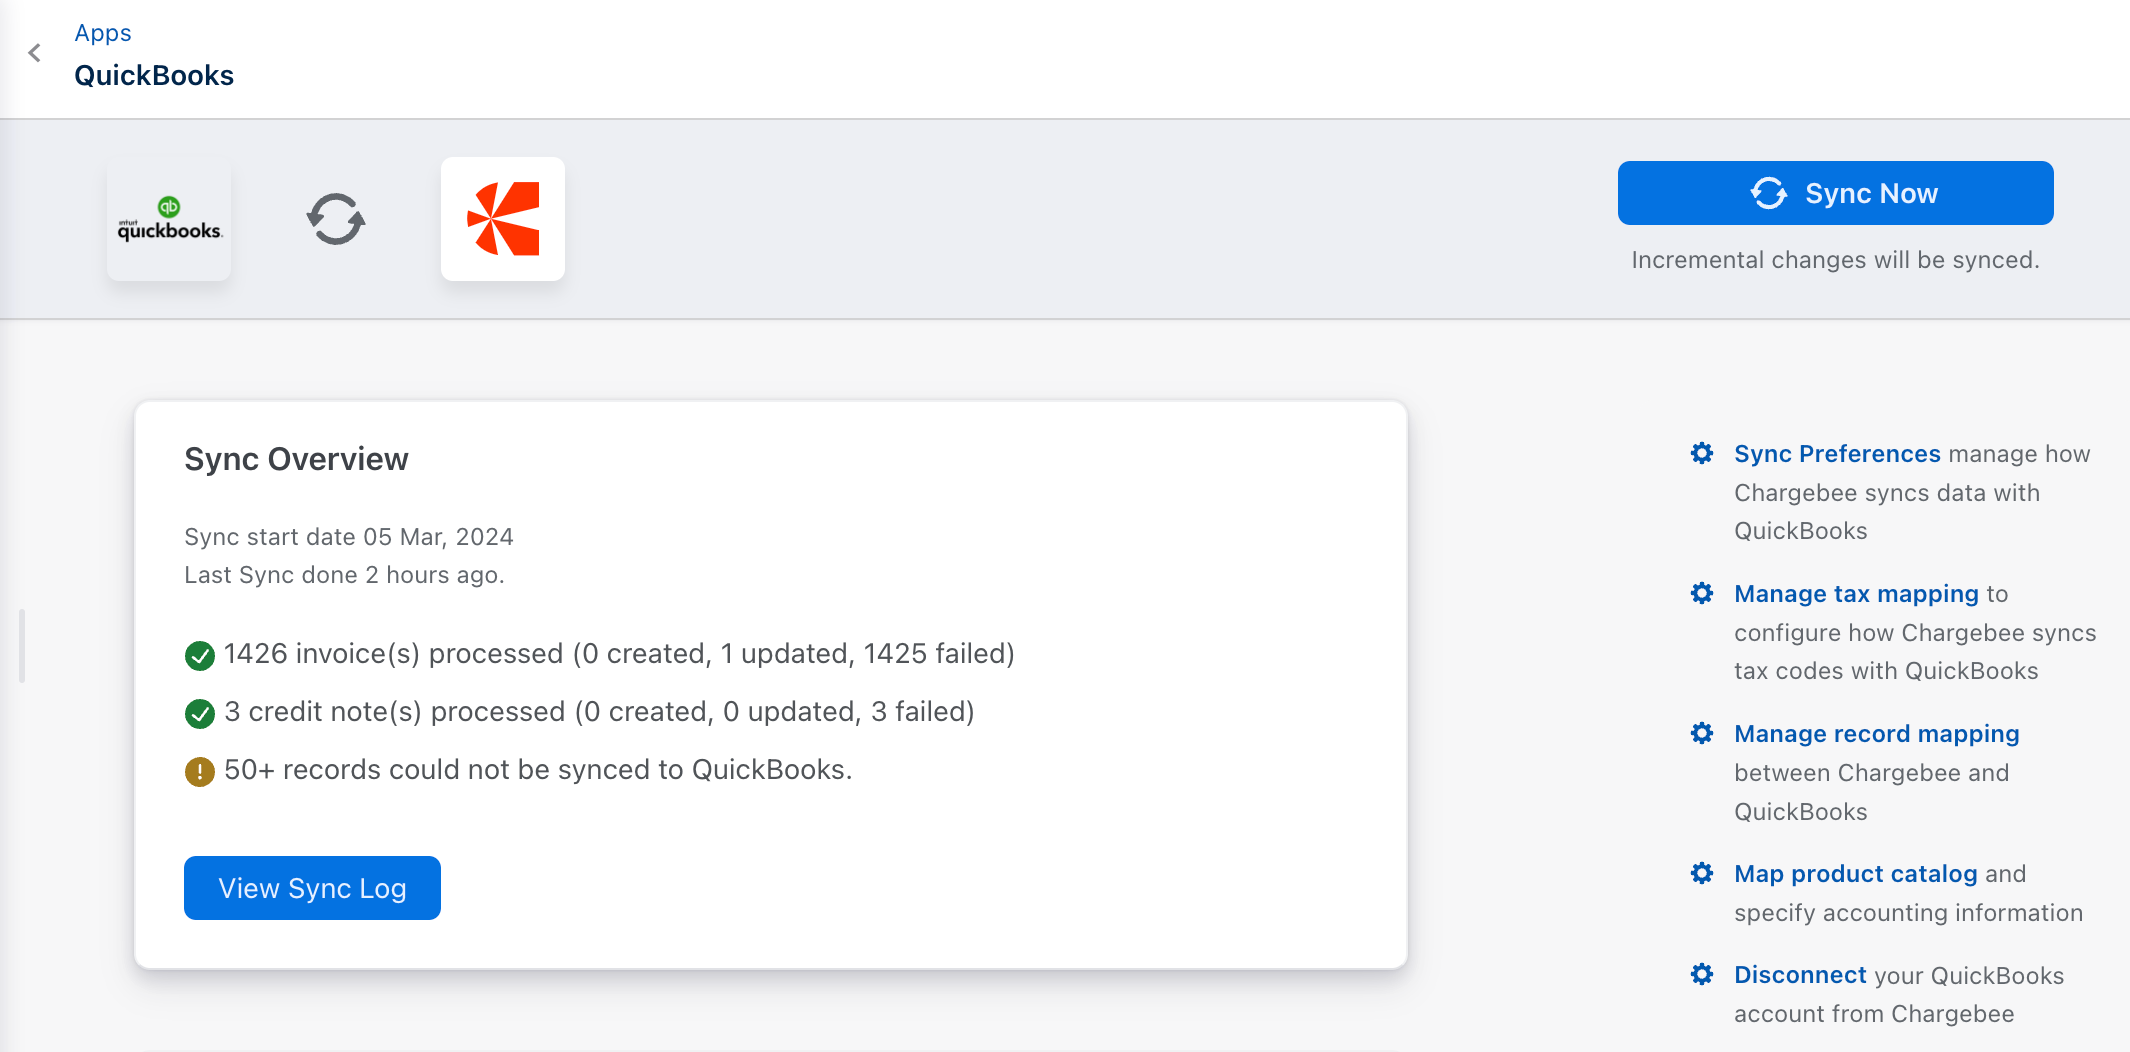
- Navigate to Apps > QuickBooks.
- Click Manage record mapping.

Step 2: Map Objects Between Chargebee and QuickBooks
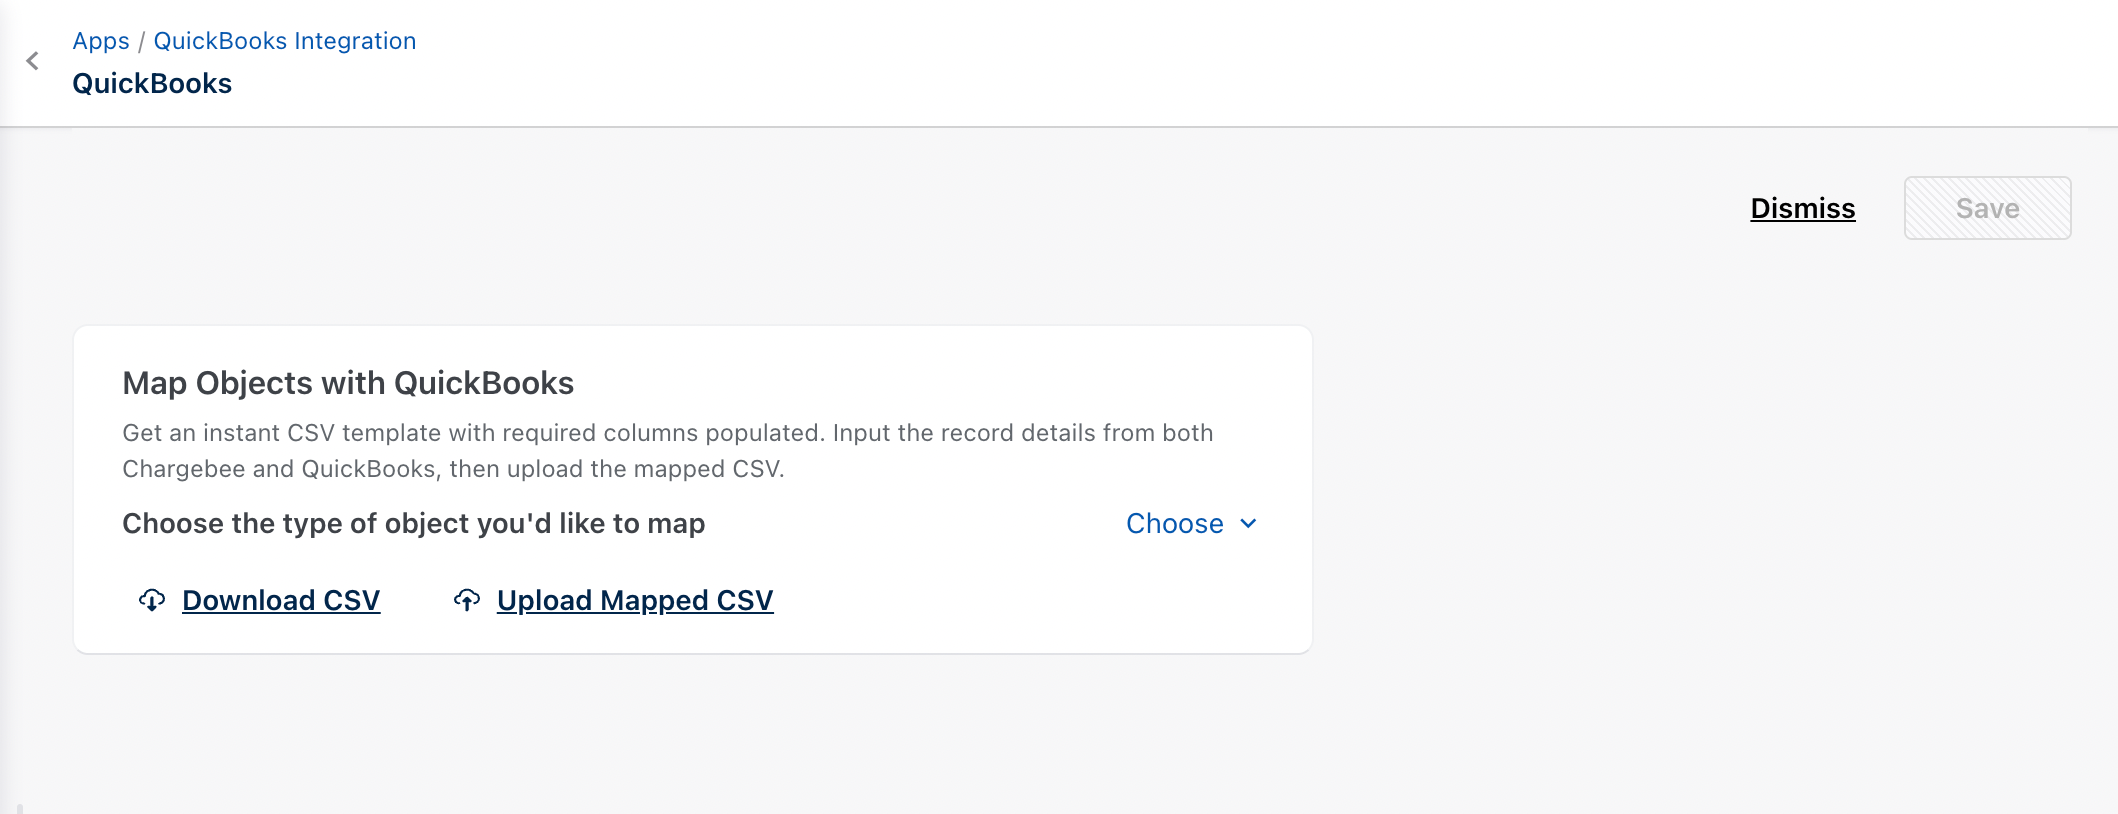
Once you click Manage record mapping, the system redirects you to the Map Objects with QuickBooks page.
- From the drop-down menu, select the object type (customers, invoices, credit notes, or transactions) for mapping.

- Click Download CSV.
- The system creates an empty CSV with the following column headers:

| CSV Headers | Description |
|---|---|
| Chargebee <entity> ID | Chargebee Customer/Invoice/Credit Note/Transaction ID |
| QuickBooks <entity> API ID | Customer/Invoice/Credit Note/Transaction ID |
| QuickBooks <entity> ID | Customer/Invoice/Credit Note/Transaction ID |
Note:
CSV headers are case-sensitive and are prepopulated in the CSV template.
Mapping fields between Chargebee and QuickBooks
The following table displays the available fields that can be used to map entities between Chargebee and QuickBooks.
| QuickBooks Field | Chargebee Object Type | QuickBooks Record type |
|---|---|---|
| Display Name | Customer | Customer |
| Invoice No. | Invoice | Invoice |
| Credit Memo No. | Credit Note | CreditMemo |
| Purchase No. | Transaction (Refunds) | Purchase |
| Reference No. | Transaction (Payment) | Payment |
Step 3: Upload and Complete Mapping
-
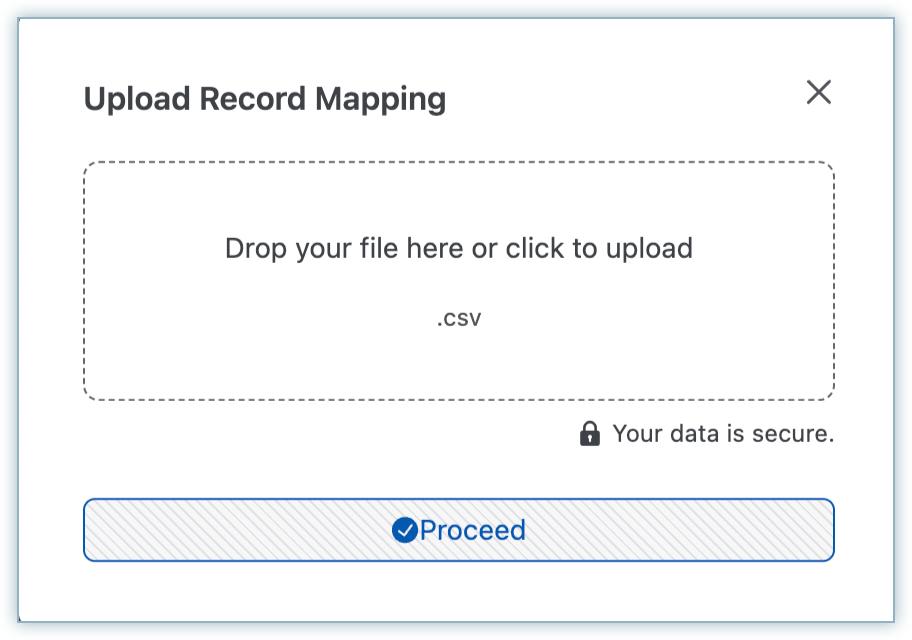
Click Upload mapped CSV to upload the mapping changes.

-
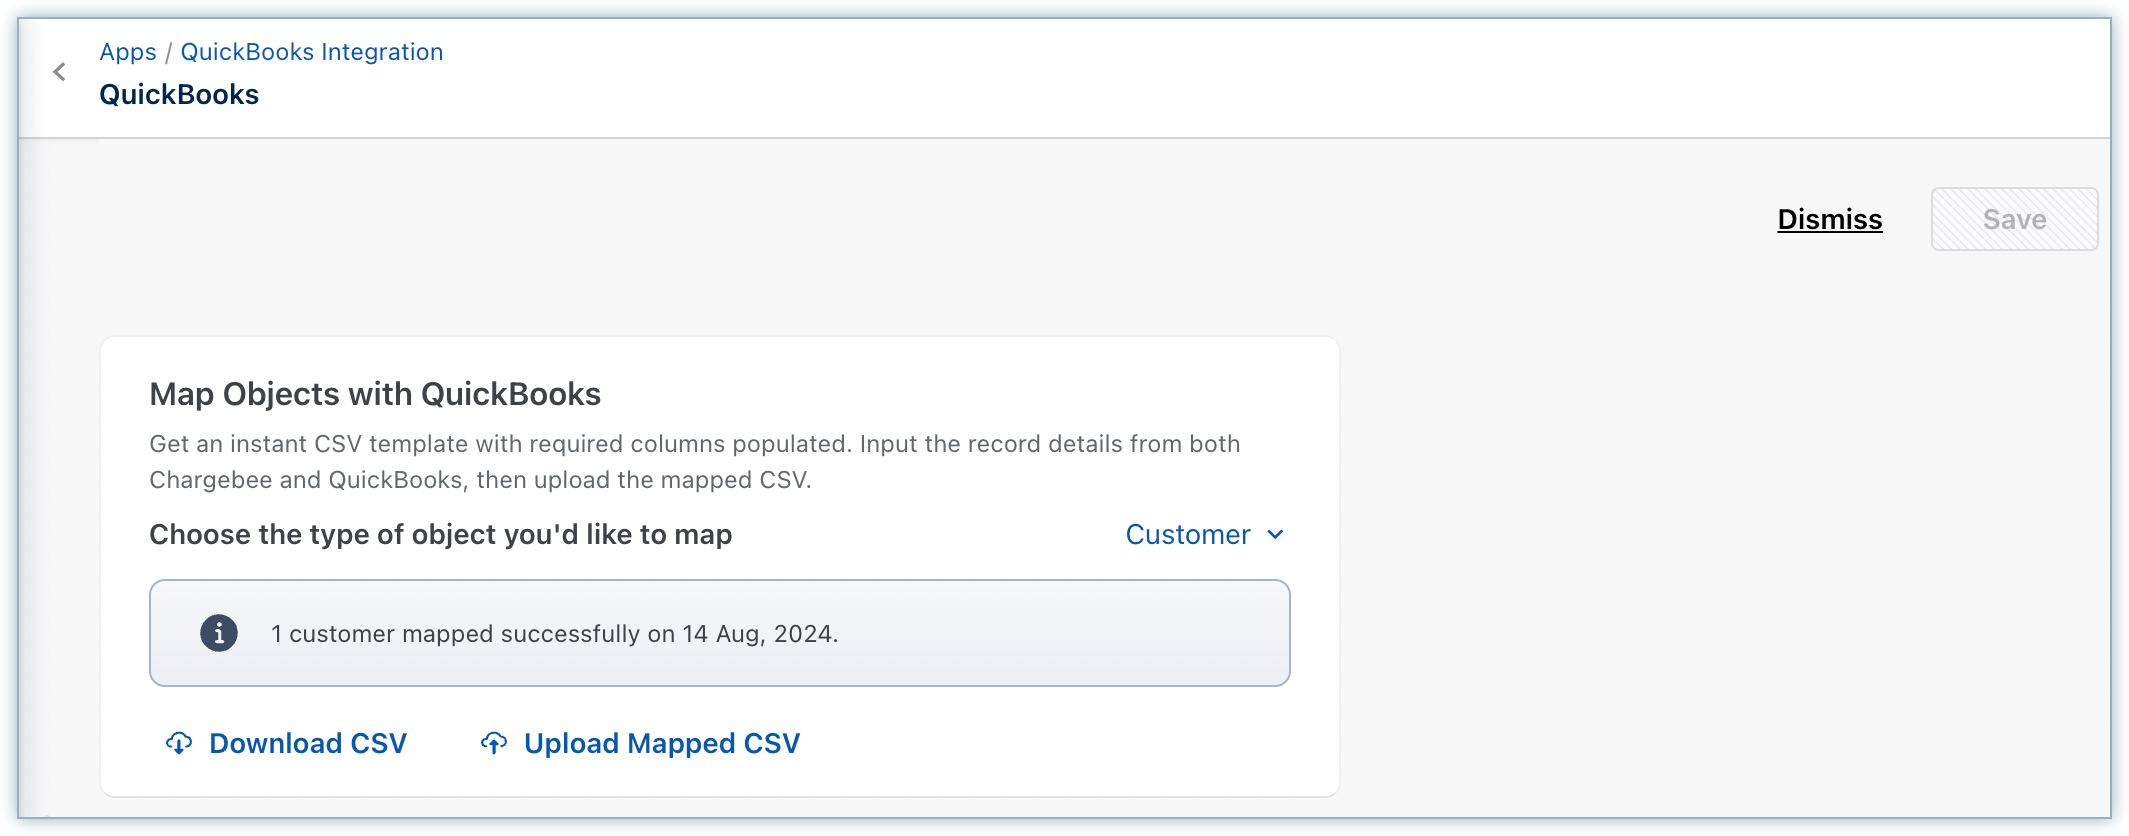
Once the mapping process is complete, the following screen displays:

Any errors in the provided data are captured in a new CSV file that can be downloaded by clicking Download Errors.
Possible Errors in QuickBooks
- Chargebee ID is mandatory.
- QuickBooks ID or API ID is mandatory.
- Chargebee ID is invalid.
- QuickBooks ID is invalid.
- QuickBooks API ID is invalid.
After fixing these errors, reupload the CSV file.
Was this article helpful?