Docs
To enable the Automatic Export on your Chargebee site, follow these steps.
Login to your Chargebee account.
Navigate to Settings > Import & Export Data > Automatic Exports.
Note: If this feature does not appear on your site, consider that your site is not currently compatible with it. Please refer to the prerequisites and limitations to know about the feature enablement criterias.
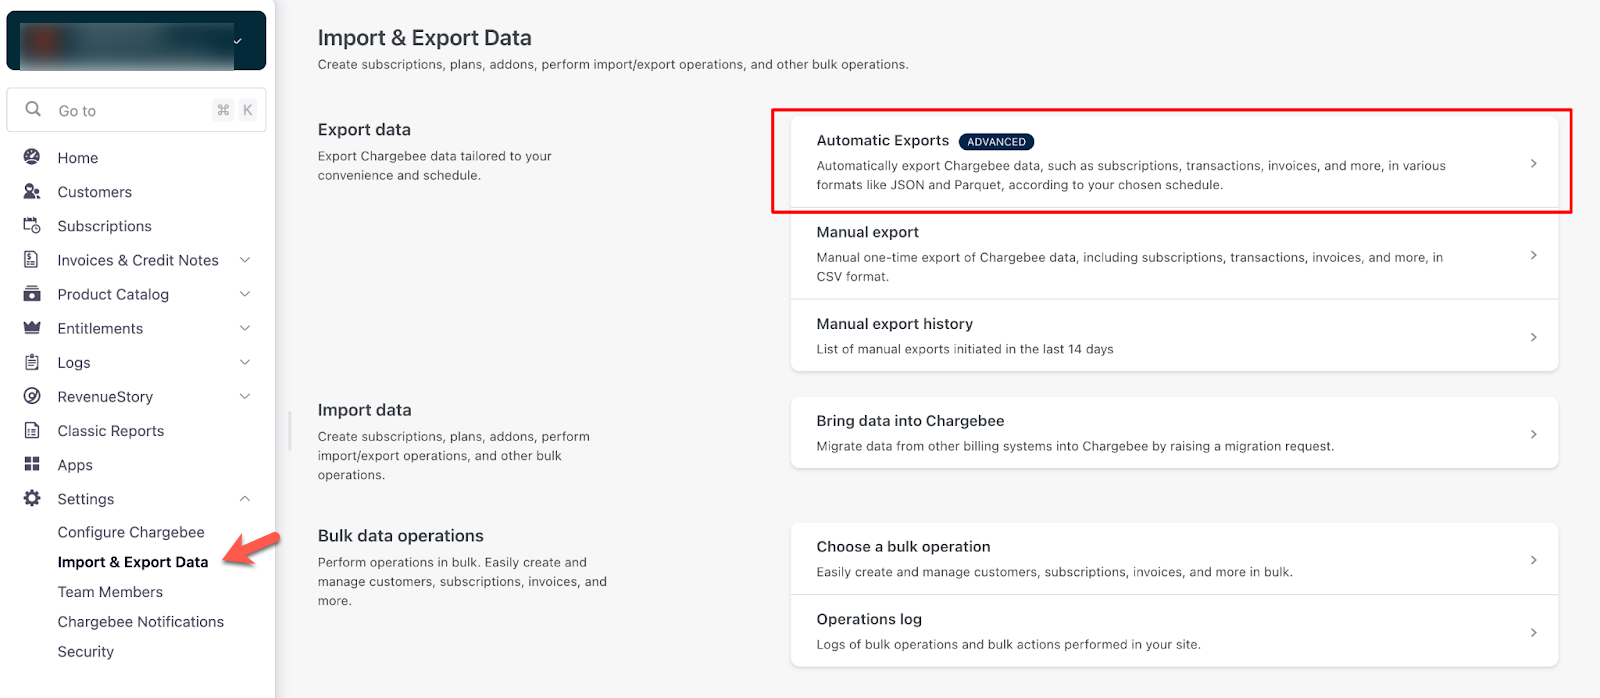
Click + New Exports.

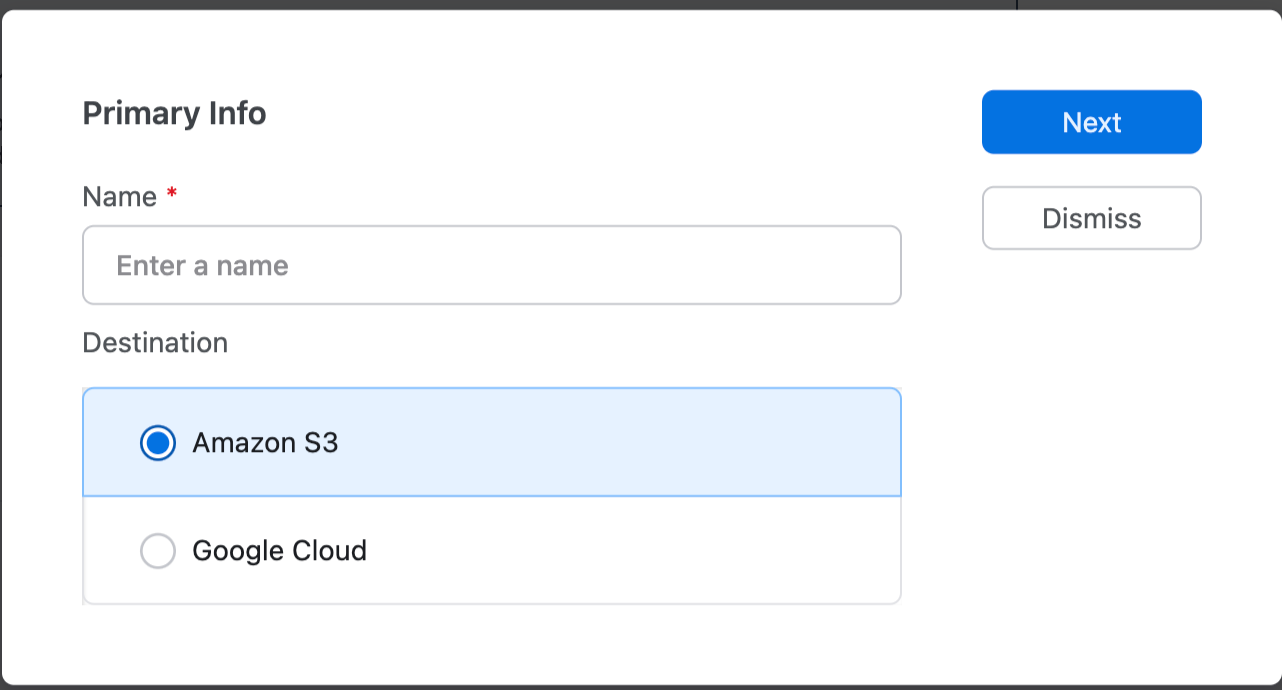
Enter the Name of the export, choose the Destination, and click Next.
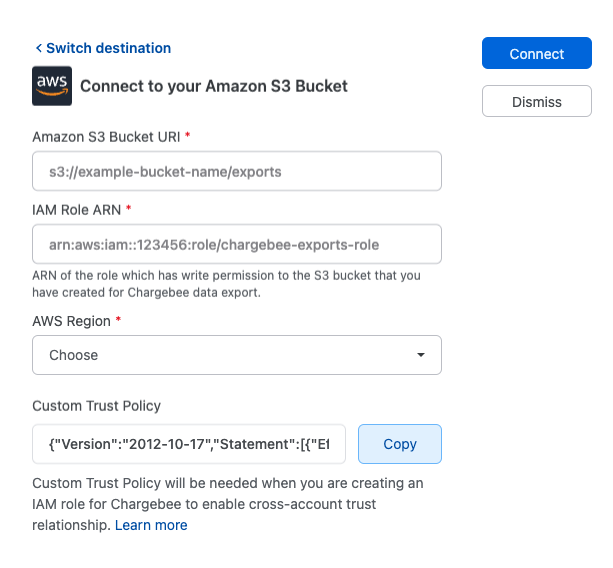
If you select the Destination as Amazon S3,
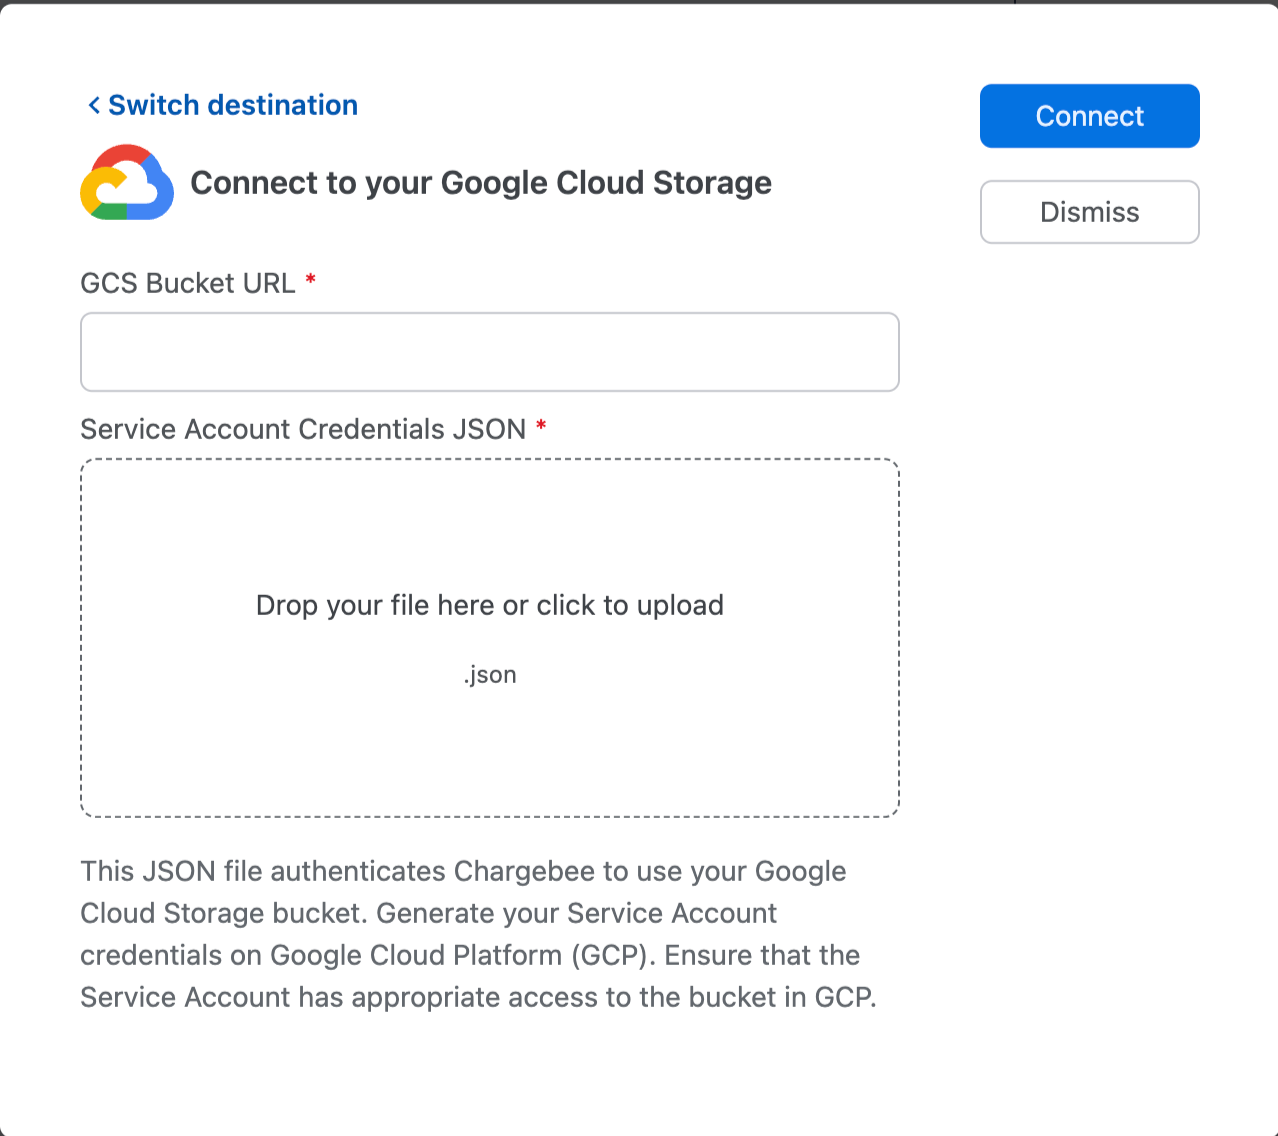
If you select the destination as Google Cloud,
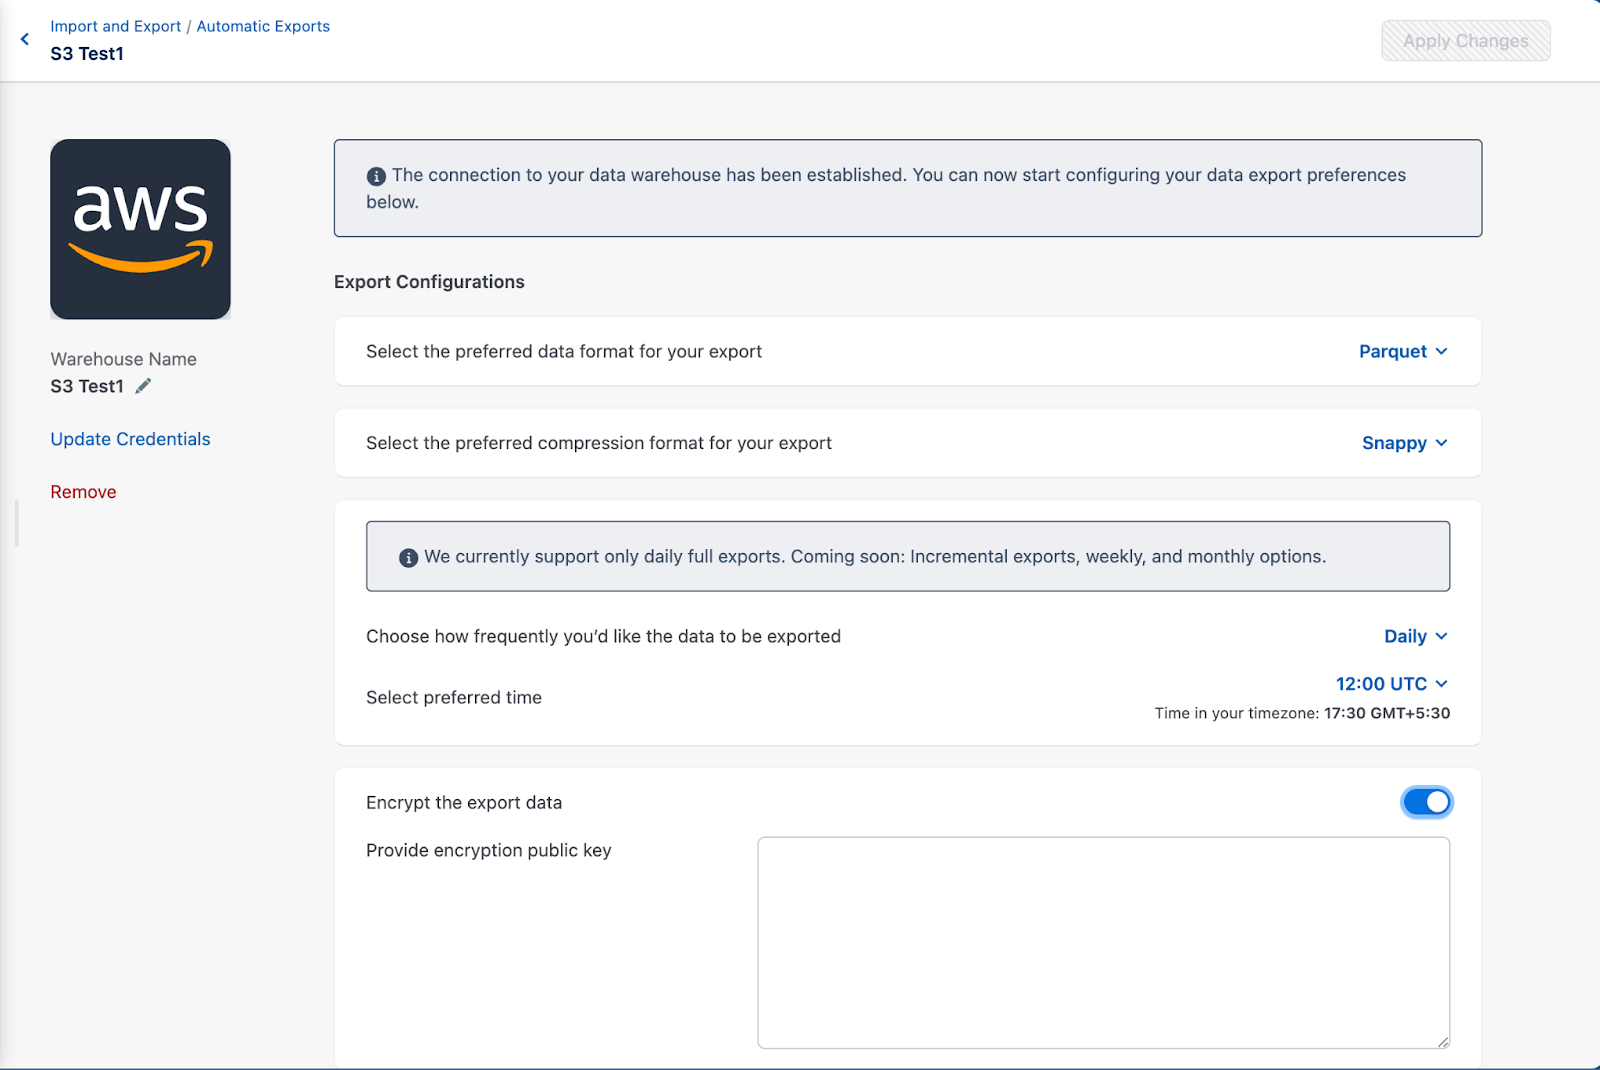
Click Connect, it will redirect you to the Export Configurations page where you can choose from the following configuration:
| Configuration |
Options |
Explanation |
| Data Format |
Parquet (Default), JSON |
Parquet (Highly recommended): The default choice for efficient storage and fast querying. JSON: Offers human-readability and wider compatibility. |
| Compression Format |
Snappy (Default), gzip |
Snappy: Balances compression speed and ratio. gzip: Widely supported. |
| Export Frequency |
Daily |
Daily: Currently, only full exports are supported for daily frequency. Future releases will include weekly and monthly options. |
| Preferred Export Time (UTC) |
03:00, 06:00, 09:00, 12:00 (Default), 15:00, 18:00, 21:00 UTC |
Choose a time that aligns with your workflow and minimizes impact on system resources. |
Data Encryption Notice: If you require data encryption, you may enable it using a public-private key mechanism. By default, if server-side encryption is enabled on your buckets, data transfer is secured via HTTPS, ensuring security in transit. However, if you choose to proceed with additional encryption, you will need to generate a key pair and share it as specified in our protocol.
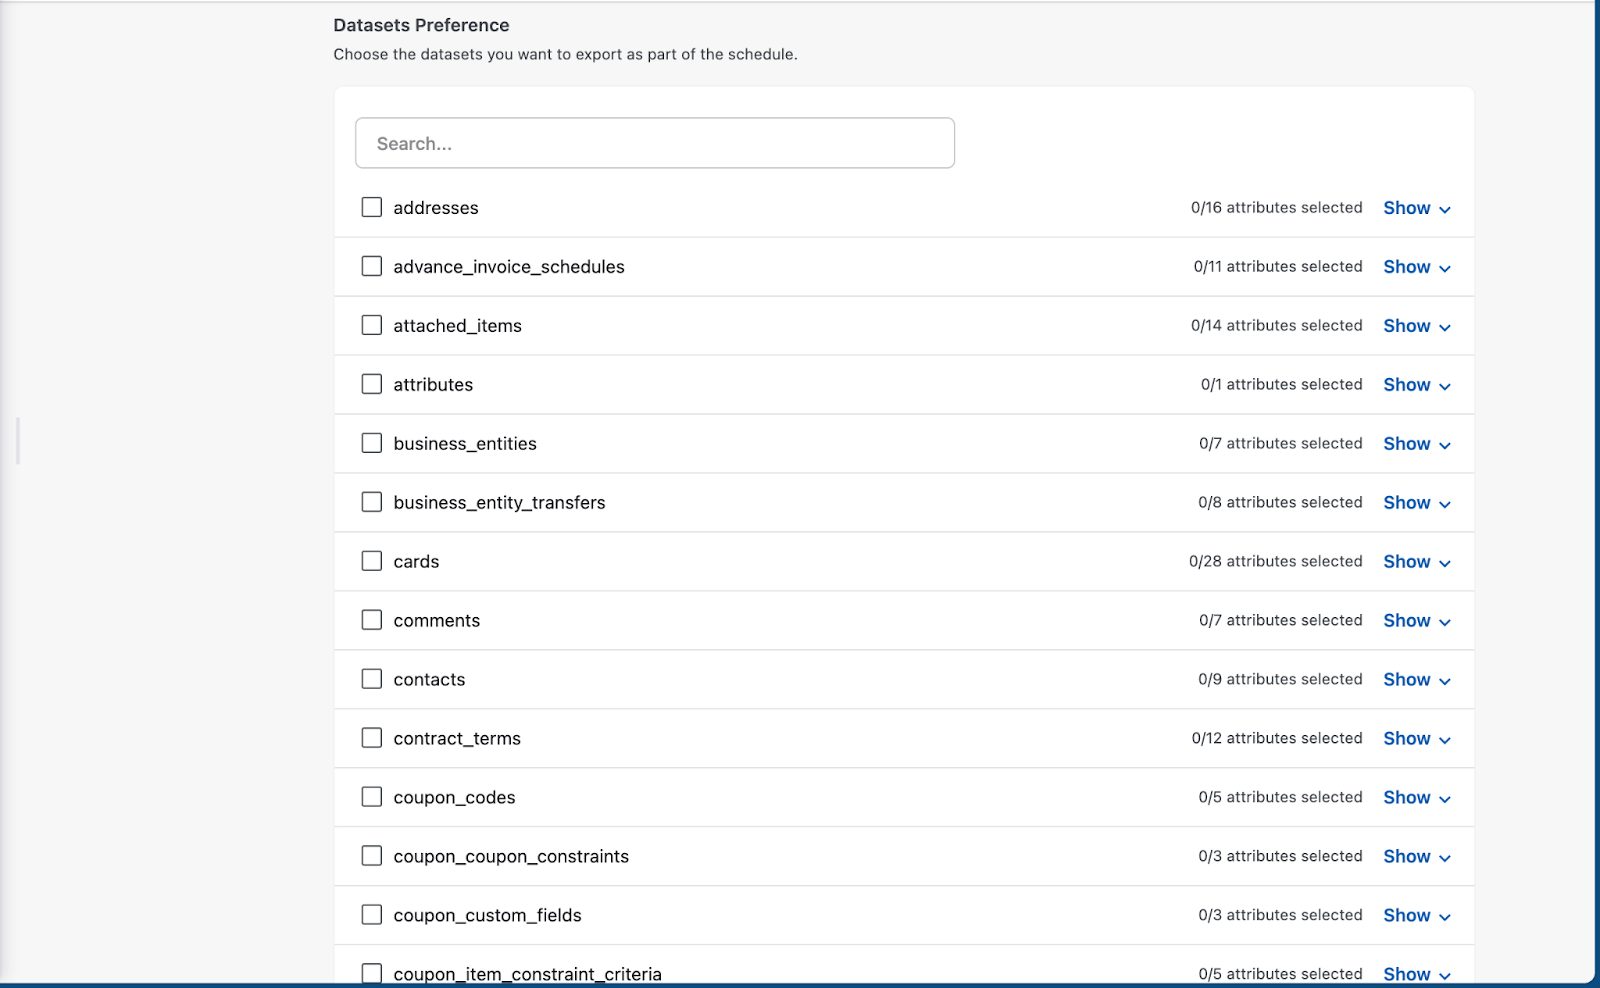
In the Dataset Preference screen, choose the datasets that you want to export as part of the schedule.
Once Export Configurations and Dataset Preferences are selected, click Apply Changes.
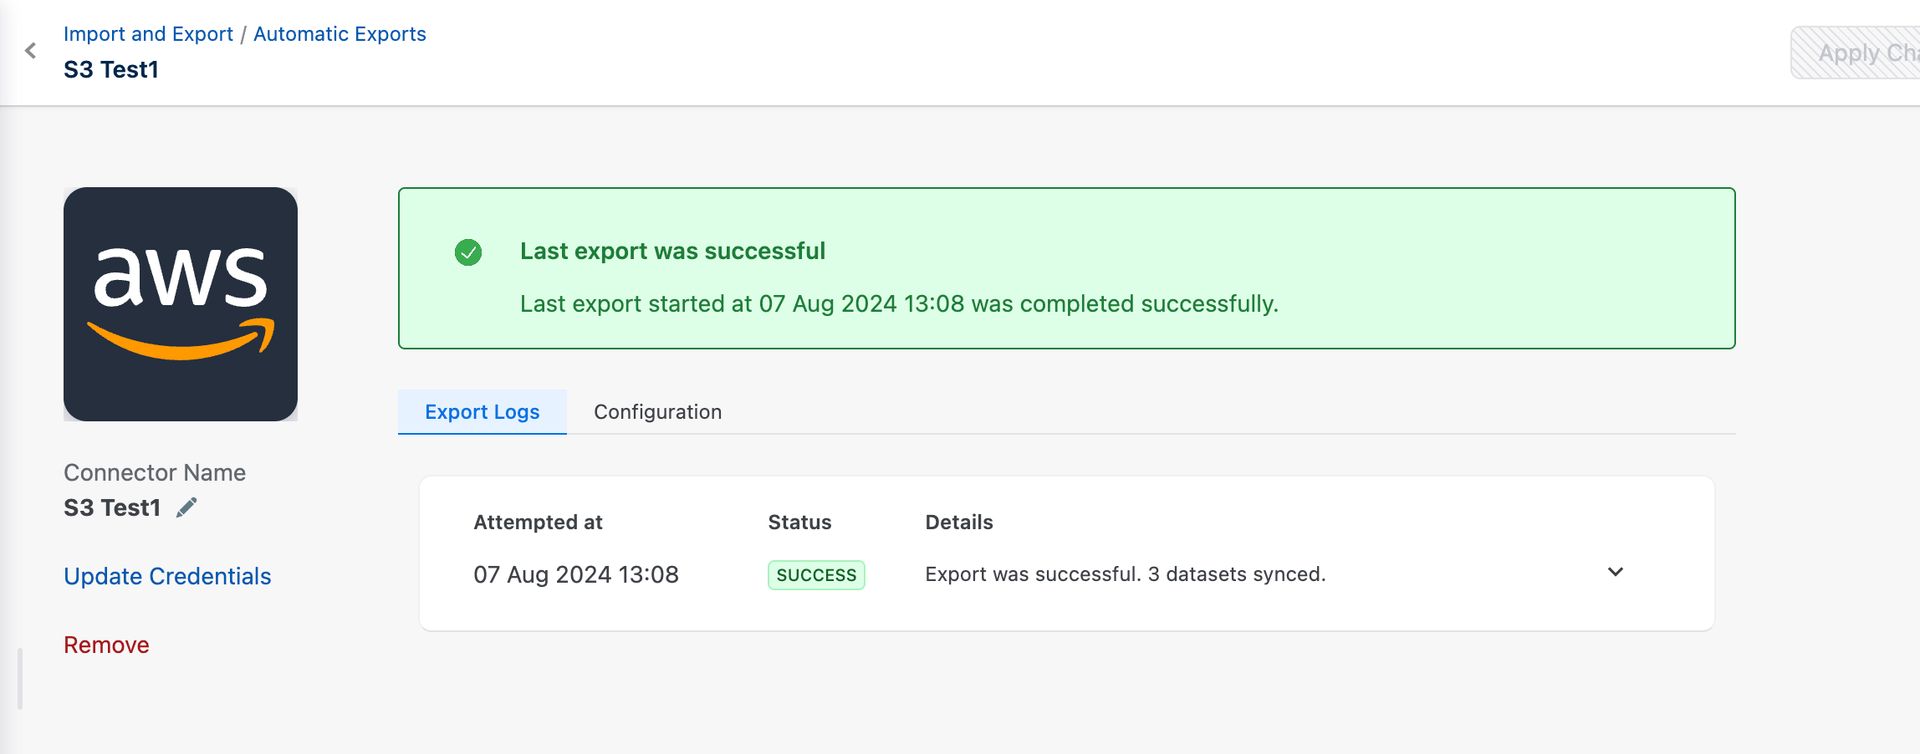
This completes the setup and redirects you to the Export Logs page, that you can use for tracking your export status. On this page, you can also modify your Configuration if required.
