Docs
Configure, setup, integrate, Braintree, ChargeBee, steps
How to configure Braintree with Chargebee?
Click *Settings > Configure Chargebee > Payment Gateways > Add Payment Gateway > Braintree * Clic
38989385
2021-06-16T20:21:22Z
2021-06-16T20:21:24Z
263
0
0
251165
How to configure Braintree with Chargebee?
Scope
Integrate Braintree payment gateway with Chargebee
Steps to configure Braintree with Chargebee
Braintree is a full-stack payments platform that eliminates the need to have a payment gateway and a merchant account separately. In addition to this, Braintree lets you retain your own merchant account and use its payment gateway
Chargebee supports integrating with both Braintree's sandbox as well as production accounts.
Step 1: Click *Settings > Configure Chargebee > Payment Gateways > Add Payment Gateway > Braintree *
Step 2: Log in using your credentials or create a new account.
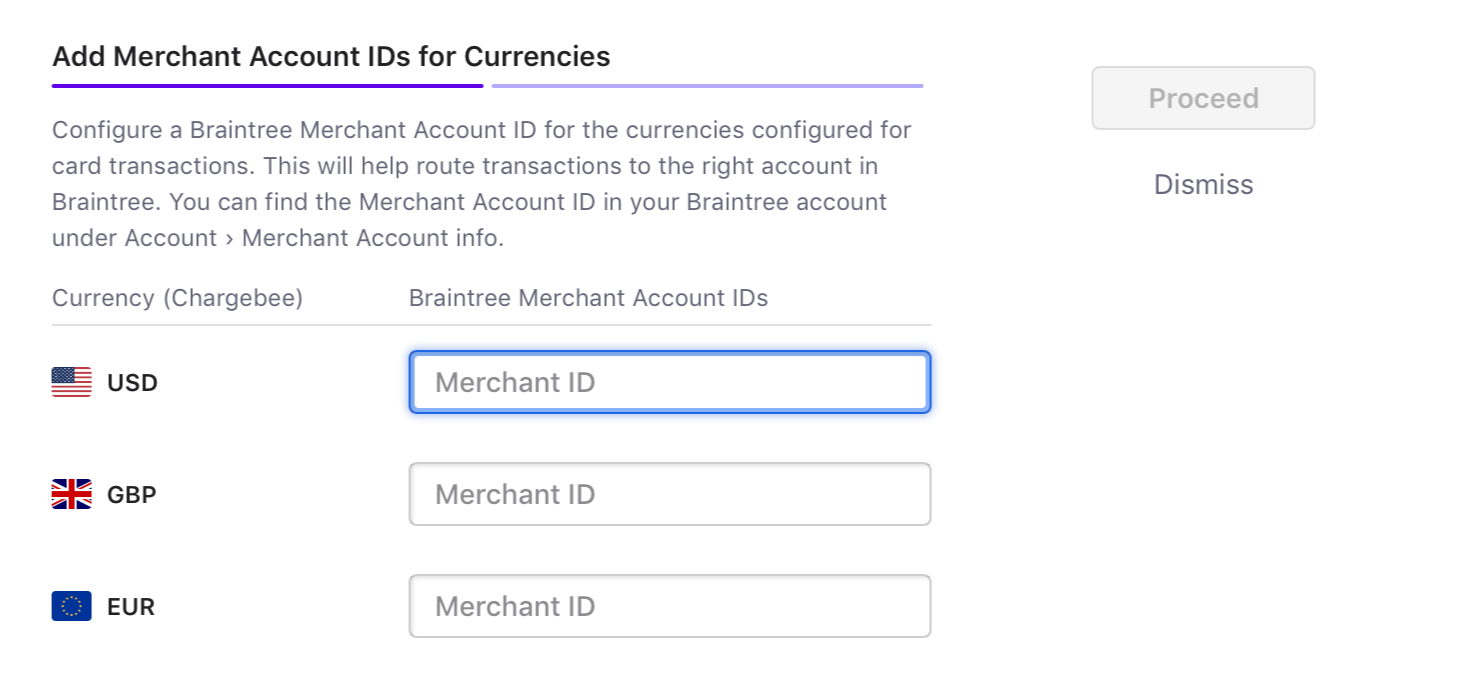
Step 3: Enter the Merchant Account IDs for the currencies configured. This will help route transactions to the right account in Braintree. You can find the Merchant Account ID under Account › Merchant Account info in your Braintree account.
Note
Braintree and Chargebee support 100+ different currencies for charging customers across different geographical locations. If you intend to use Braintree+Chargebee for your business, ensure that your transactional currencies are supported by both. Find the complete list of currencies supported by:
For example, if one of you are operating currencies is USD, make sure your Braintree merchant account id for USD is mapped to your Chargebee-USD site.
Information
If you do not specify a Braintree merchant account id in your Chargebee account, transactions take place in the default currency set in your Braintree account.

Step 4: Click the Manage link next to the cards section to manage the card settings. You can choose to enable/disable Prepaid cards, retain card information in Braintree rather than the default gateway and select the brands whose logos you wish to display in the checkout or self serve portal.
Step 5: If you want to allow your customers to pay via Apple Pay or PayPal enable them from the Payment methods page.
Step 6: Click Apply
