Docs
Kintsugi is a leading sales tax solution that automates end-to-end sales tax compliance for businesses of all sizes. From nexus determination and tax calculations to registrations and filings, Kintsugi simplifies sales tax management, ensuring your business remains compliant across multiple jurisdictions.
By integrating Kintsugi with your Chargebee Billing site, you can automate tax applications on invoices and credit notes, sync transactions, and manage critical compliance tasks like nexus tracking and filing registrations—all from one platform. This integration reduces manual effort, minimizes errors, and helps your business stay audit-ready, allowing you to focus on growth while ensuring accurate tax compliance.
Currently, we calculate taxes only for US jurisdictions. Kintsugi supports a wide range of products, including digital and physical products and services.
Before integrating your Chargebee site with Kintsugi, ensure that the following prerequisites are verified on respective applications:
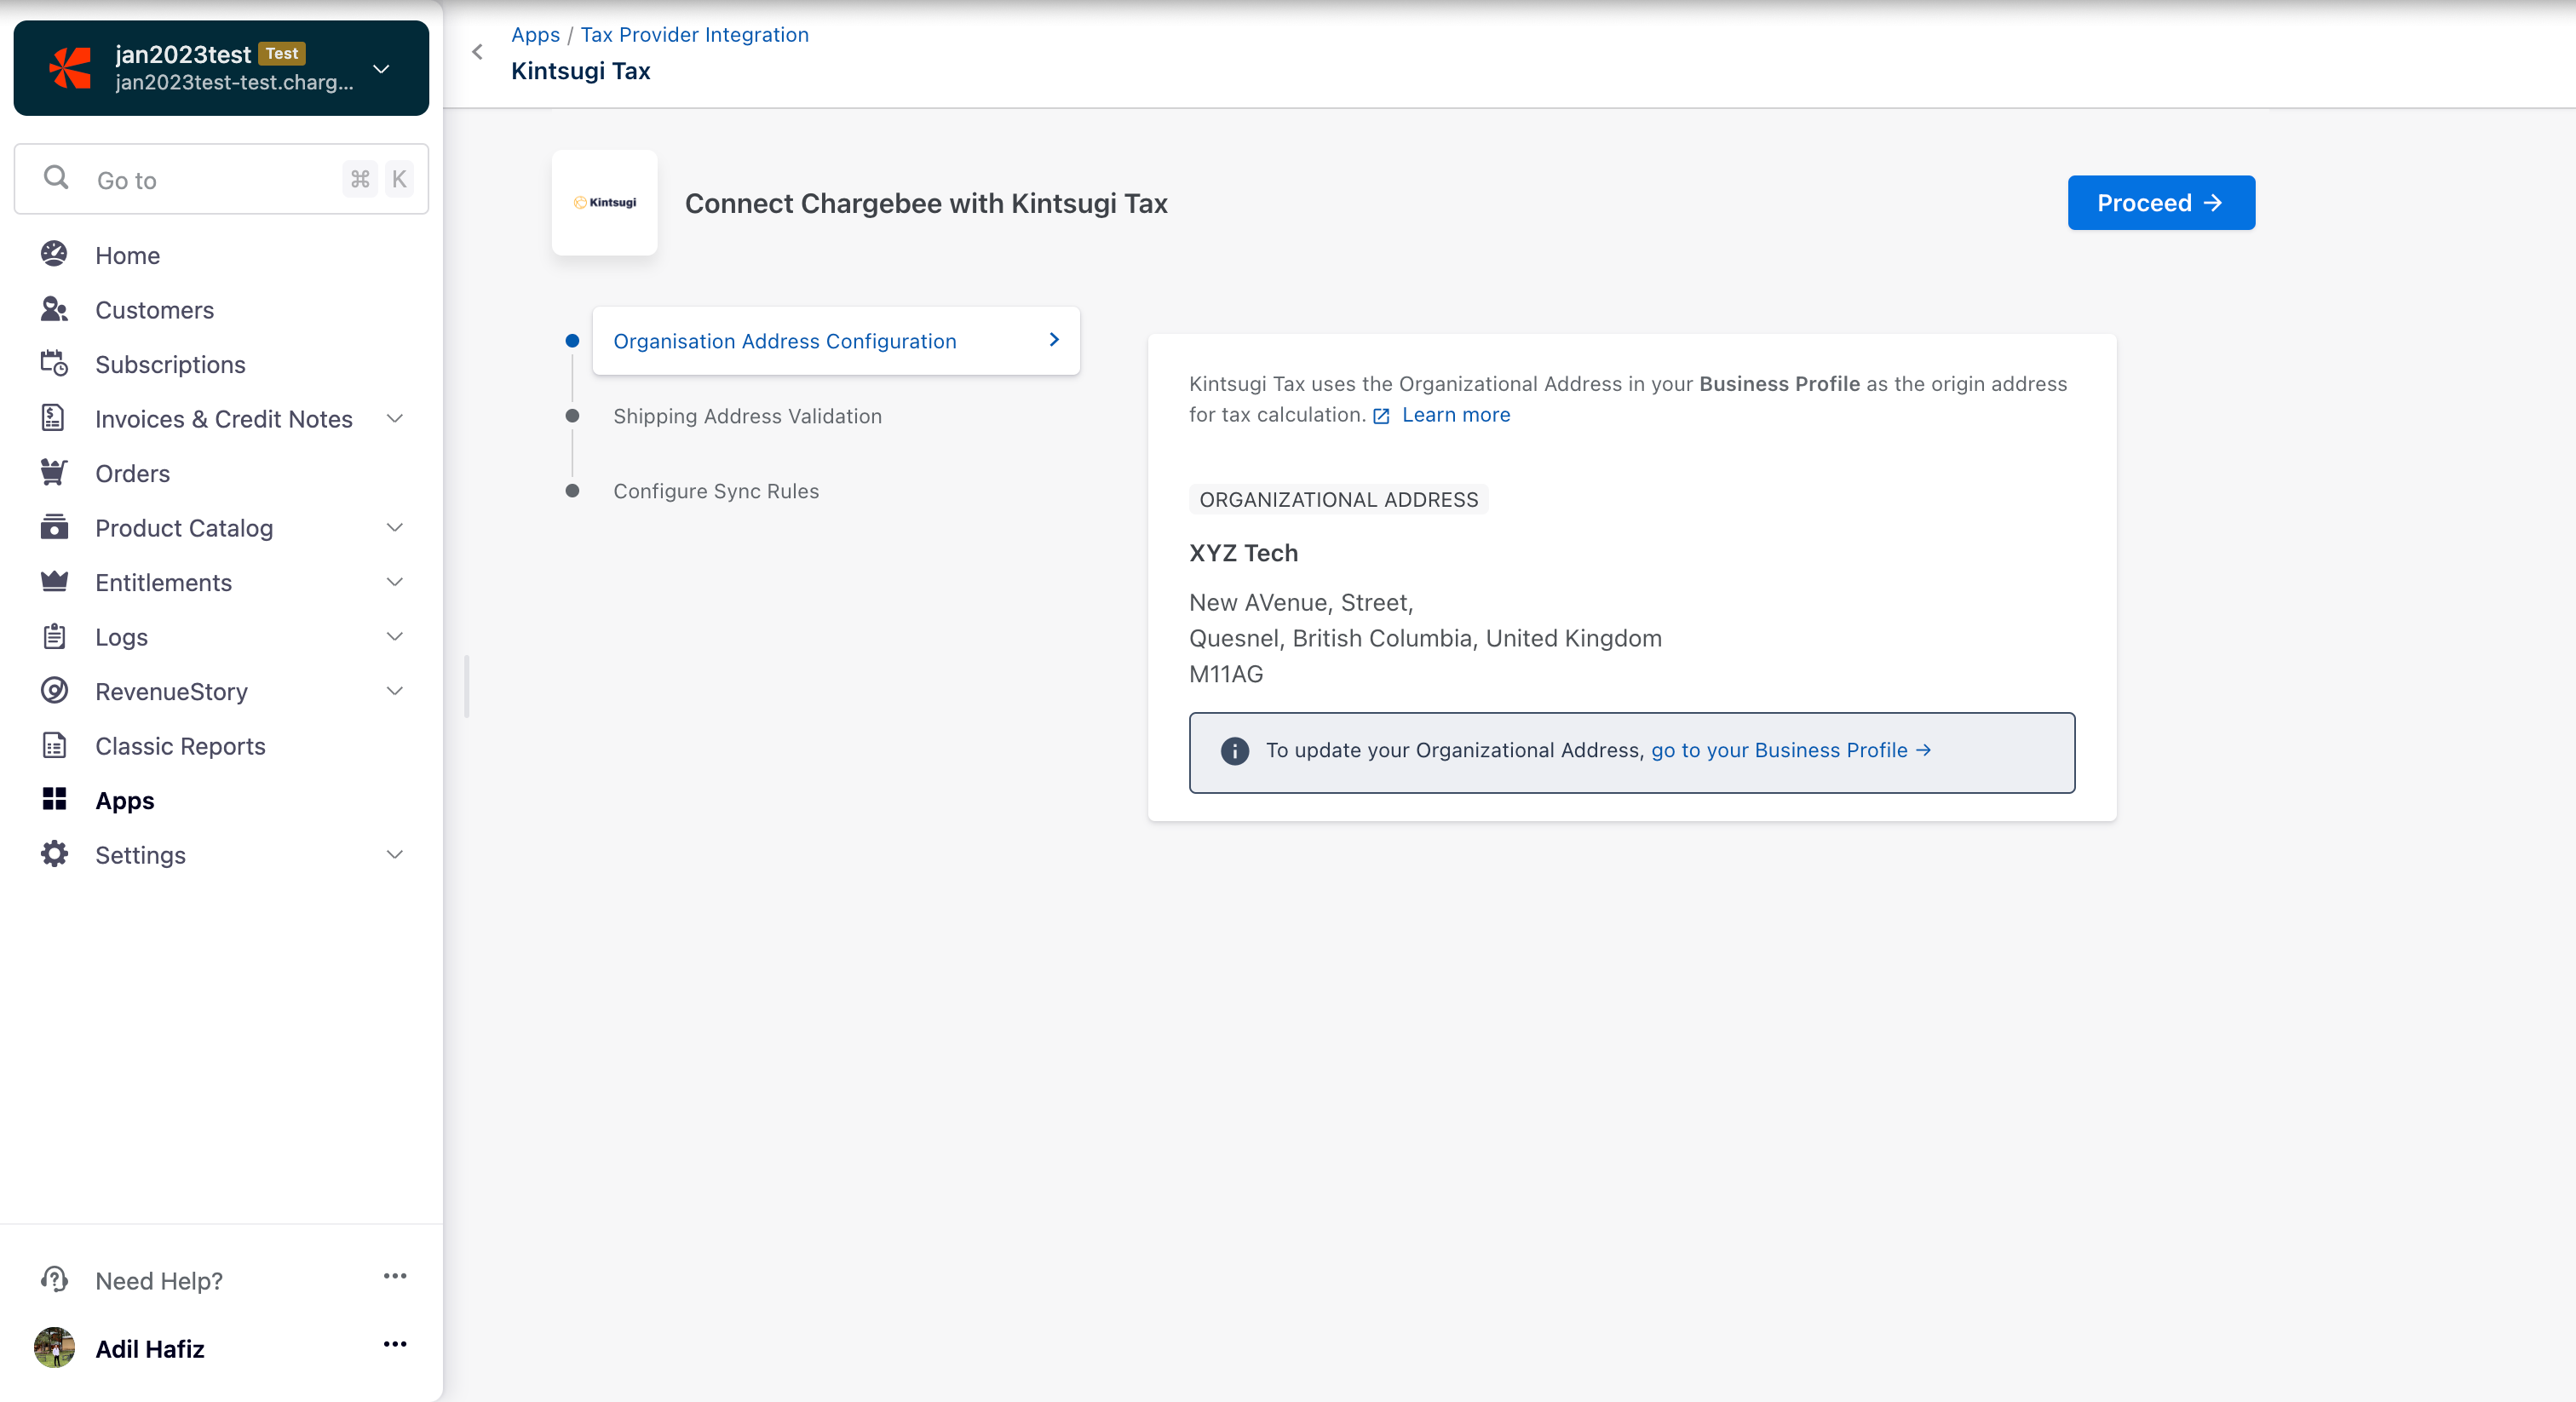
Organization Address: The organization address that is configured in your Chargebee site is used as the origin address for tax calculation by Kintsugi. Ensure that your organization address in Chargebee is added and up-to-date. You can verify and update your organization address on your Chargebee site by navigating to Settings > Configure Chargebee > Business Profile.
Address for Tax Determination: For physical goods, Chargebee uses your customers' shipping addresses to calculate tax. If the shipping address is unavailable, the billing address is used.
For digital goods, Chargebee uses your customers' billing address to calculate the tax.
If you're using Hosted Pages, ensure you set up the following:
Navigate to Settings > Configure Chargebee > Checkout & Portal > Fields and enable the Shipping/Billing Address fields.
Mark the Zip Code, Country, and State fields as mandatory in the hosted pages.
Sign up and set up your Kintsugi Account. Refer to Kintsugi User Guide to learn about setting up your account.
Tax Payers: You must configure your Tax Rates and Jurisdictions in your Kintsugi account to capture what you want to tax and where, based on your nexus.
Credentials: You must retrieve the API key from your Kintsugi account to connect the two applications. Follow the step below to retrieve the API key:
Login to the Kintsugi App > Profile > Account > Organization API Keys.
Following are the steps to integrate Kintsugi account with your Chargebee site:
Once the Kintsugi app is enabled on your Chargebee site following your request, follow the steps below to connect the applications:
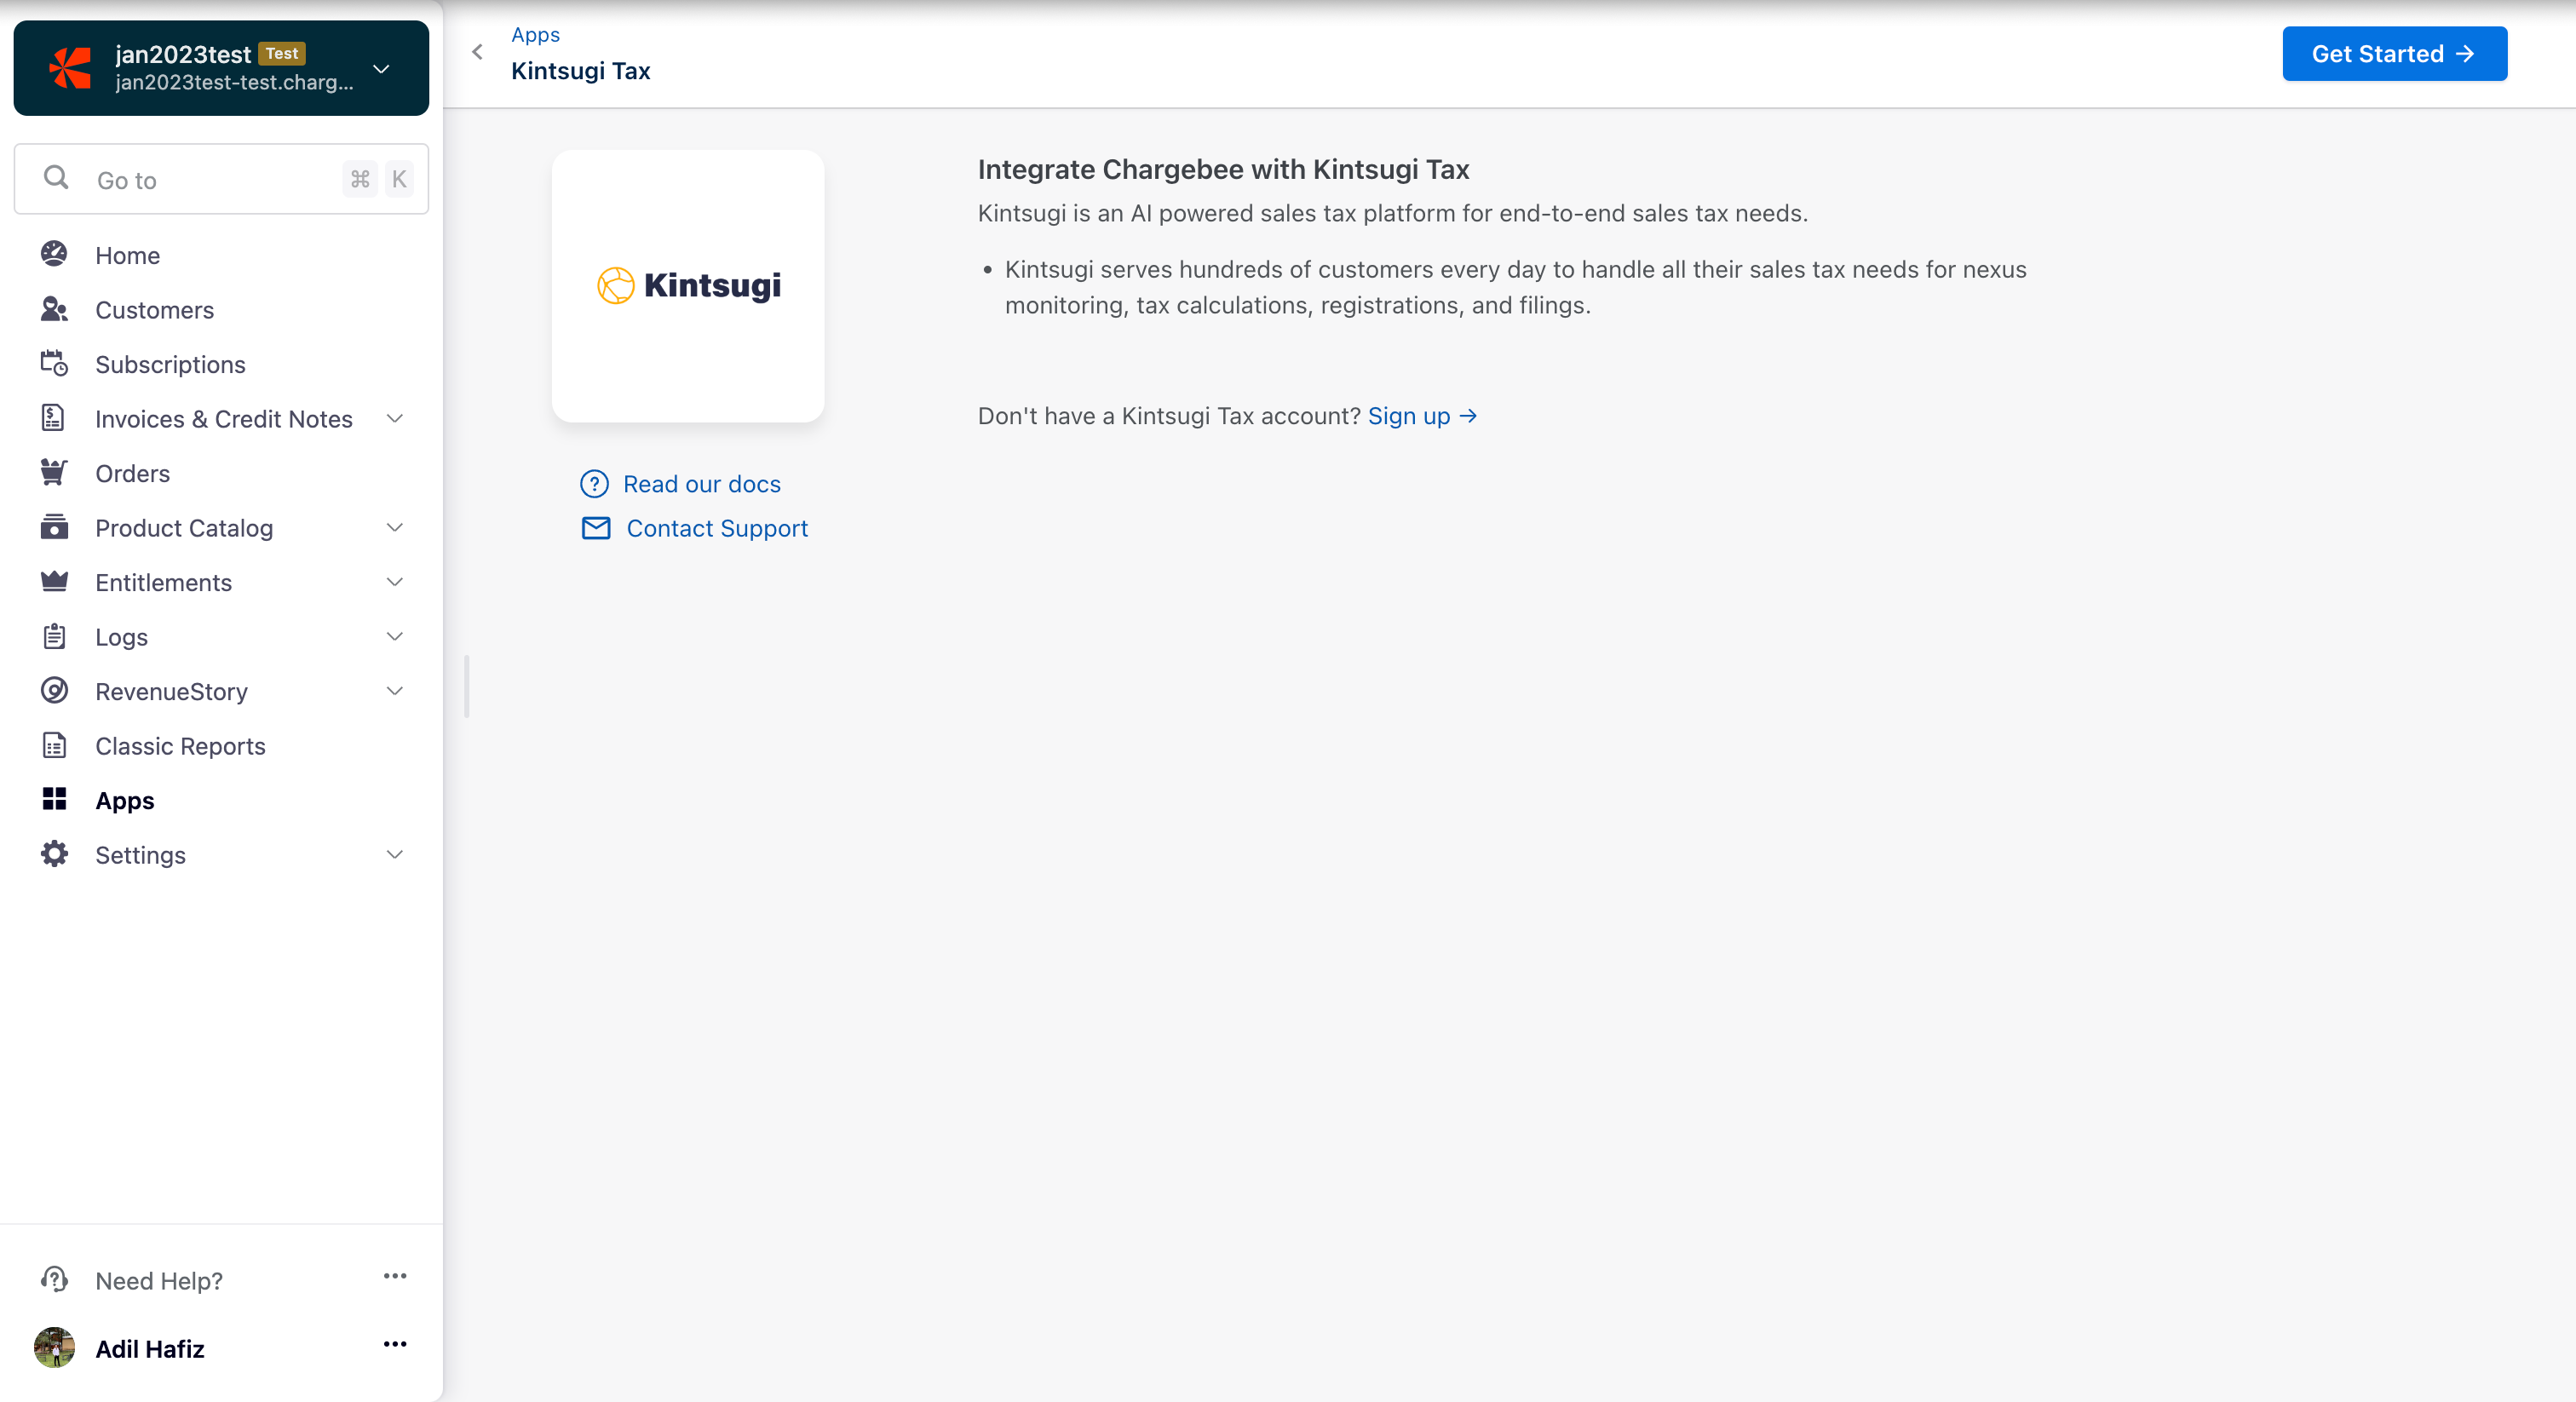
Log in to your Chargebee site , and click Apps > Go to Marketplace > Tax Management > Kintsugi Tax
On the Kintsugi Tax configuration page, click Get Started if you already have a Kintsugi account, or click Sign up to create a new account and continue.
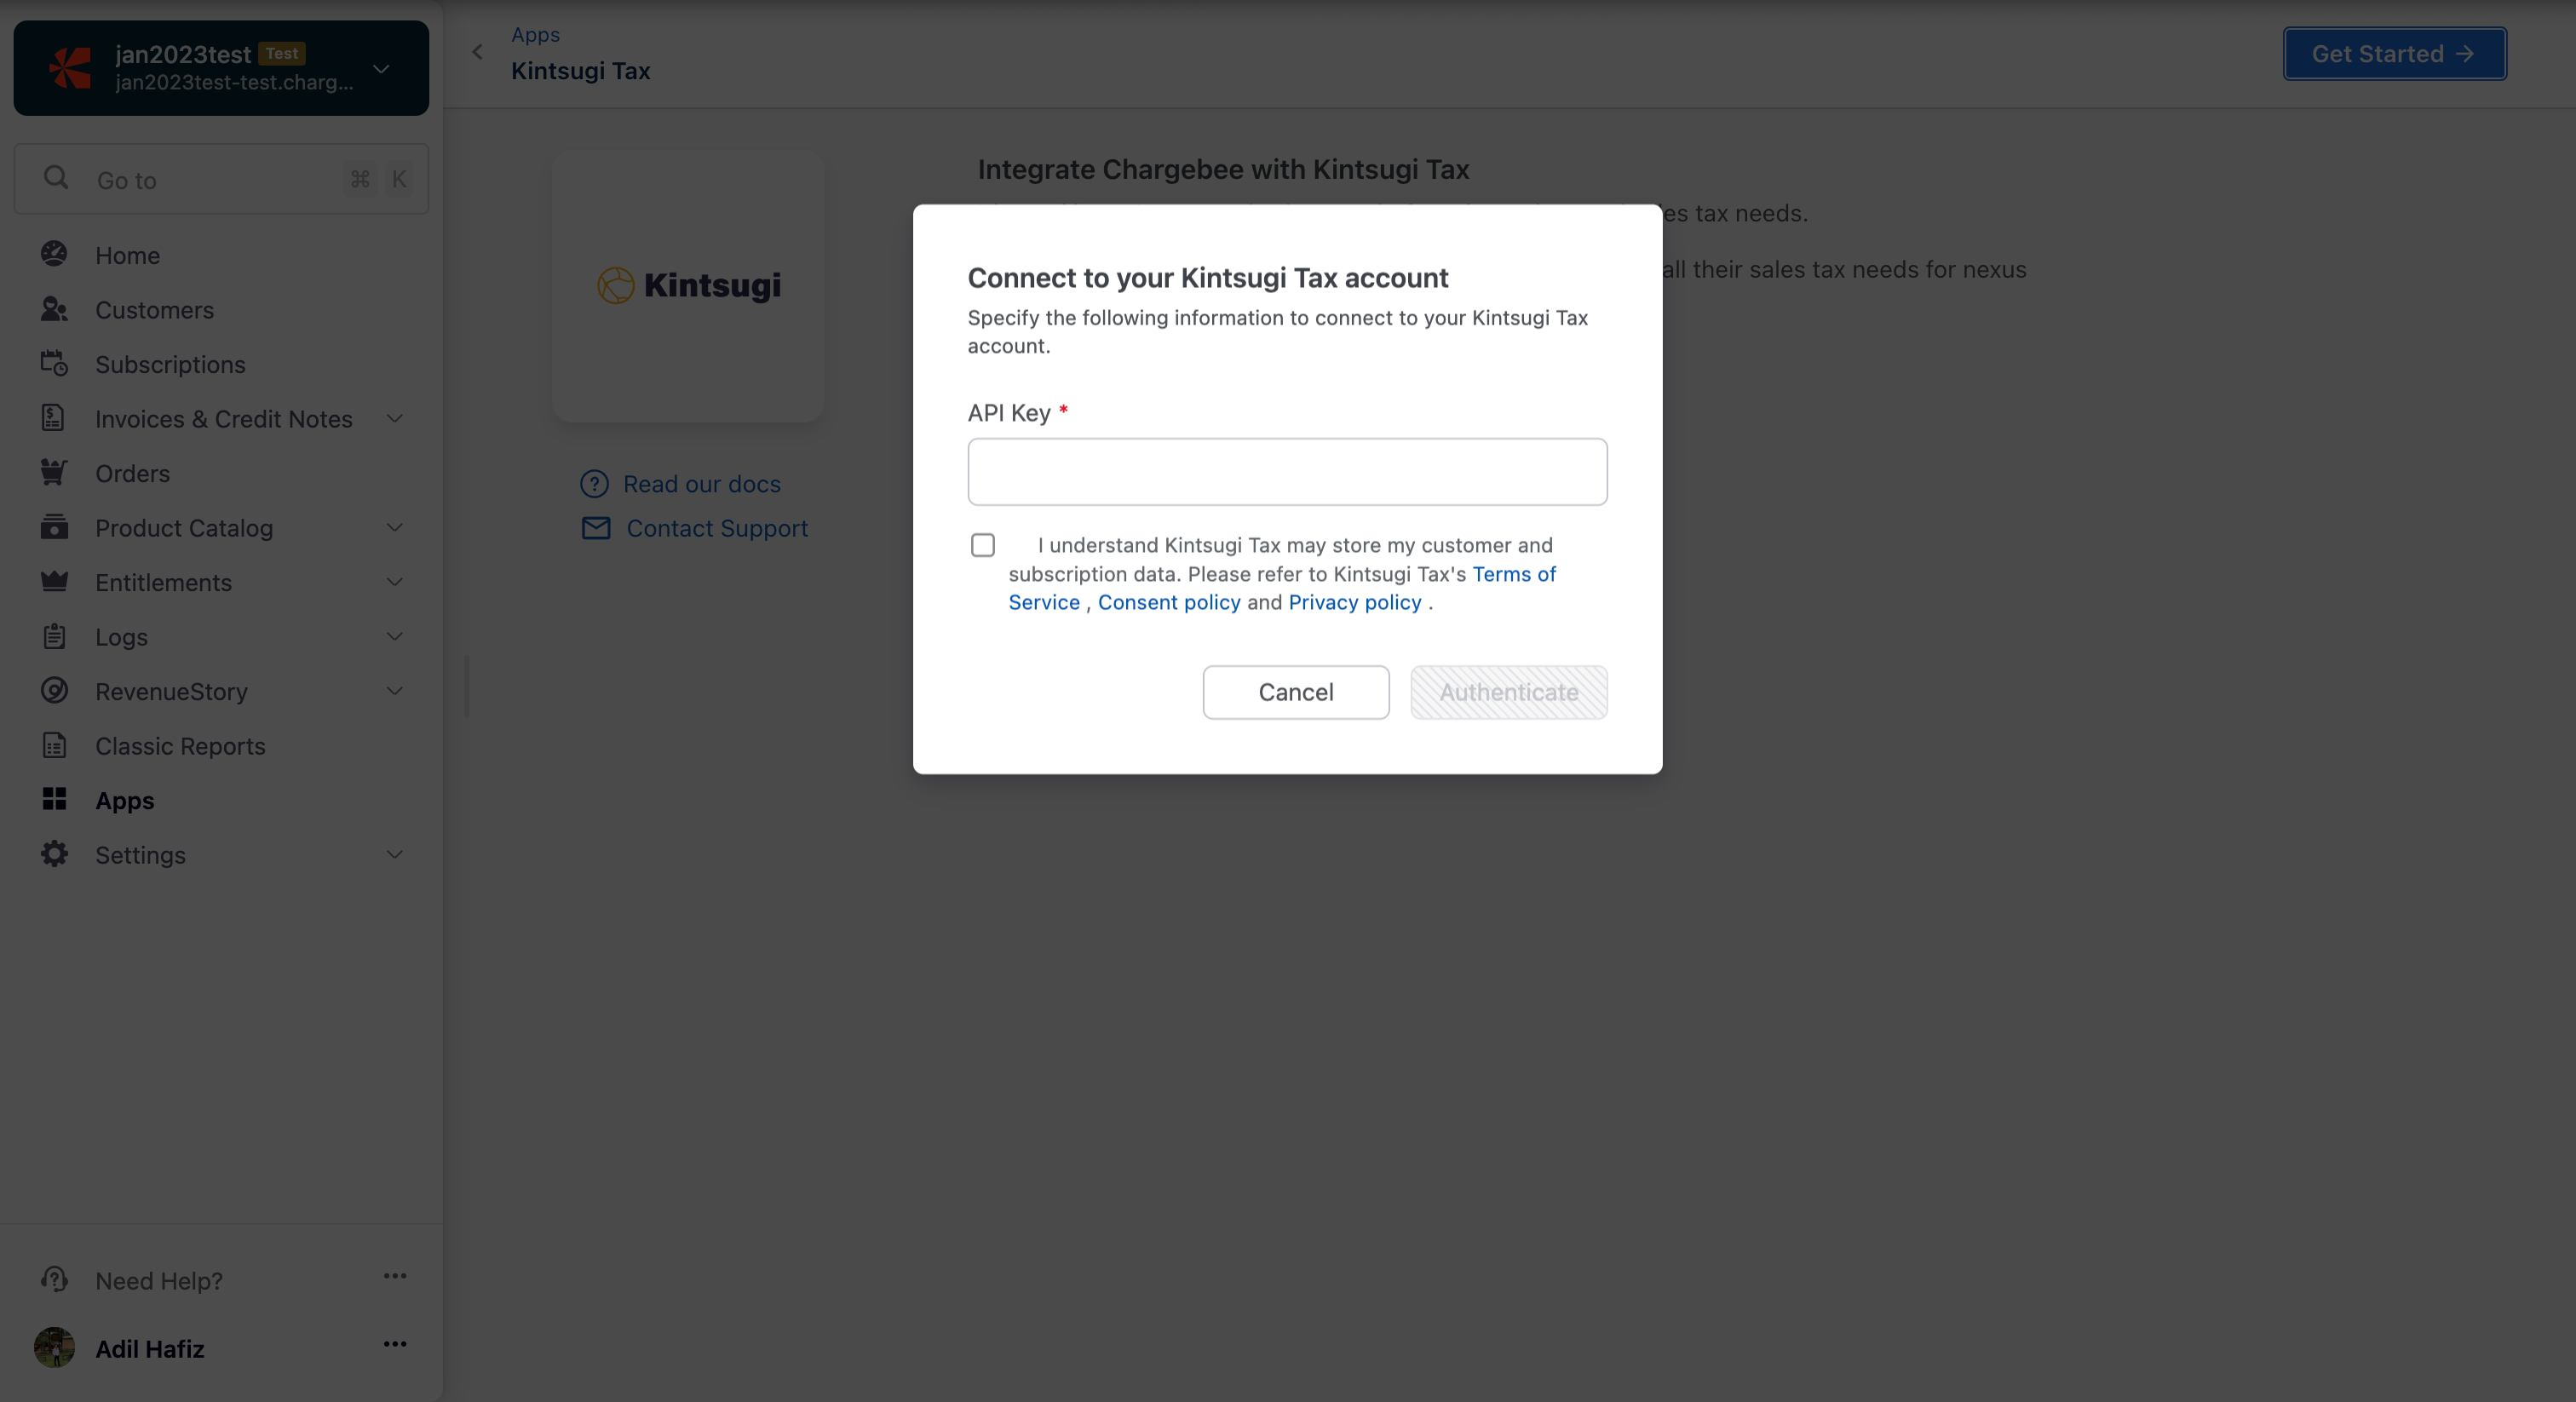
Enter your Kintsugi credentials by specifying the Kintsugi API Key. Click the "I understand Kintsugi…" checkbox for affirmation and click Authenticate.
Enter or confirm your organization address. Chargebee auto-populates the address specified in your settings; you can change this if necessary or click Proceed.
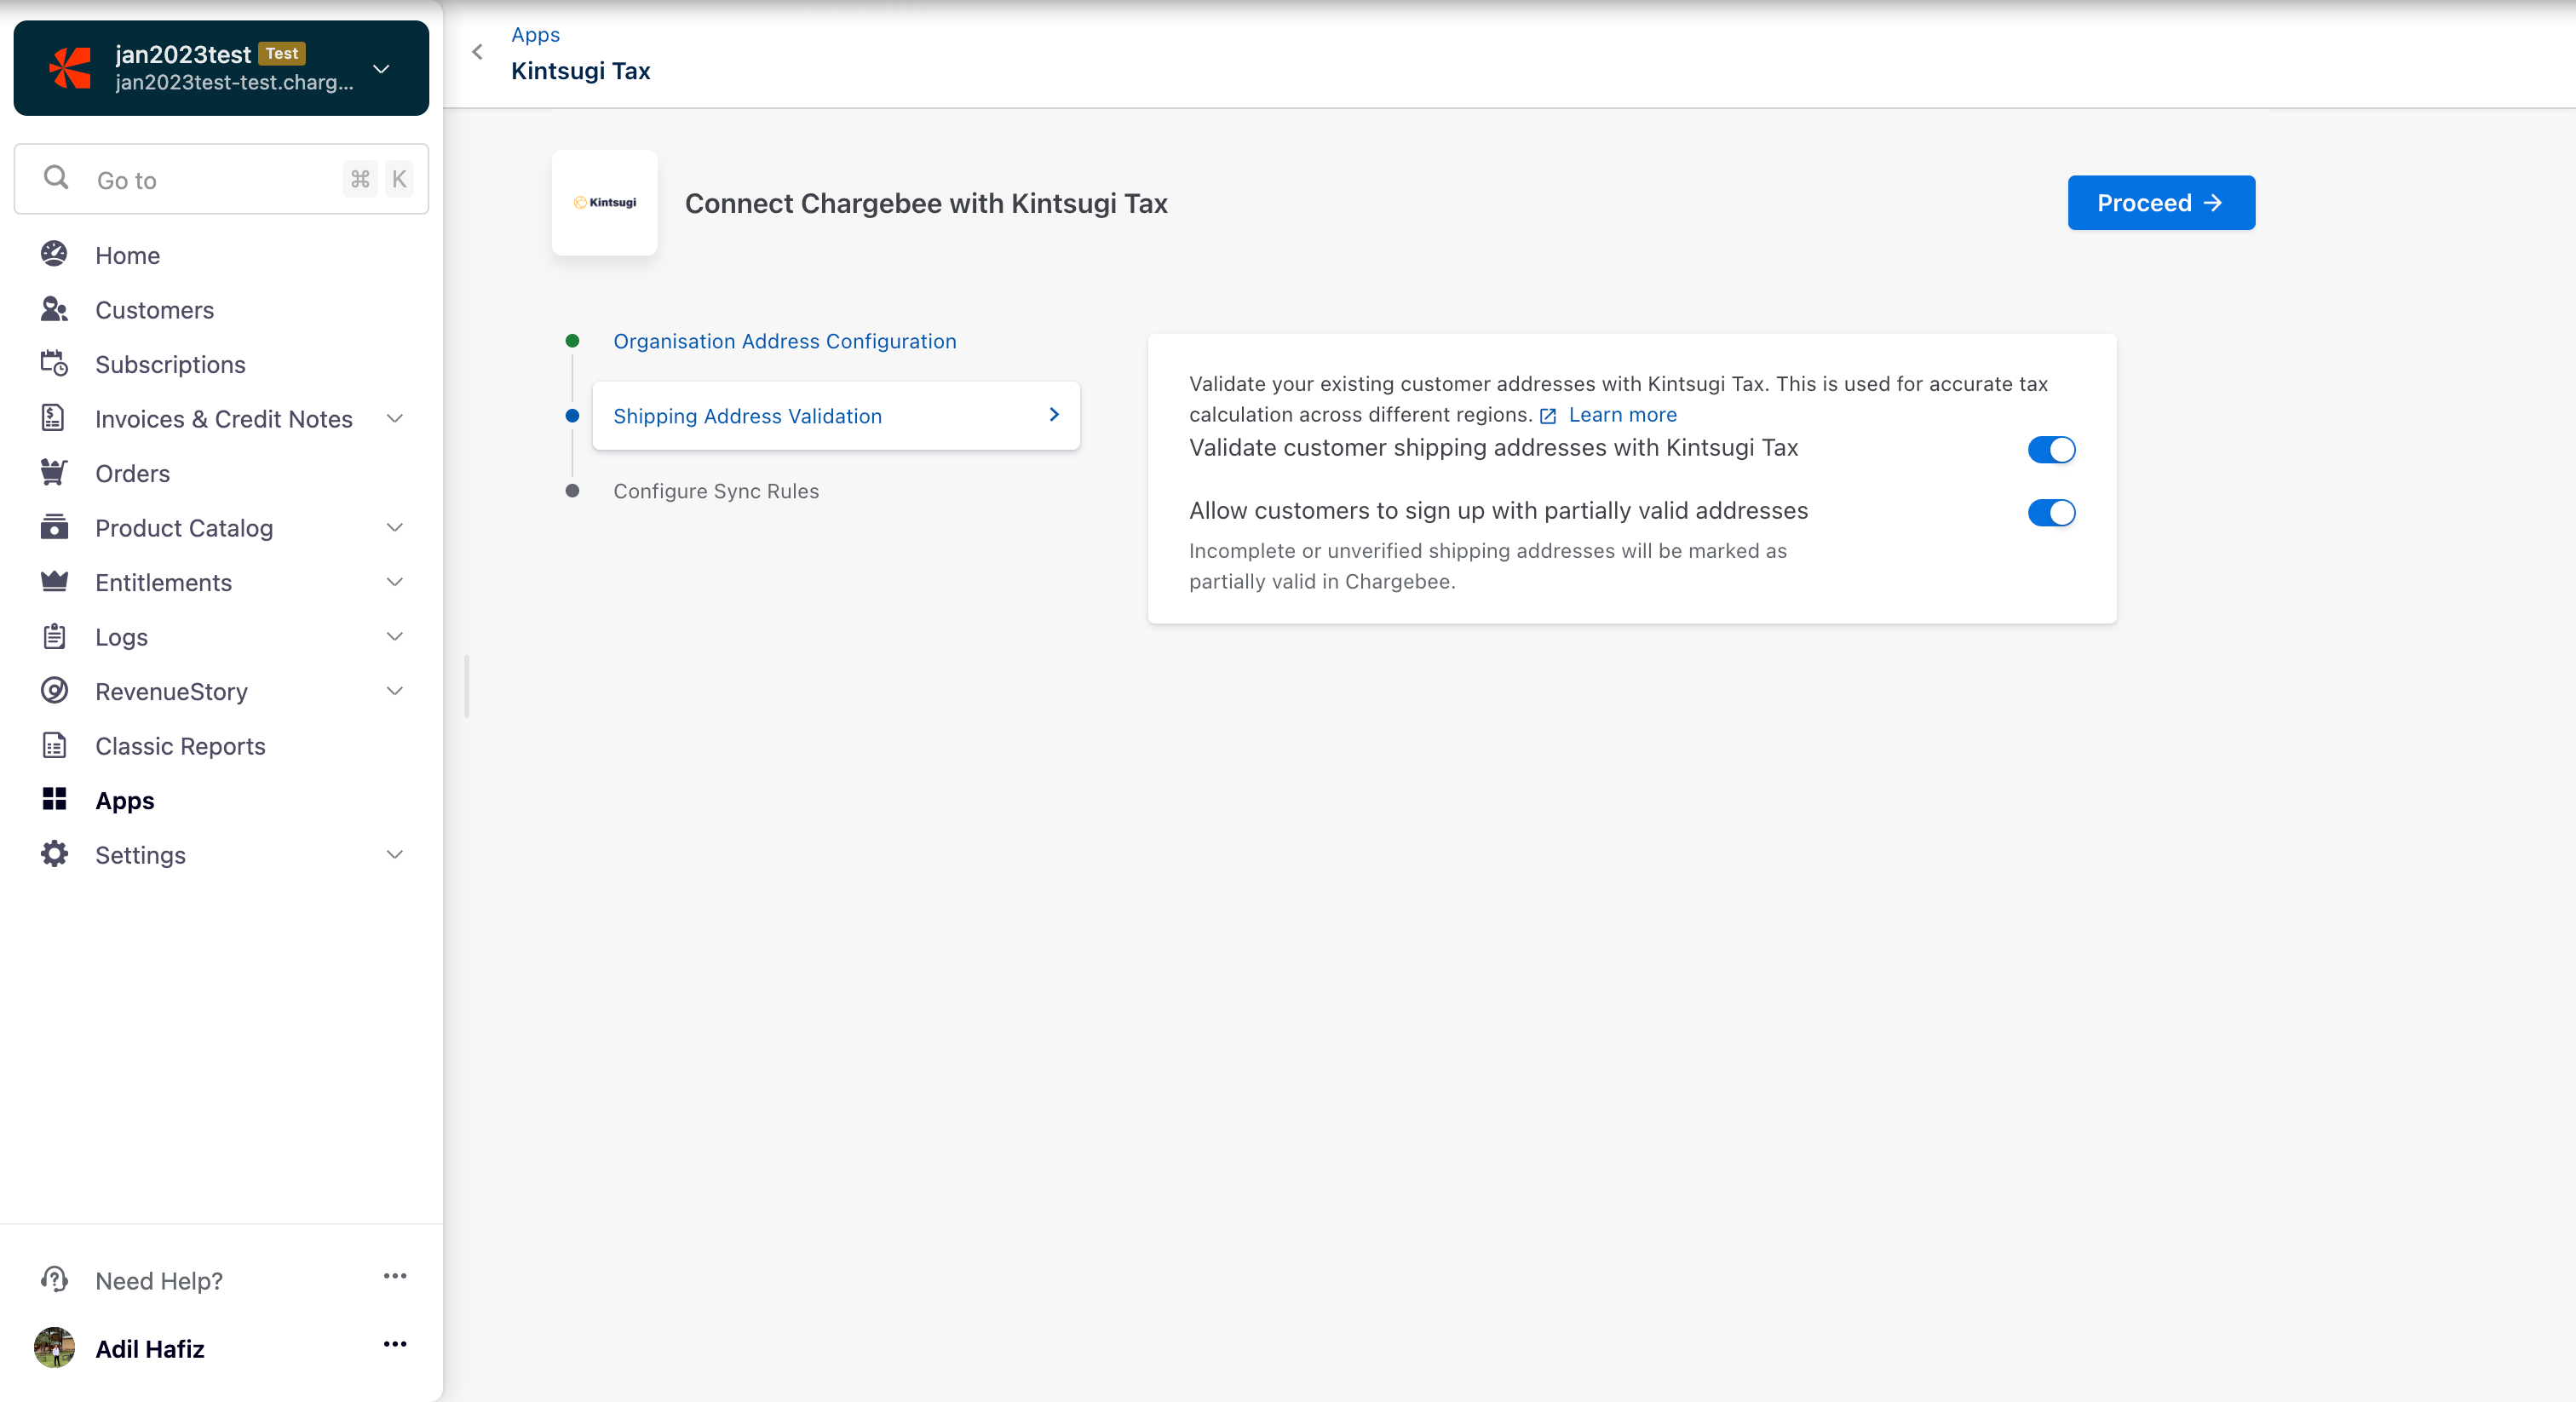
In Shipping Address Validation, enable the toggles and click Proceed. You can update your toggle choices later if necessary. Additionally, after you have completed this integration process, you can run address validation checks when required. After enabling Kintsugi, the Chargebee-Kintsugi integration validates the taxable address for all new customers who subscribe with you. All the existing subscriptions' taxable addresses get validated during the first validation check run after the integration is configured.
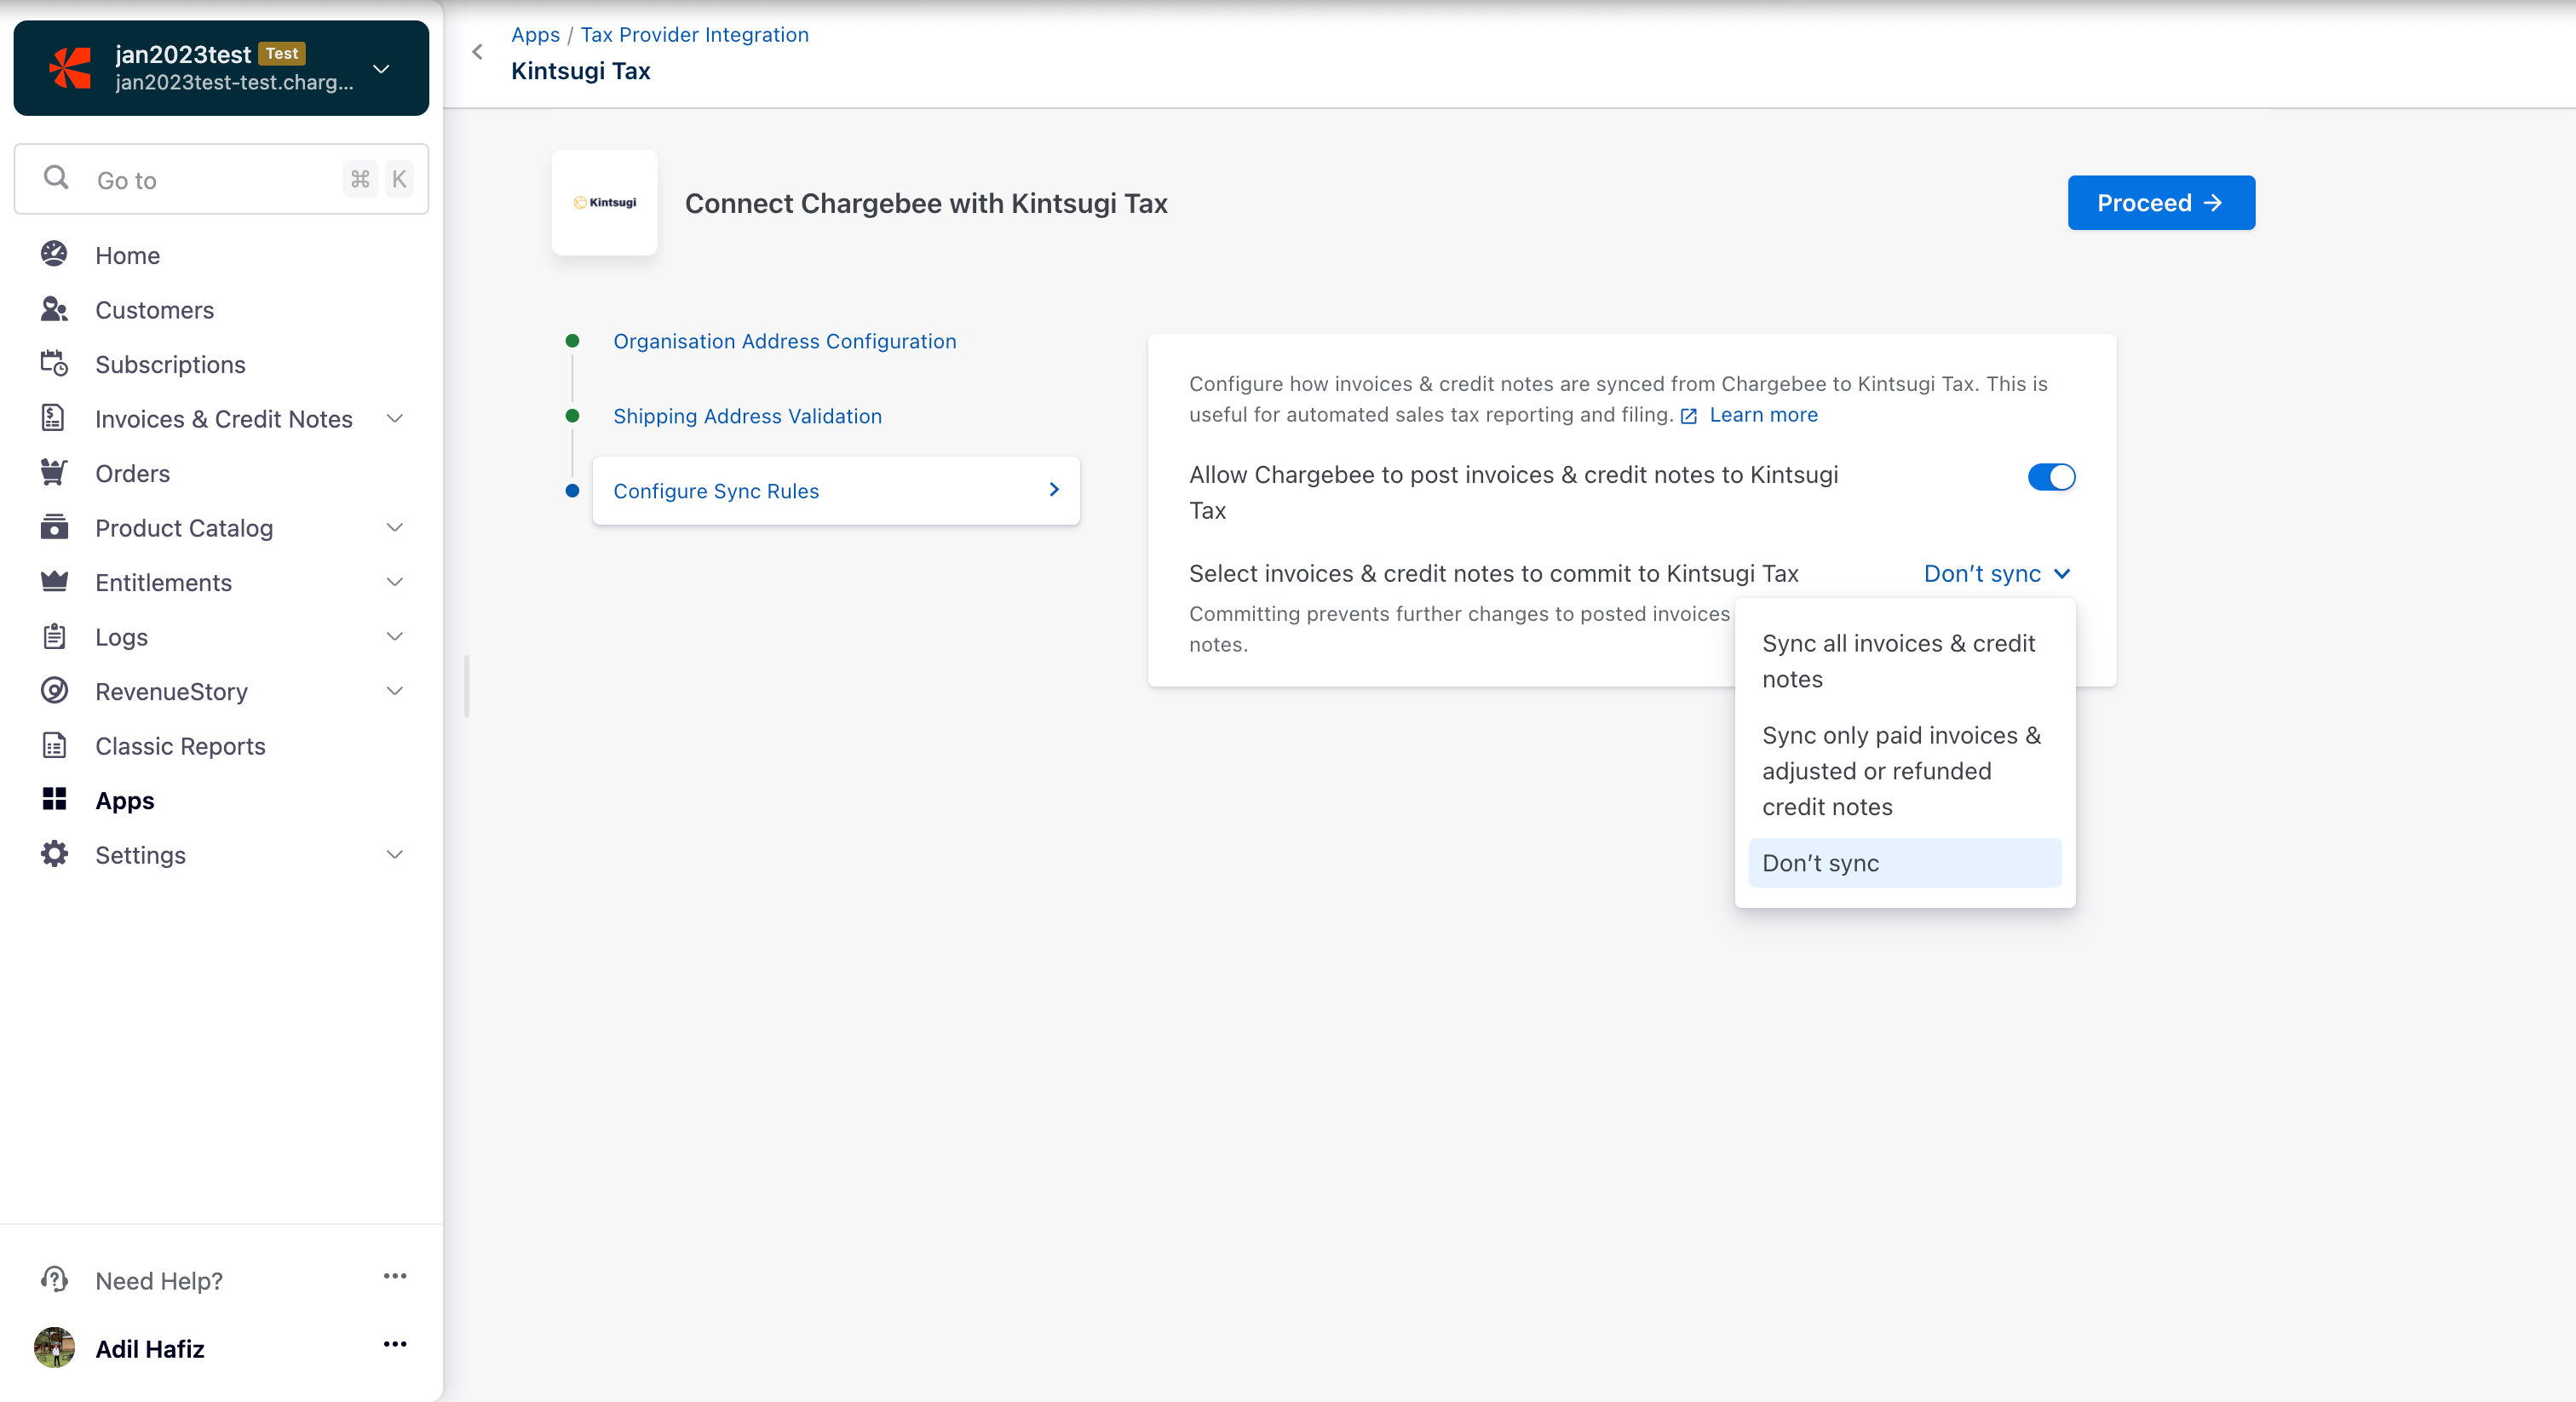
In Configure Sync Rules, enable the toggle button to allow Chargebee to sync invoices and credit notes to Kintsugi. Then, select Sync all invoices & credit notes from the dropdown below. Now, click Proceed. You can update your toggle choices later if necessary.
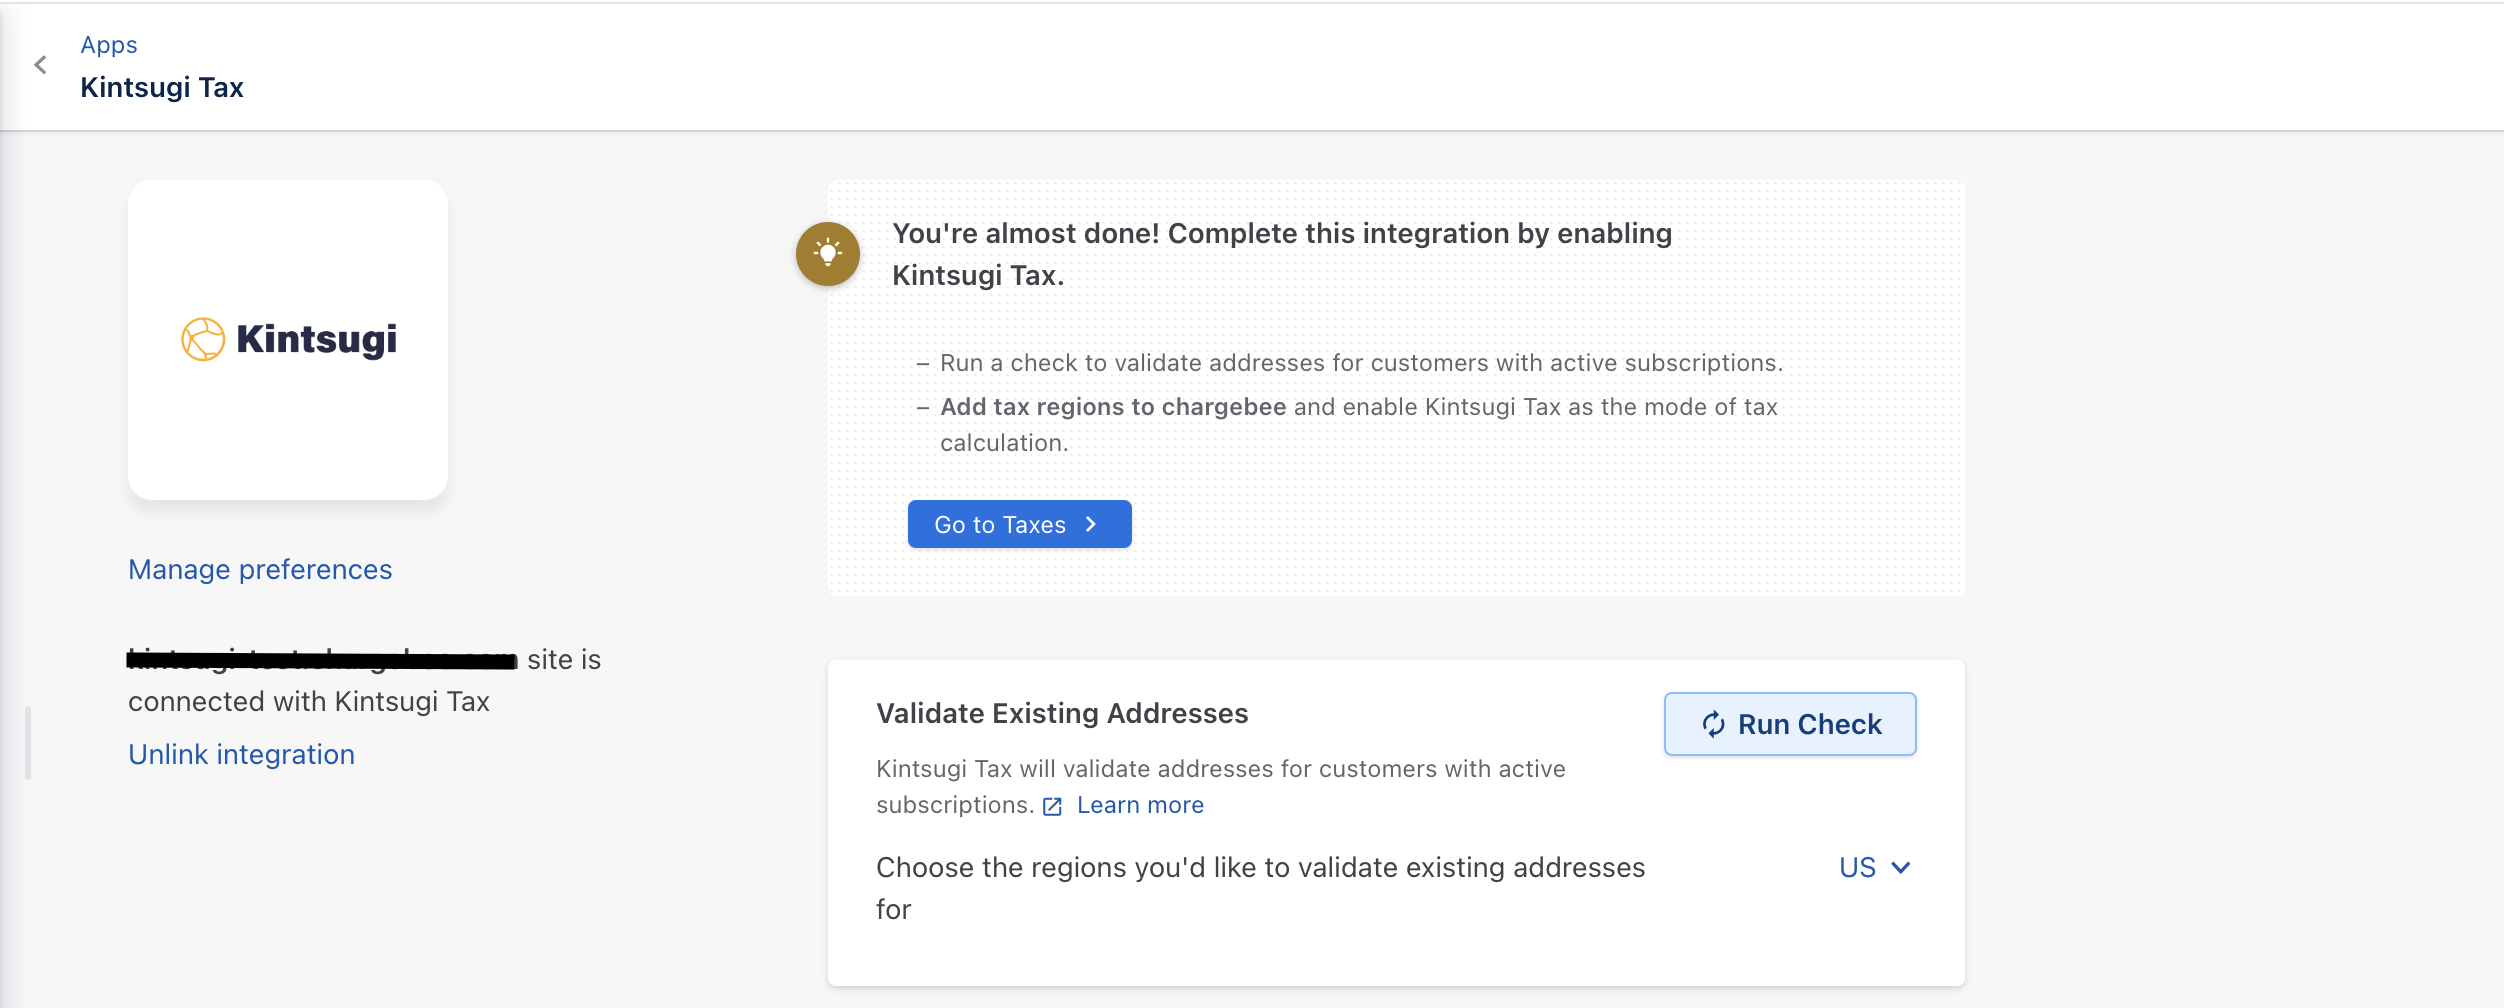
Click Go to Taxes to add tax regions to Chargebee.
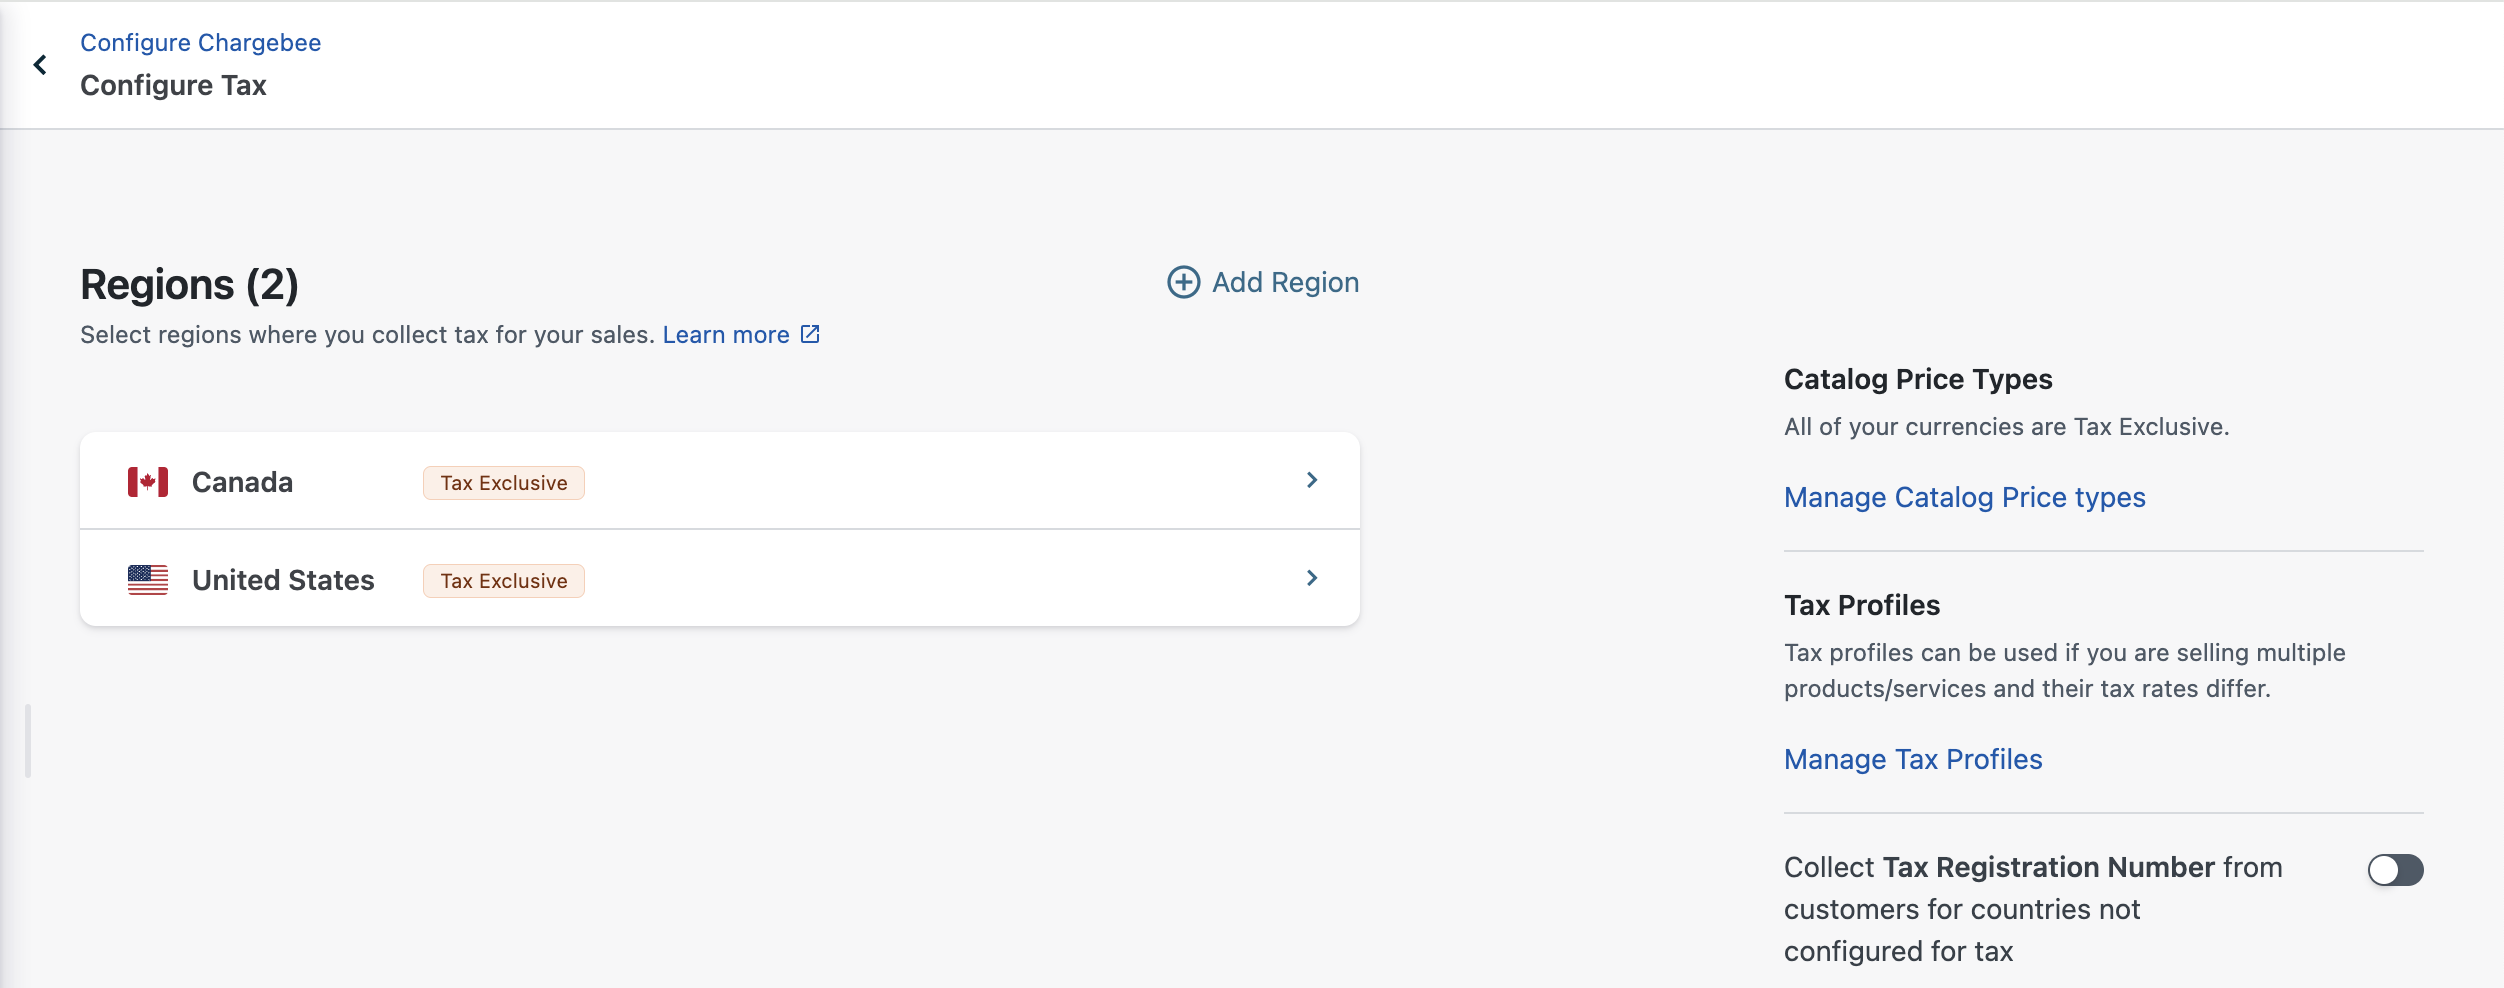
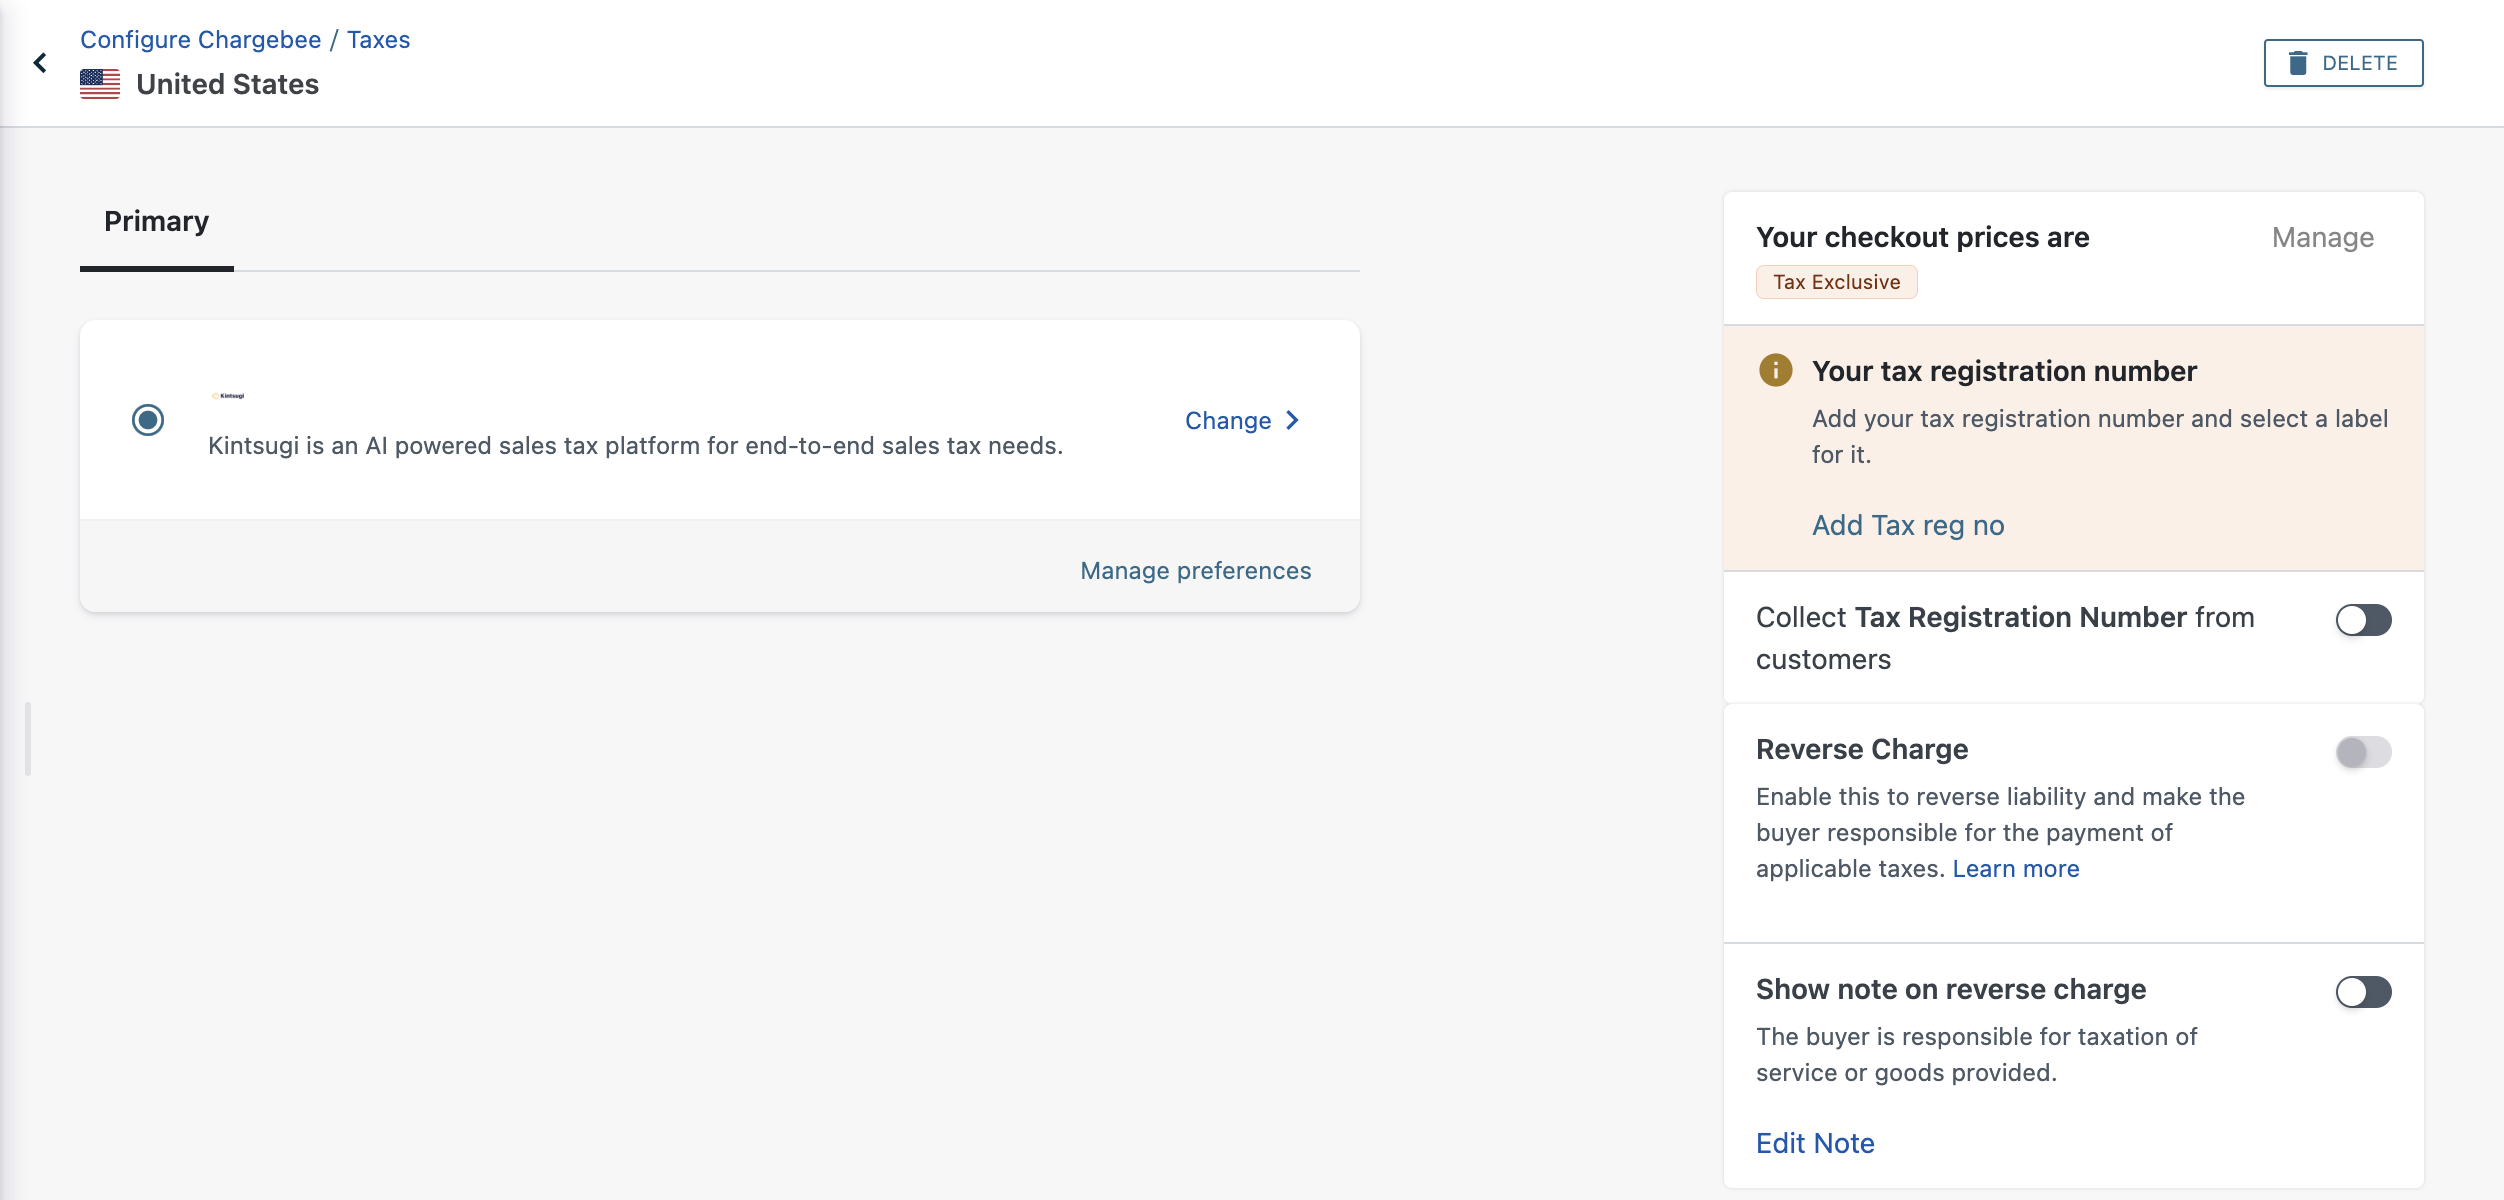
Select a region to enable Kintsugi as the region's tax calculation mode. Currently, we only support Kintsugi Tax for the US region.
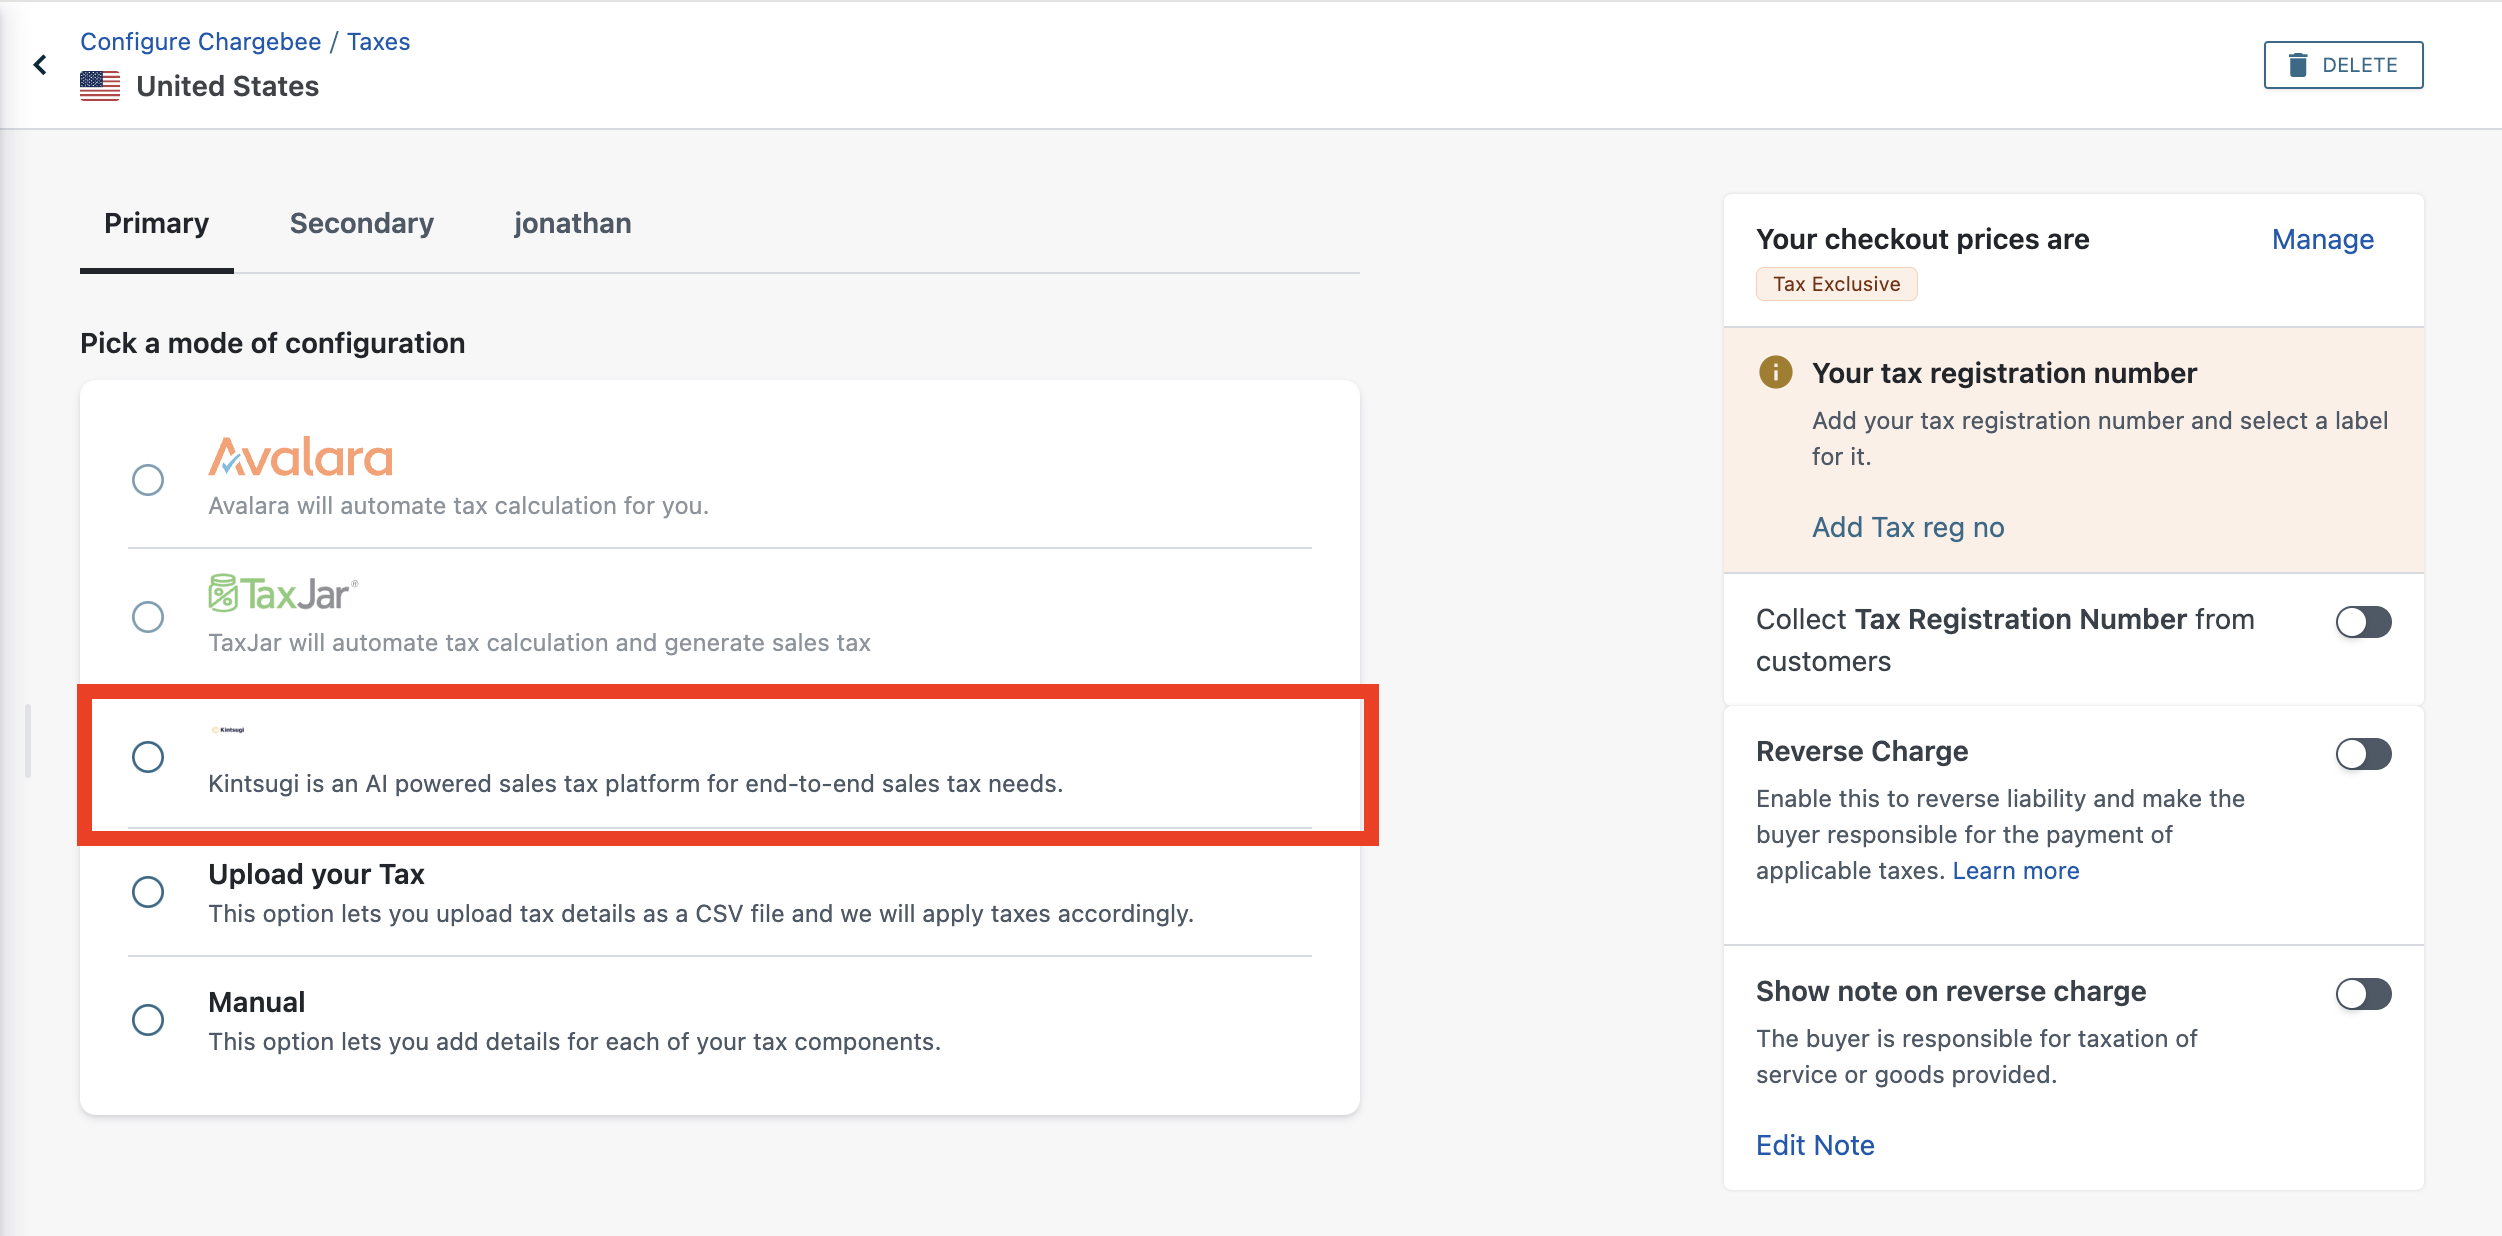
Choose Kintsugi from the list of available modes of configuration.
Congratulations! You've successfully integrated your Kintsugi account with your Chargebee site!
Currently, if a customer is marked as Tax Exempt in Chargebee, Kintsugi will consider all the transactions for the customer as Tax Exempt and will not apply any sales tax on them. When the transactions are synced to your Kintsugi organization the corresponding tax amounts will be zero as well.
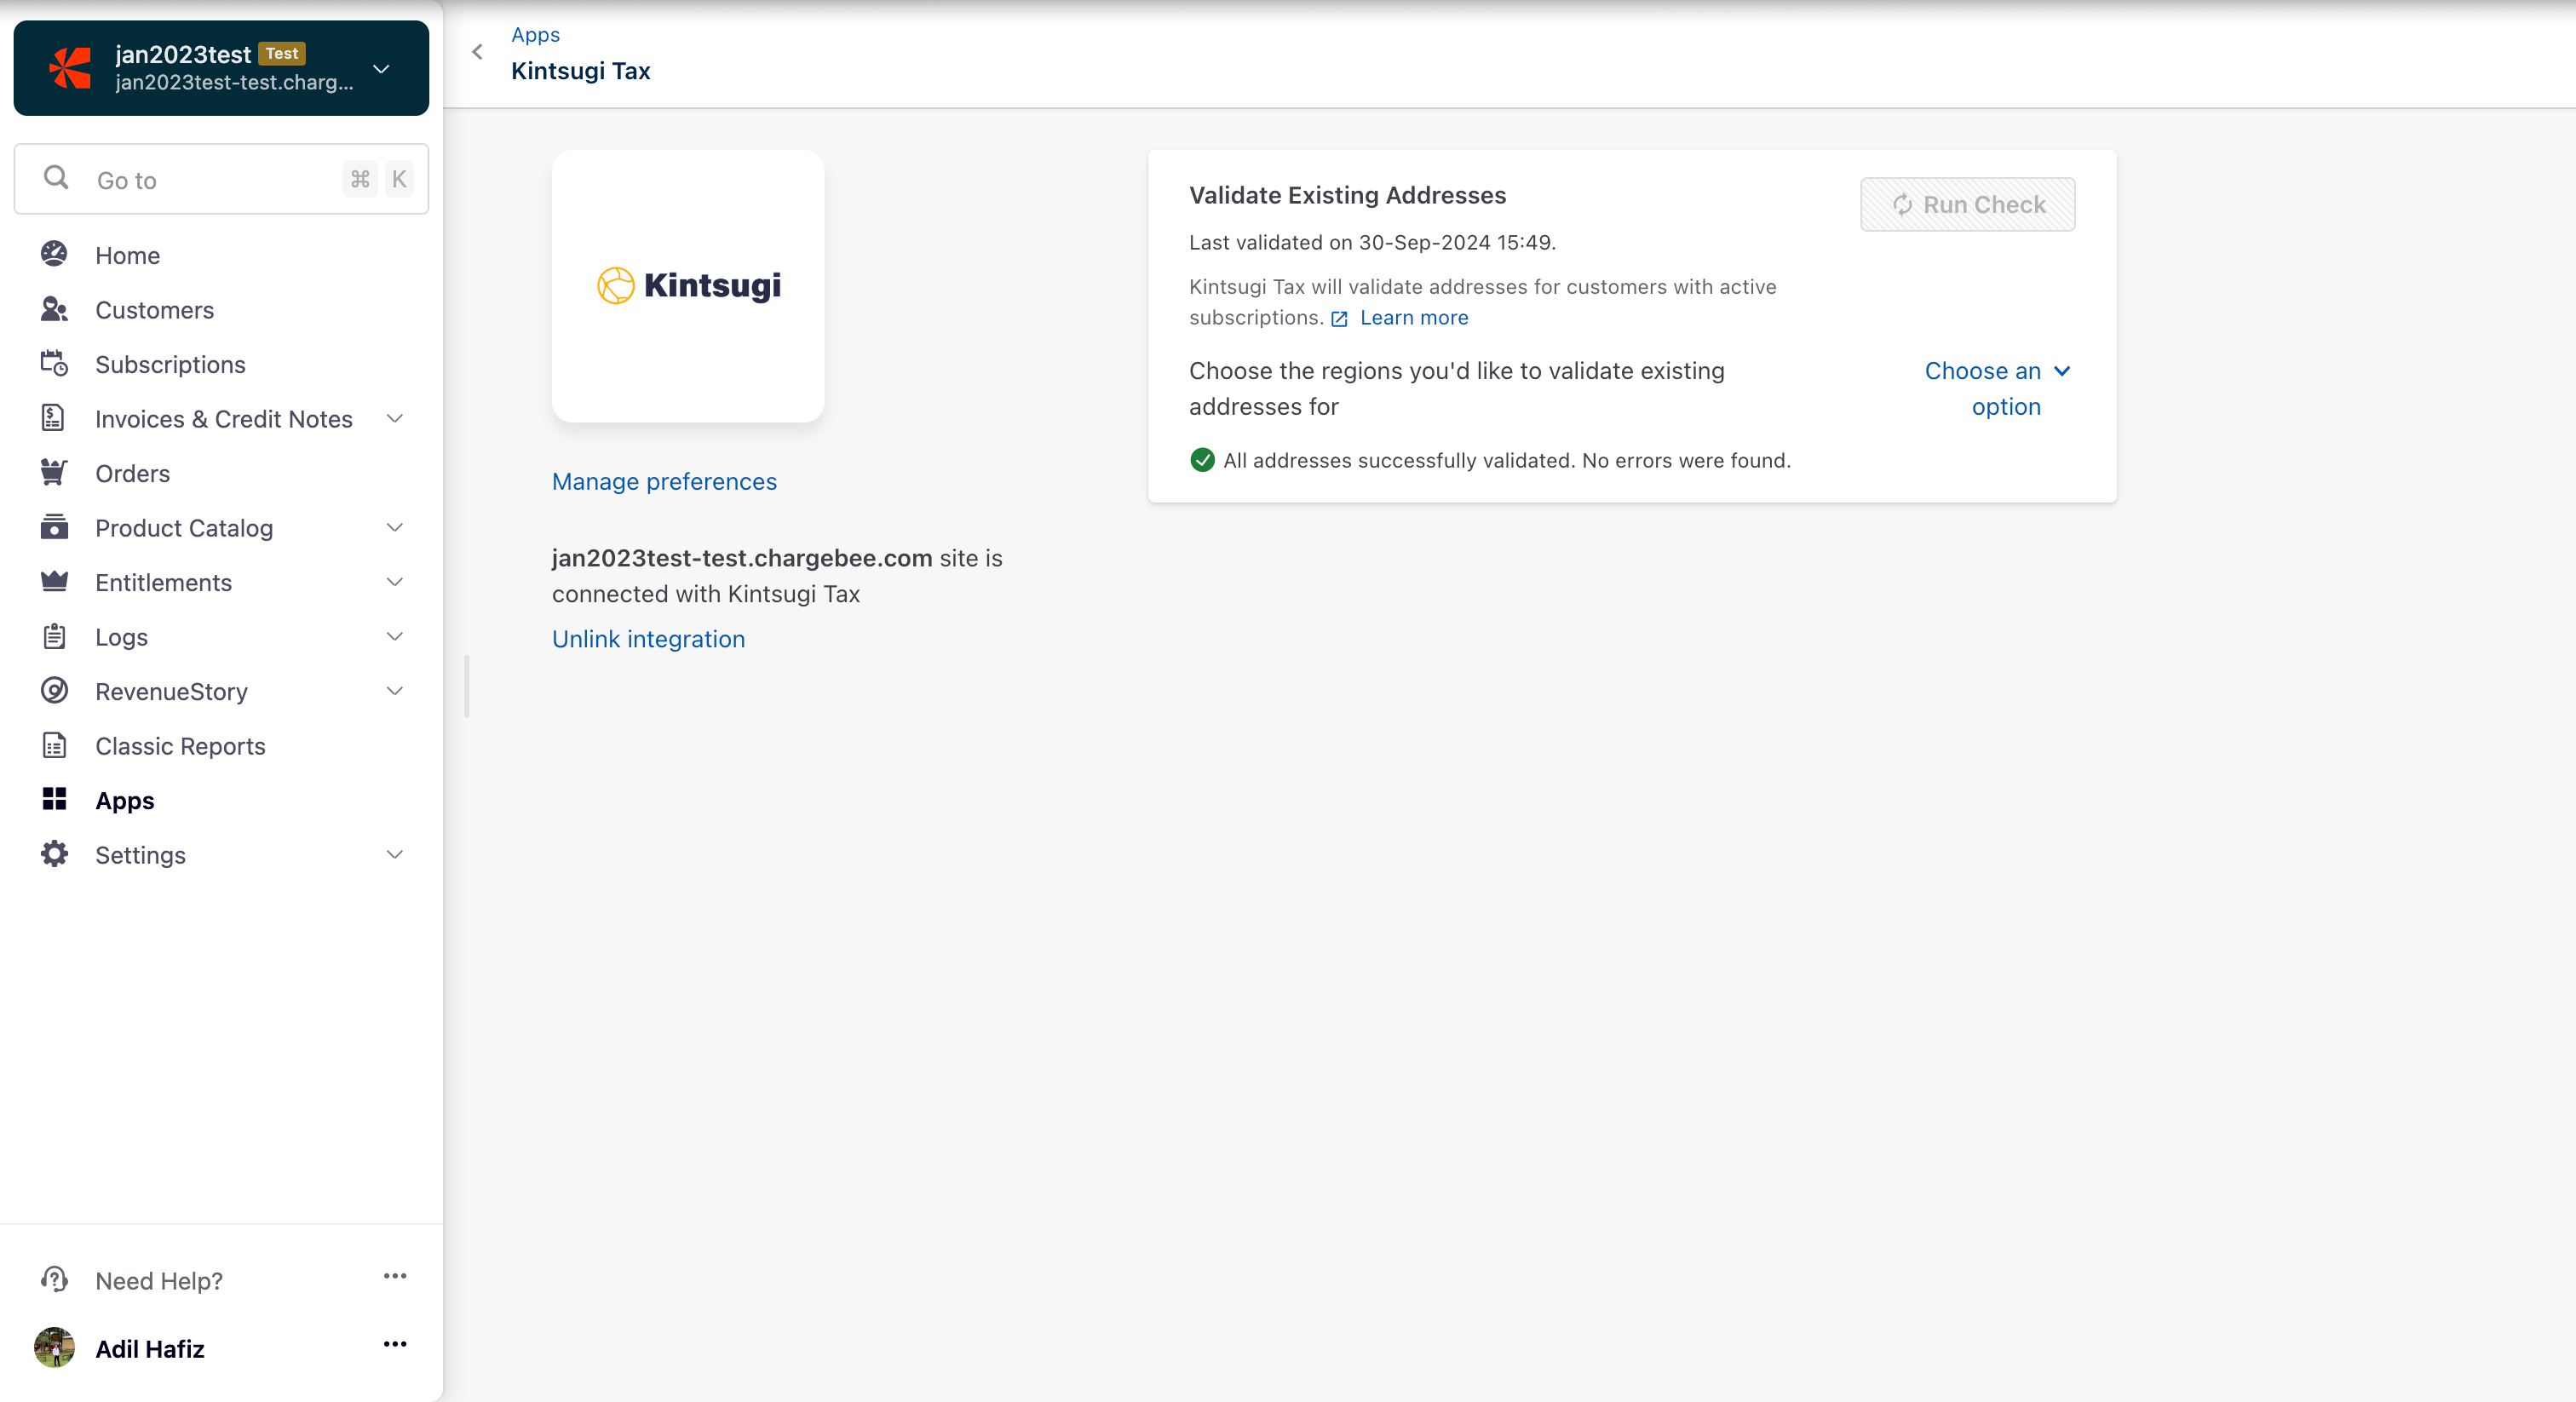
You can run the address validation check by clicking Apps > Apps connected > Kintsugi Tax > choose the regions and Run Check.

All the existing subscriptions' taxable addresses get validated during the first check after the integration is configured. Subsequent address validations will check only the addresses that are added after prior validation and not all the addresses. You can look for any possible address errors and have them fixed.
Invoices and credit notes are sent from Chargebee Billing to Kintsugi. You can choose how these are sent for tax processing, with three available options:
Sync all invoices and credit notes – All your invoices and credit notes will be sent to Kintsugi.
Sync only paid invoices and adjusted/refunded credit notes – Only paid invoices and credit notes that have been adjusted or refunded will be sent to Kintsugi for processing.
Don't sync: None of your invoices and credit notes will be sent to Kinstsugi for processing.
Once you connect your Kintsugi account to Chargebee, all the item prices you've created for your plans will automatically sync as products in Kintsugi. You'll find these synced items in the Products section of your Kintsugi account. Read here to know more.
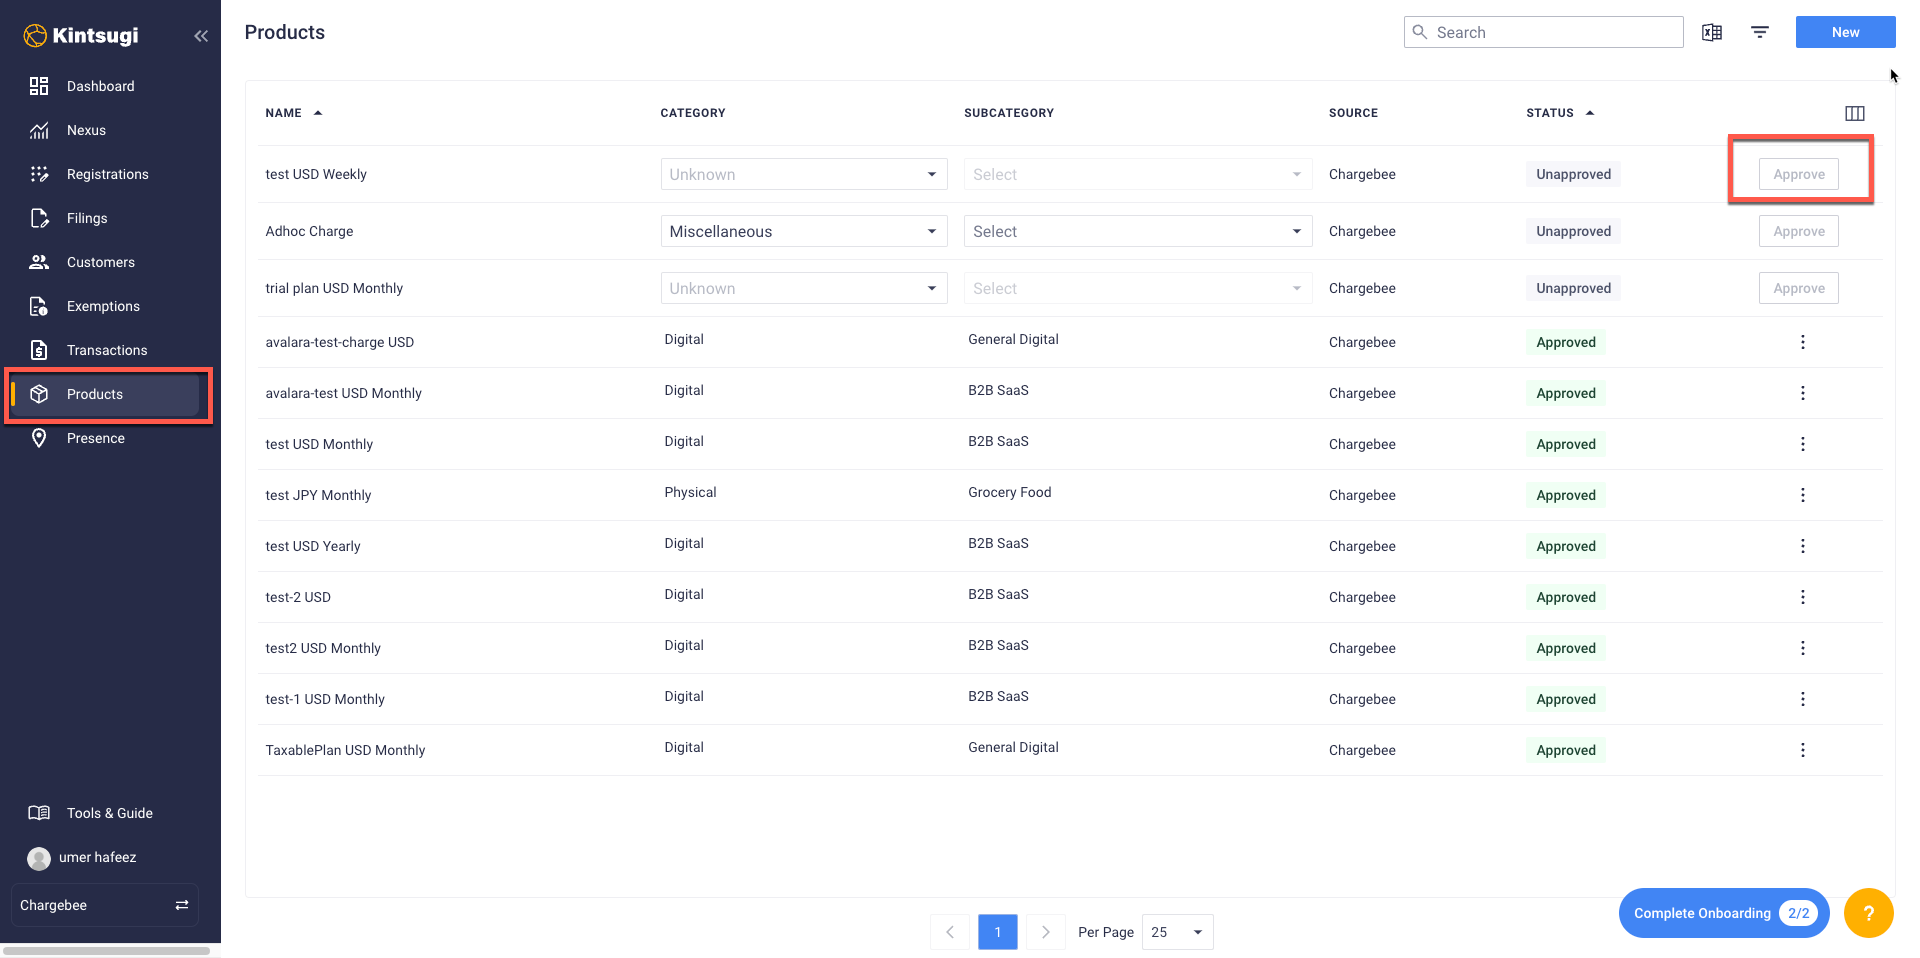
Before Kintsugi can calculate the accurate tax amounts, you'll need to approve the synced products within your Kintsugi account. For more information about how item prices work, you can read more here and here .
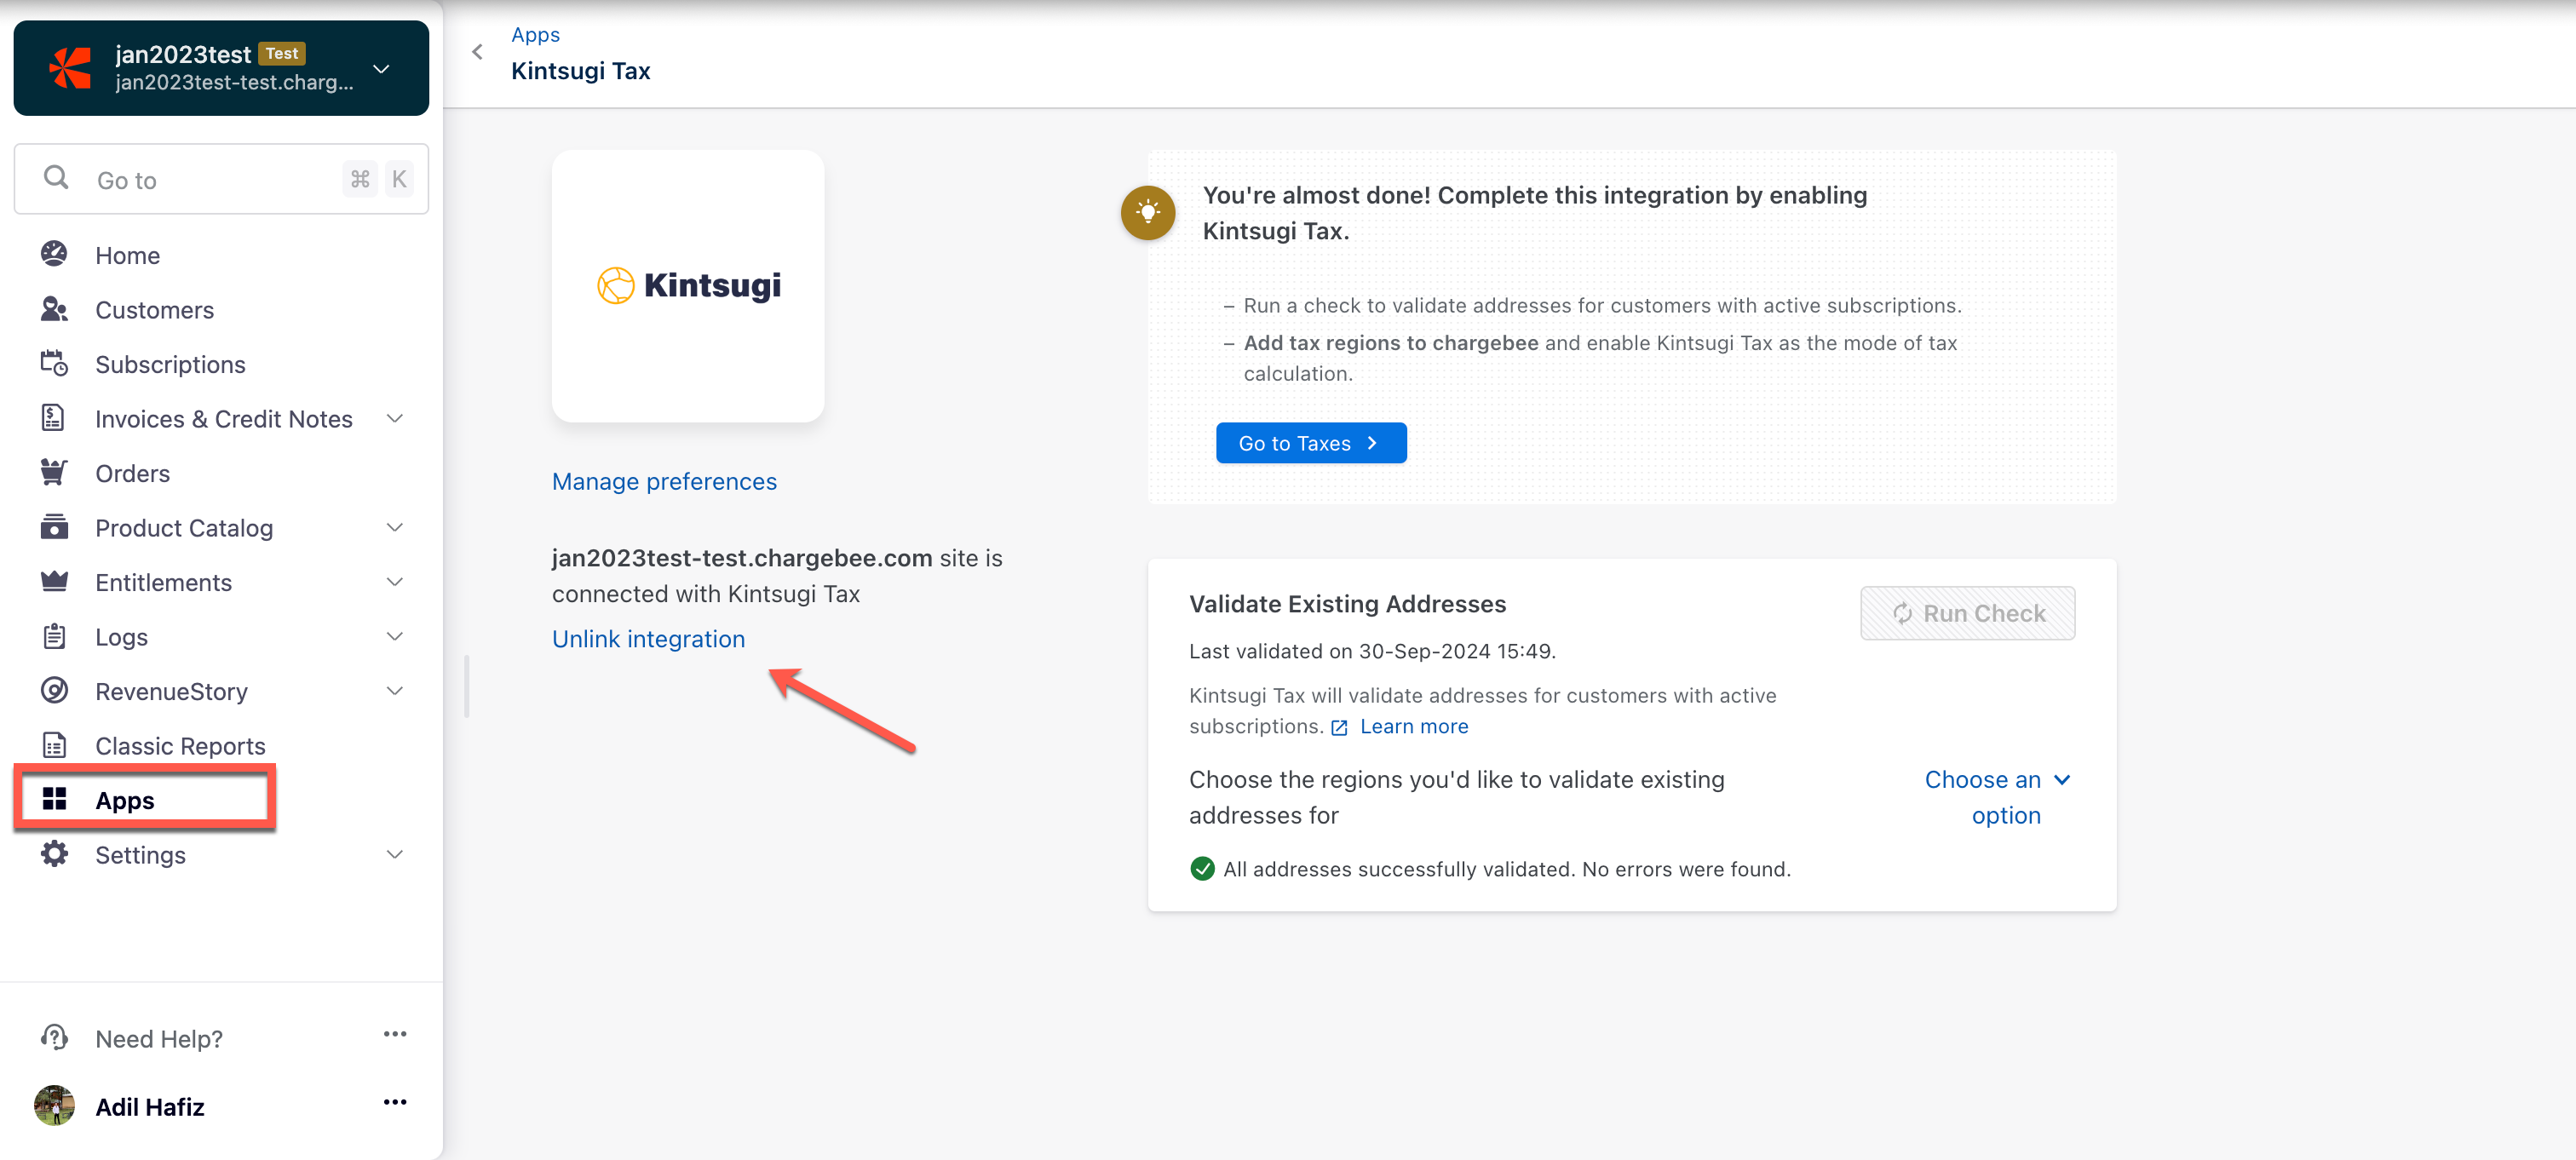
To unlink the Kintsugi integration from your Chargebee site, navigate to Apps > Apps Connected > Kintsugi > and click Unlink integration.


 Articles & FAQ