Docs
Chargebee provides you with a user-friendly interface for managing Object-to-Record mapping. This feature streamlines tasks such as migration and correcting mapping errors, reducing your dependency on Chargebee support and significantly speeding up your processes. This enhancement alleviates bottlenecks, ensuring smoother transitions and error resolutions. Consequently, you may experience increased satisfaction, and your support requests will be minimized, fostering a more seamless user experience.
This feature addresses your daily needs and pain points by managing record mapping through an intuitive user interface.
Key benefits include:
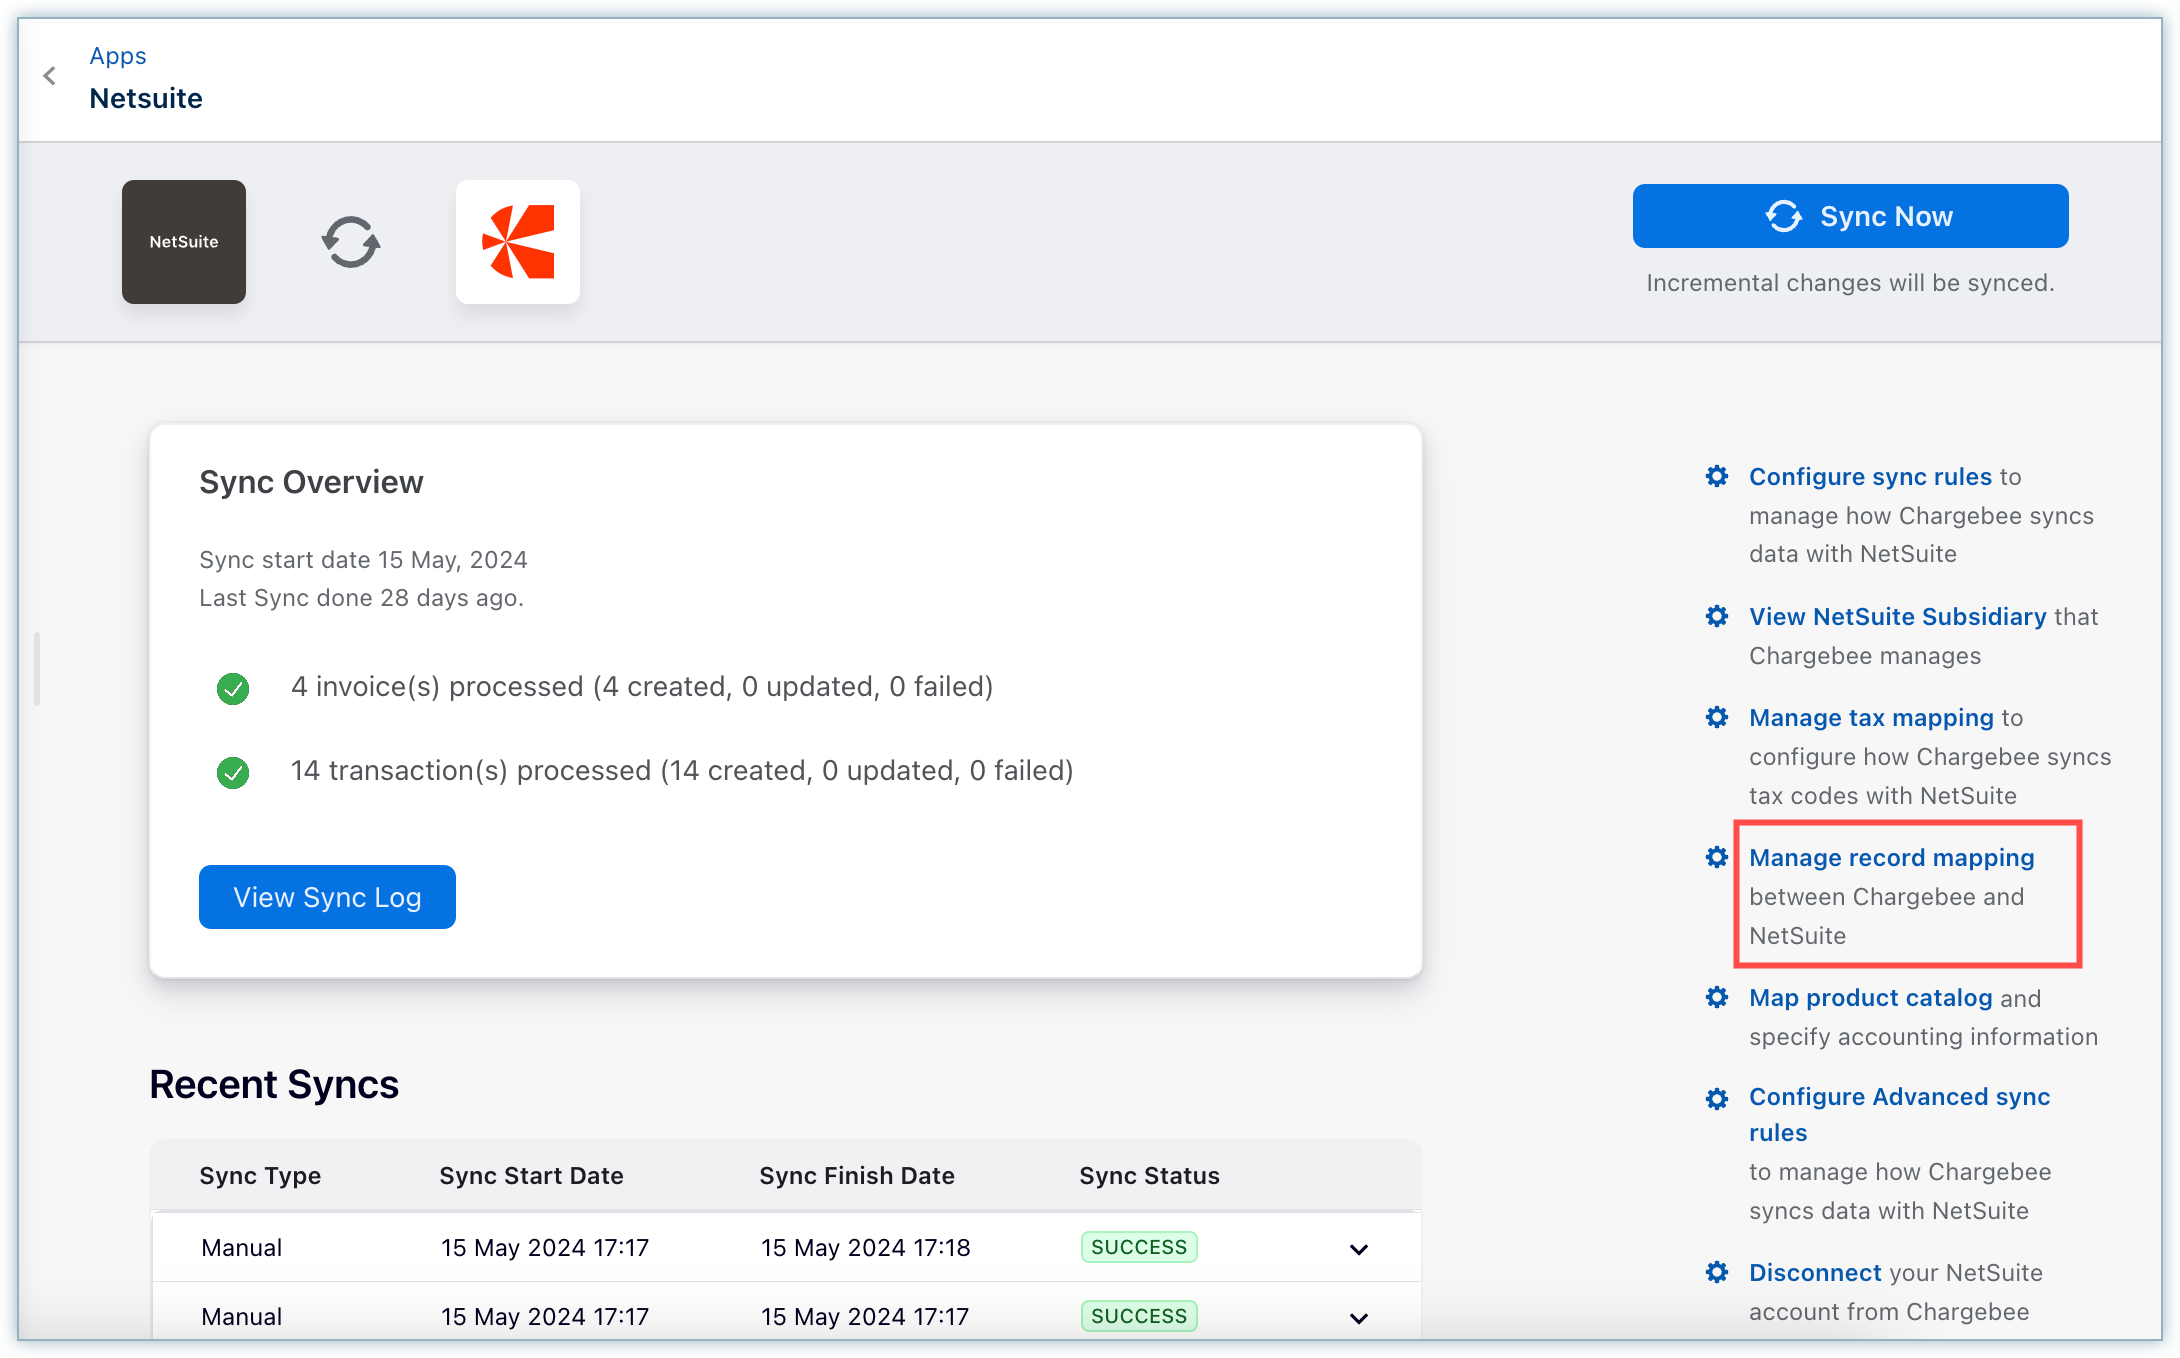
Once you click the Manage Record Mapping button, it redirects you to this page.
Select the object type (customers, invoice, credit notes, or transactions) for mapping from the drop-down menu.
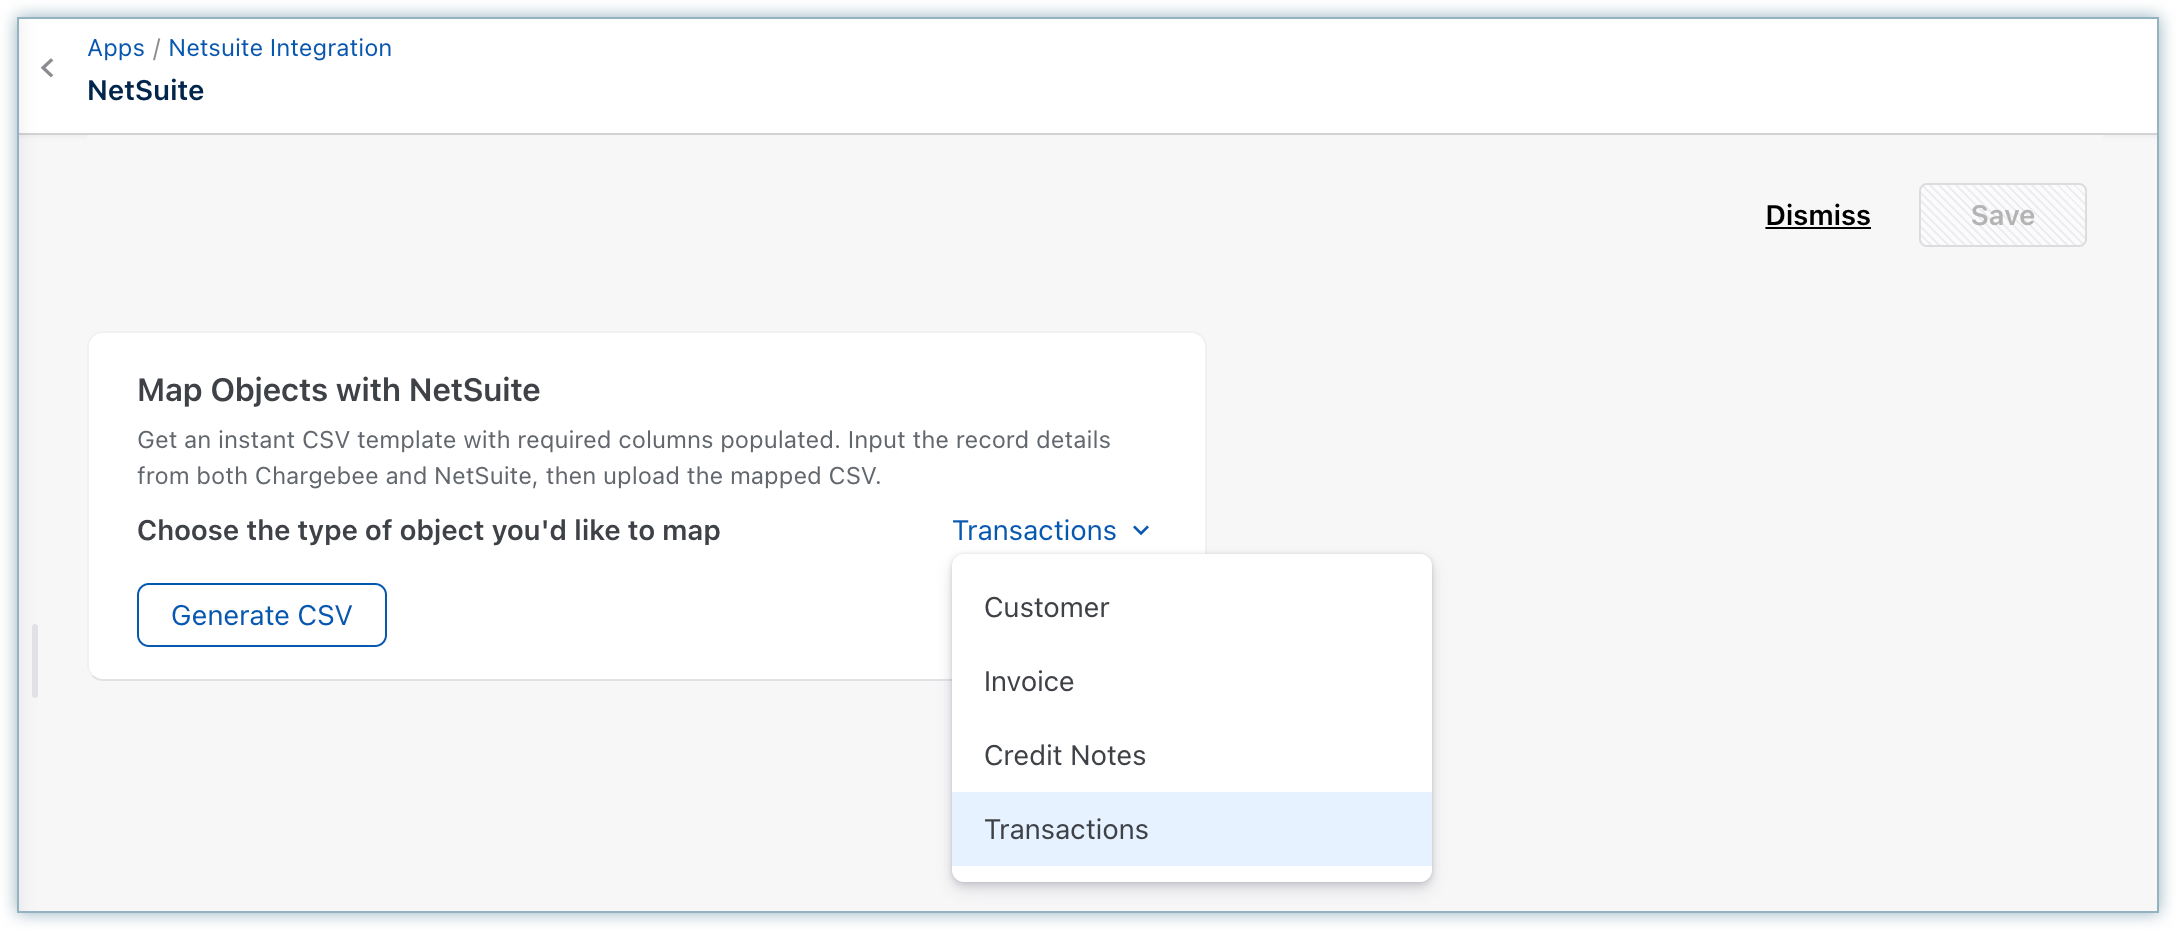
Click the Generate CSV to generate a downloadable CSV file containing record type and integration-based Empty CSV Template.
An empty CSV with the following headers is created.
Chargebee
Netsuite

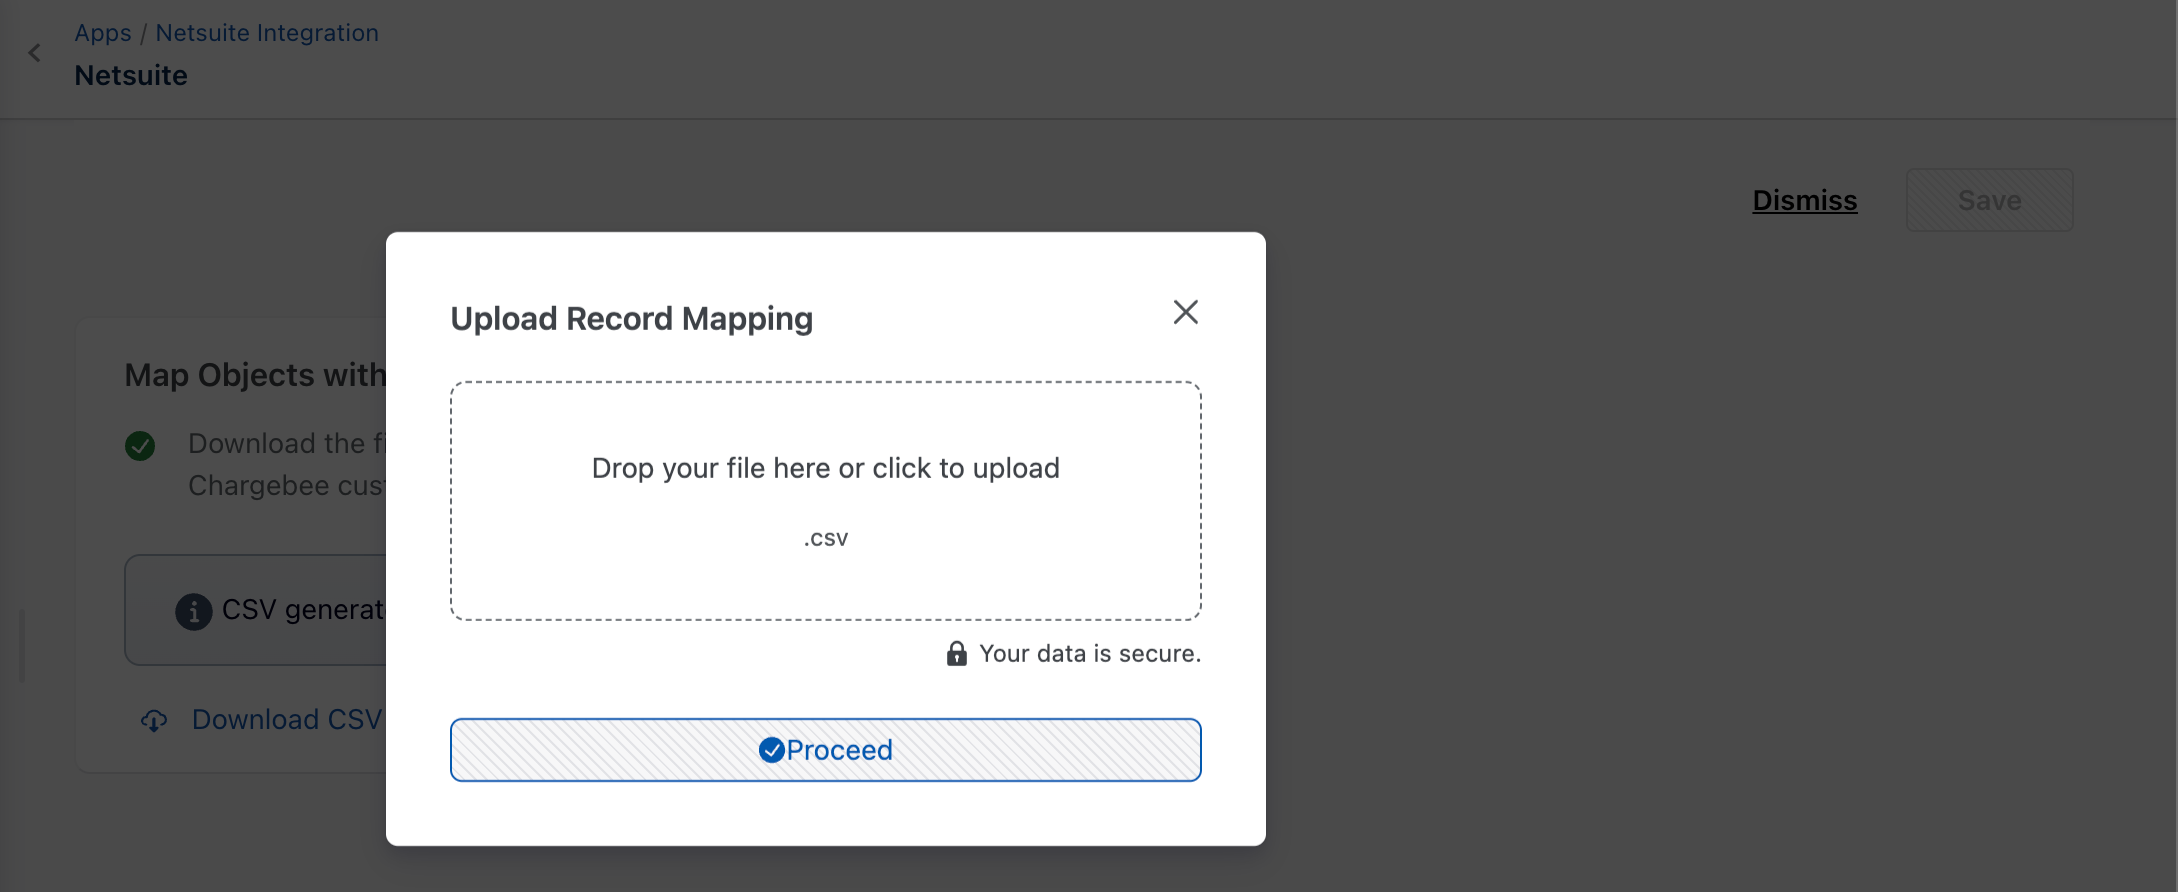
Upload the mapping changes to perform the following operations:

You can restart the mapping process from the beginning at any time by clicking Generate CSV again.
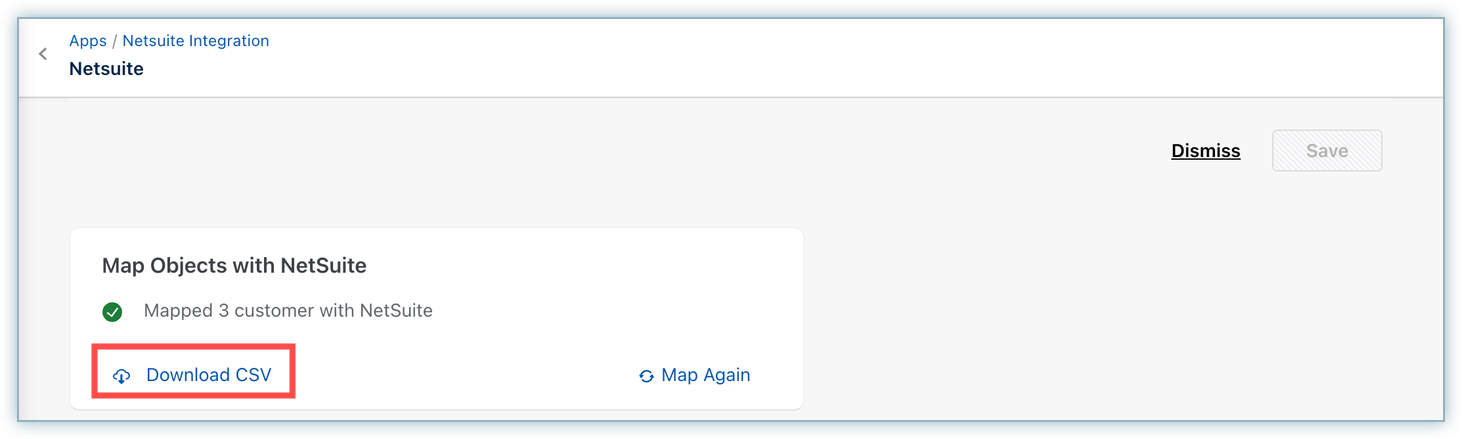
After completing the mapping process:
You will receive a confirmation.
The system displays the number of records successfully mapped, indicating the completion and success of the process.


 Articles & FAQ