This feature is a Private Beta Release. Contact support to enable Bank of America for your Test and Live site.
Bank of America is a payment gateway solution that allows you to safely accept payments across multiple sales channels, worldwide. You can integrate and use Bank of America as a payment gateway in Chargebee to effectively process your payments.
Chargebee currently supports only Card payments with Bank of America.
Listed below are the integration options available between Chargebee and Bank of America:
3DS is not supported for this integration.
| Integration Method | Description | PCI Requirements |
|---|---|---|
| Chargebee Checkout + Bank of America Gateway | Card information of the customers are collected by Chargebee's checkout and passed on to Bank of America. | Low (Your PCI compliance requirements are greatly reduced because of Chargebee's checkout. As a merchant using Chargebee's checkout, all you have to do is submit a Self Assessment Questionnaire to stay compliant.) |
| Chargebee JS | Chargebee's Hosted Components and Fields You will use Chargebee's Components to collect card details and Chargebee's temporary token. You will pass the token throught Chargebee's APIs to purchase a subscription or setup a payment method. | Low |
| Chargebee API + Bank of America Gateway | Collection of card information should be handled at your end and passed on to Chargebee via API. Chargebee will route this card information to Bank of America. | HIGH (card information will be collected by you directly, you will have to handle PCI Compliance requirements) |
The following are the prerequisites for configuring the Bank of America gateway in your Chargebee site:
To configure Bank of America in Chargebee, follow the below steps:
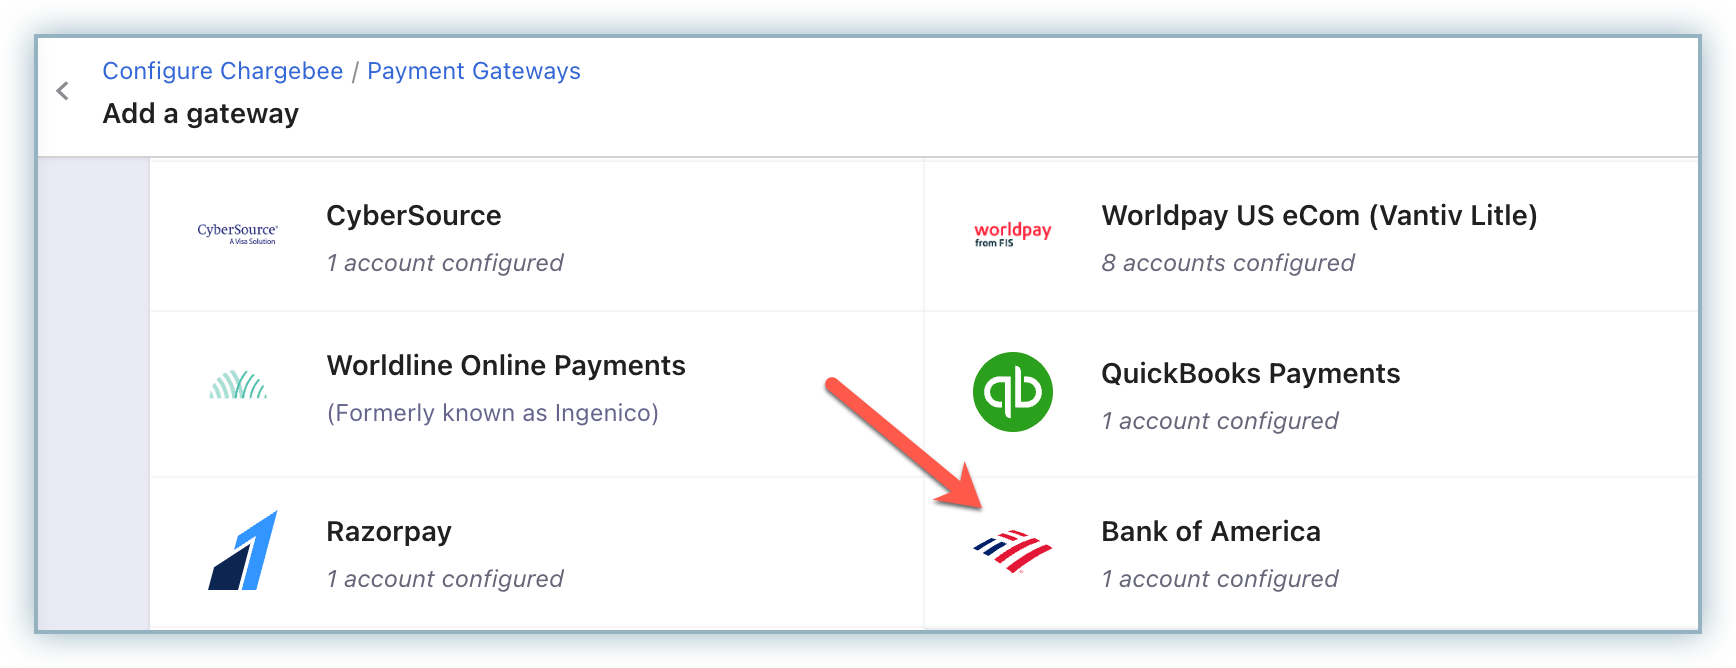
Click Settings > Configure Chargebee > Payment Gateway > Add Payment Gateway.
Click Bank of America.
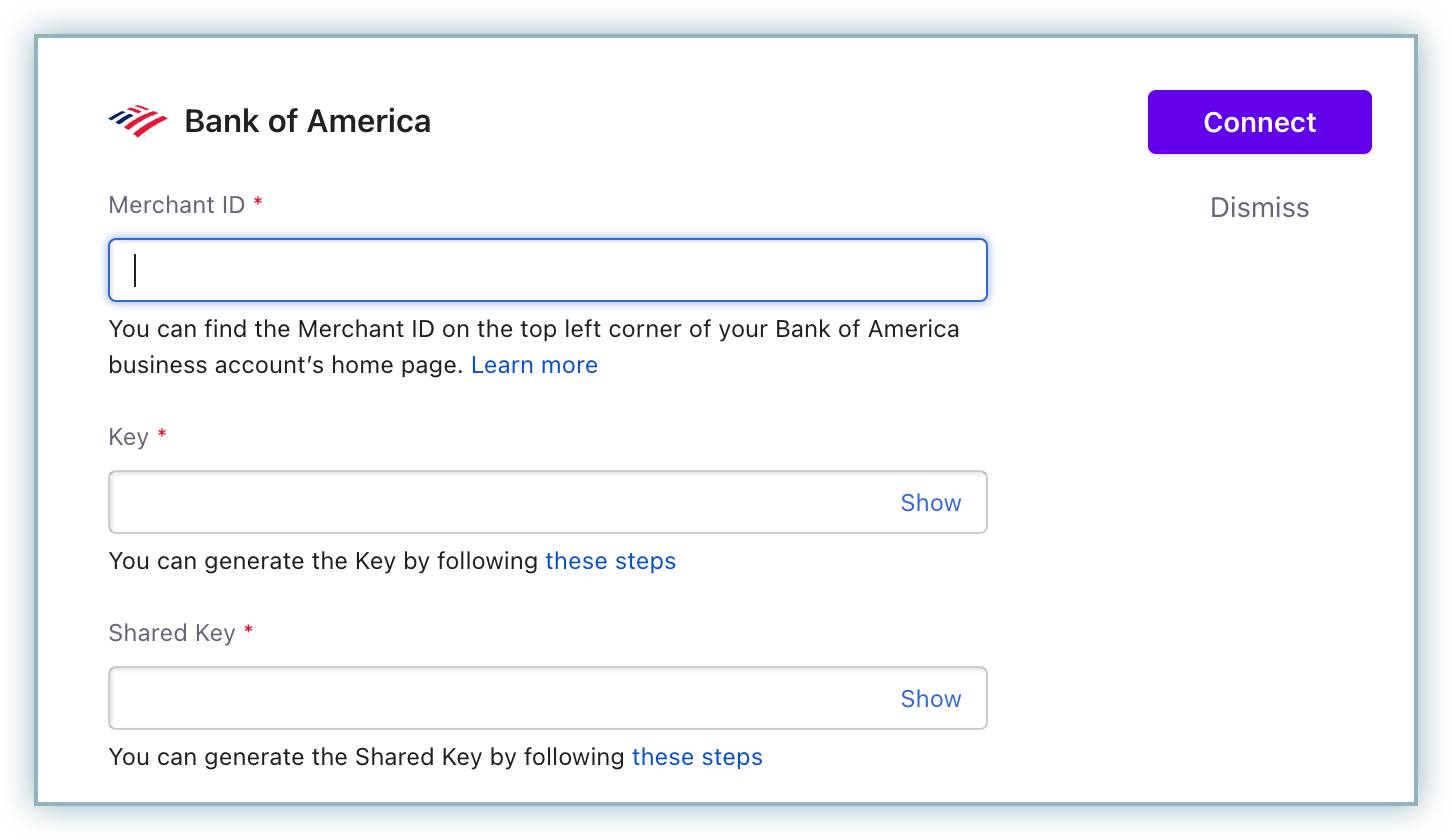
Enter the Merchant ID, Key, and Shared Key retrieved from your Bank of America account.
Click Connect.
The Configure Bank of America page appears as shown below:
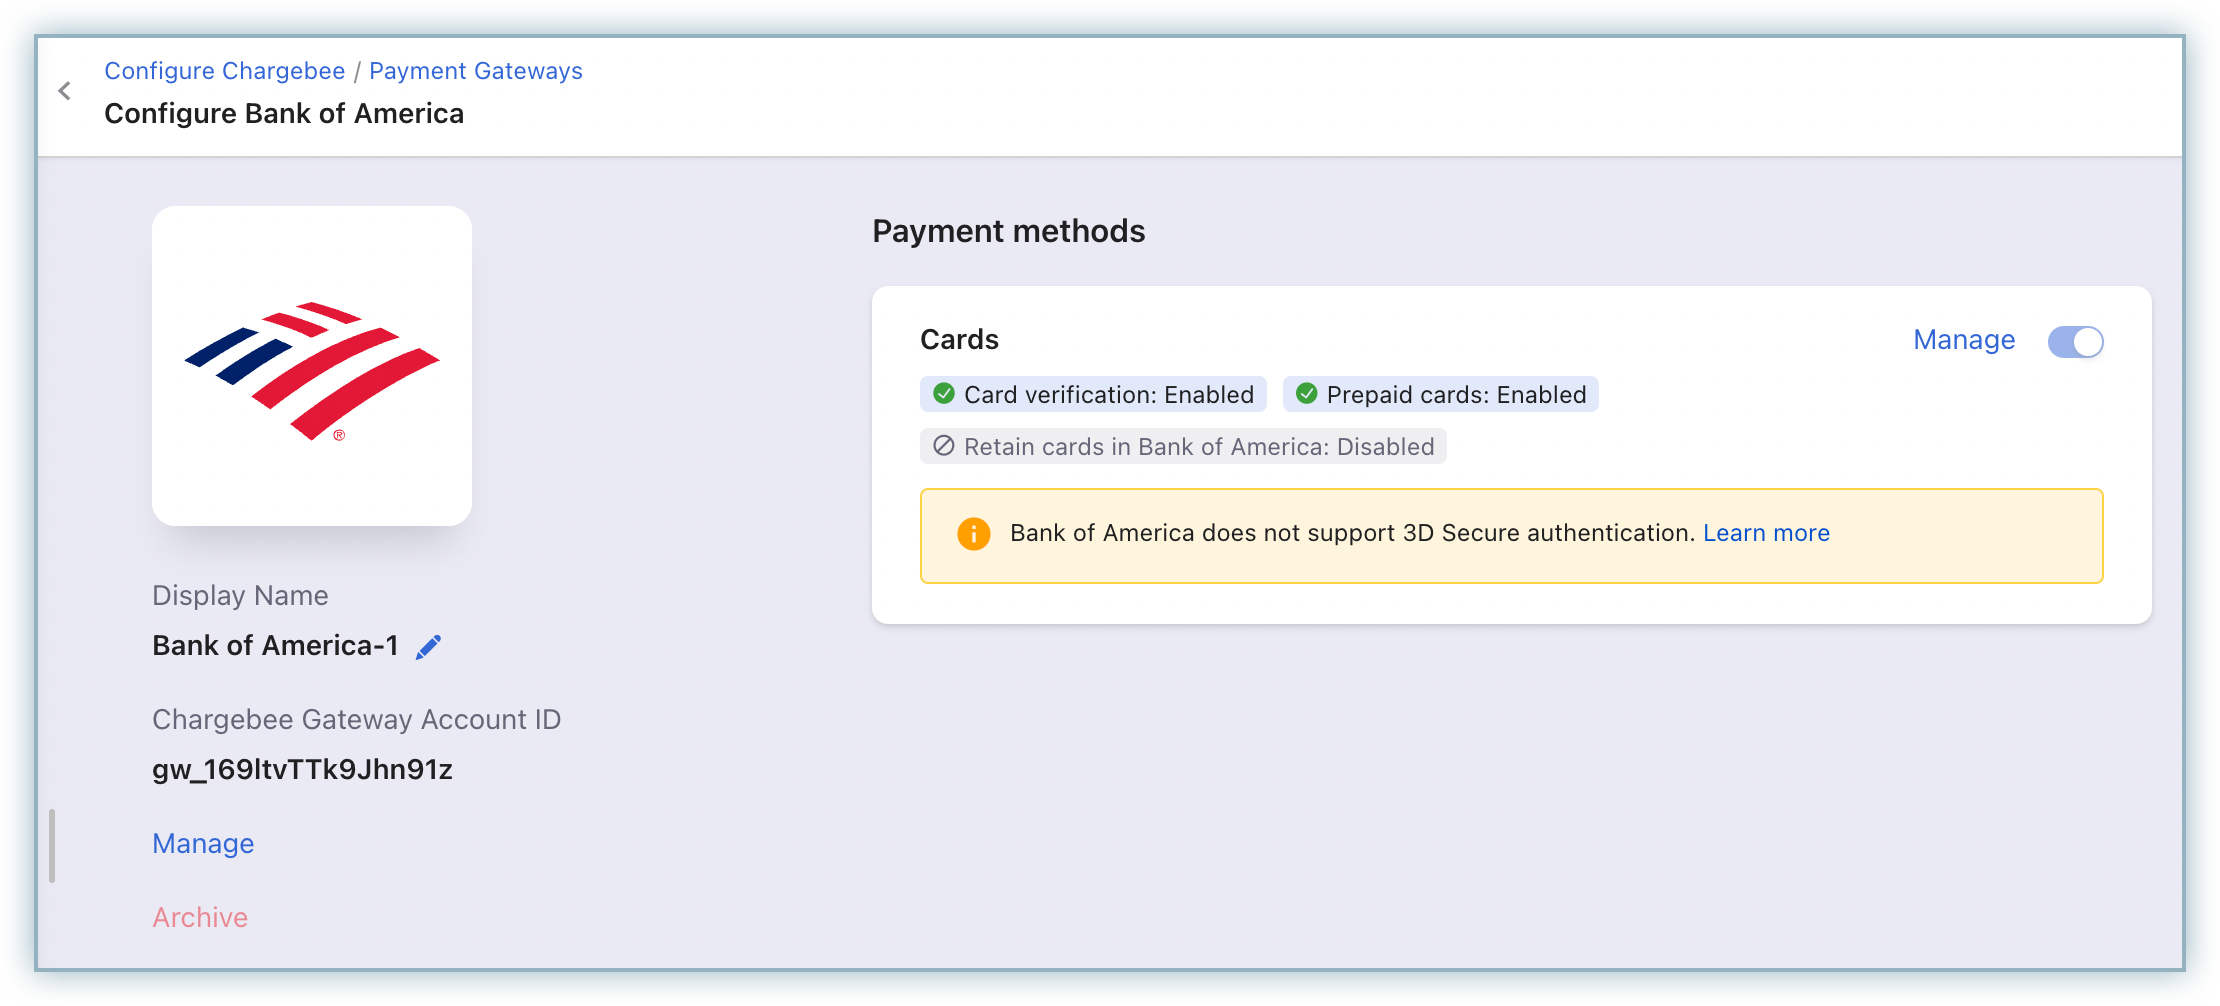
Follow these steps to configure the Cards Settings for Bank of America:
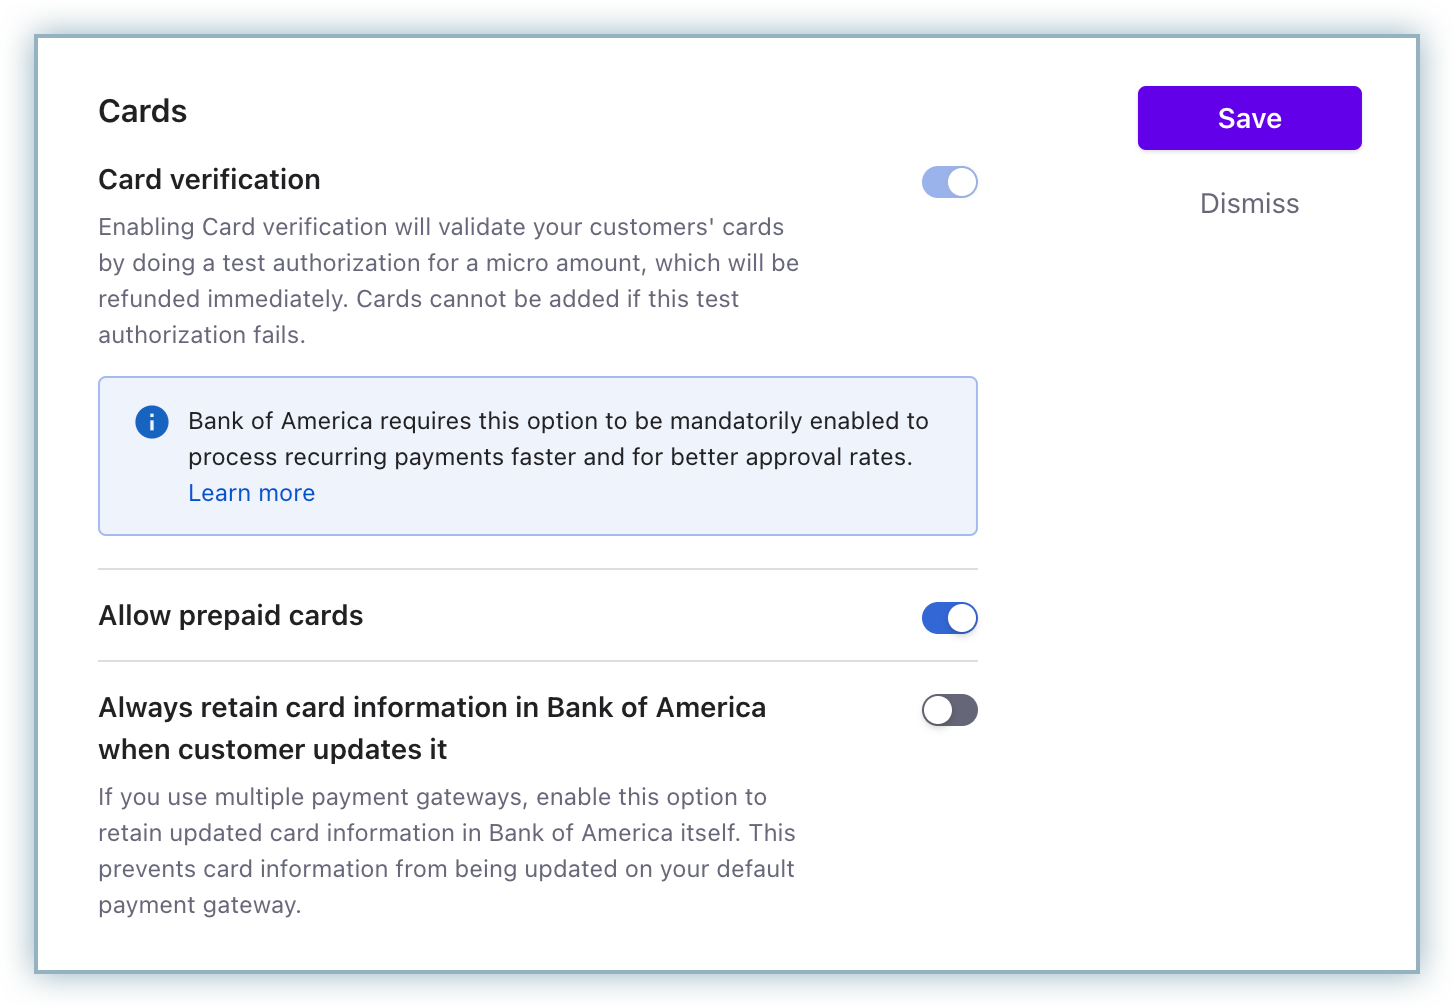
Click Settings > Configure Chargebee > Payment Gateways > Bank of America, and click the Manage link in the Cards section. The Cards Settings page is displayed. Configure the following settings based on your business requirements:
a. Cards verification: This option is enabled by default to validate your customers' cards by doing a test authorization. An amount of $0 is deducted from the customers' card to collect mandatory information from Bank of America and for the integration to work properly. This amount will be refunded immediately. Cards that do not pass this validation, will not be added.
b. Allow Prepaid cards: Enabling this option allows your customers to use a prepaid card for their transactions.
c. Always retain card information in Bank of America when the customer updates it: If you have configured multiple payment gateways in Chargebee, enabling this option stores the updated card information in Bank of America rather than the default gateway.
d. Display Card Logo for: Click the drop-down, and select the card brands for which you want to display logos, on your Checkout and Self-serve Portal pages. (This setting is only applicable for Single Page Checkout and Self-serve portal).
Click Save and then Apply.
When the customer subscribes to a plan for a product and makes the payment, the following scenarios may take place with respect to fraud management:
Once the customer makes the payment via the checkout, that payment is sent for authorization to Bank of America.
While the payment is being authorized, based on the fraud rules configured in Bank of America, some payments may be flagged for manual review. Those payments which are flagged for manual review are marked as Suspicious in Chargebee with an In Progress state and the subscription is created in the Active state.
NOTE: Chargebee cannot raise a request to complete the payment unless the manual review has been completed by the merchant in the Bank of America.
Merchants have to review the payment flagged for manual review within a period of 1 to 3 weeks from the time when the payment is flagged for manual review.
a. If the payment is found to be genuine, the merchant accepts the manual review in the Bank of America portal. Once the manual review is accepted, the merchant needs to capture the payment in the Bank of America portal. Once the payment is accepted, Chargebee syncs the payment status and marks it as Successful.
NOTE: If the merchant does not capture the payment after accepting the manual review, within 1 to 3 weeks in the Bank of America portal, Bank of America will automatically reverse it, but, it will remain in the Successful state in Chargebee. This creates a discrepancy between Chargebee and Bank of America. Make sure to capture the payment successfully immediately after accepting the manual review to avoid this.
b. If the payment is found to be fraudulent, the merchant rejects the manual review in the Bank of America dashboard. Once the manual review is rejected, the merchant needs to reverse the authorization for the payment in the Bank of America portal. After the authorization is reversed, Chargebee syncs the payment status and marks it as Failed and Fraudulent. Following this, the merchant marks the customer as fraudulent to cancel the subscription in Chargebee.

A payment receipt is a document given to a customer as proof of full or partial payment. Bank of America has mandated sending these receipts digitally through an email for every successful payment and refund.
You need to enable and configure the following email notifications in Chargebee:
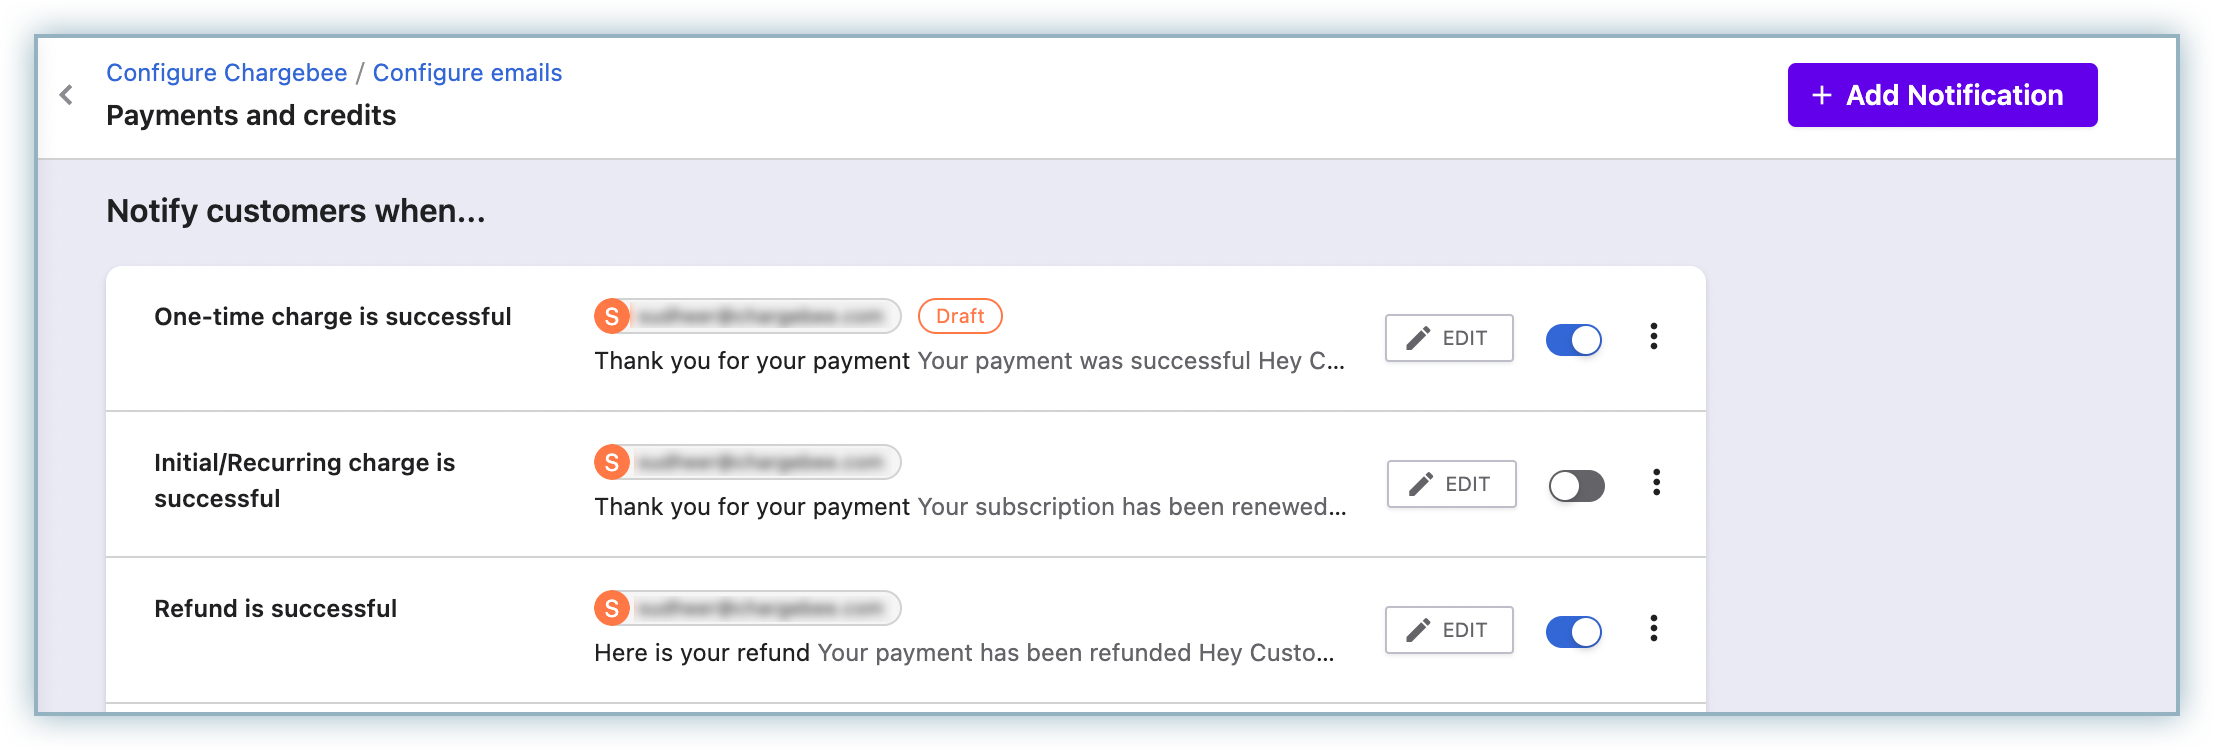
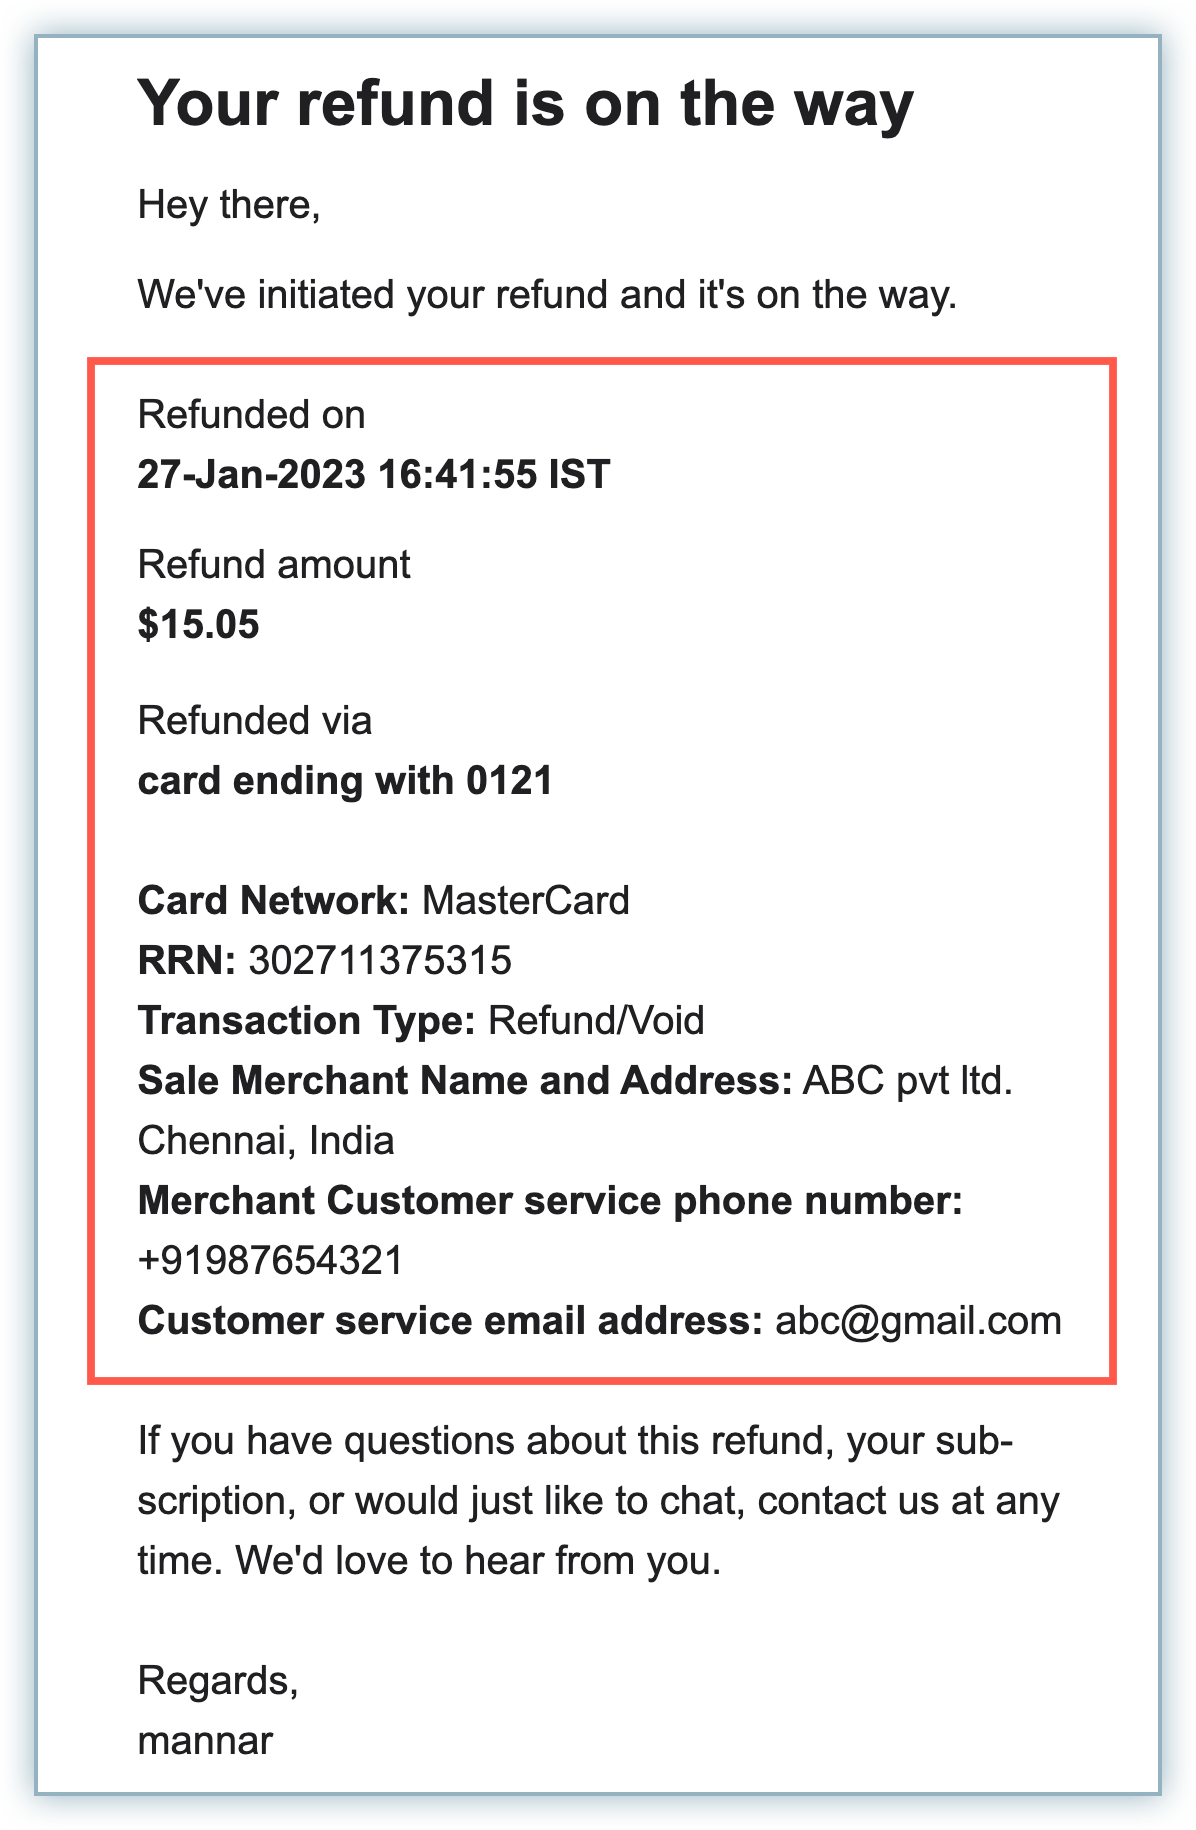
For complying with the requirements of Bank of America, the following fields must be configured in Chargebee's Email Notifications section:
These fields appear in the email as shown below:
You can add various fields to the desired email notifications using the following methods:
Using Static Fields: Merchants are required to configure these fields with the appropriate value in the email notification manually.
Following are the static fields from the above list:
Using Mail-Merge Fields: Use these fields to display a dynamic value for a particular scenario by adding predefined field names to your email templates in a particular manner. Learn more
Following are the required fields and their mail-merge equivalents:
| Required Field | Mail-Merge Field | Category |
|---|---|---|
| RRN (Reconciliation ID) | {{transaction.reconciliation_id}} |
Transaction |
| Authorization Code | {{transaction.authorization_code}} |
Transaction |
| Card Network | {{#card.card_type}}[...content...]{/card.card_type} |
Card |
Follow the steps below to find the mail-merge fields:
Go to Settings > Configure Chargebee > Email Notifications > Payments and Credits
Click Edit against any desired notification.
Click View all mail merge fields.
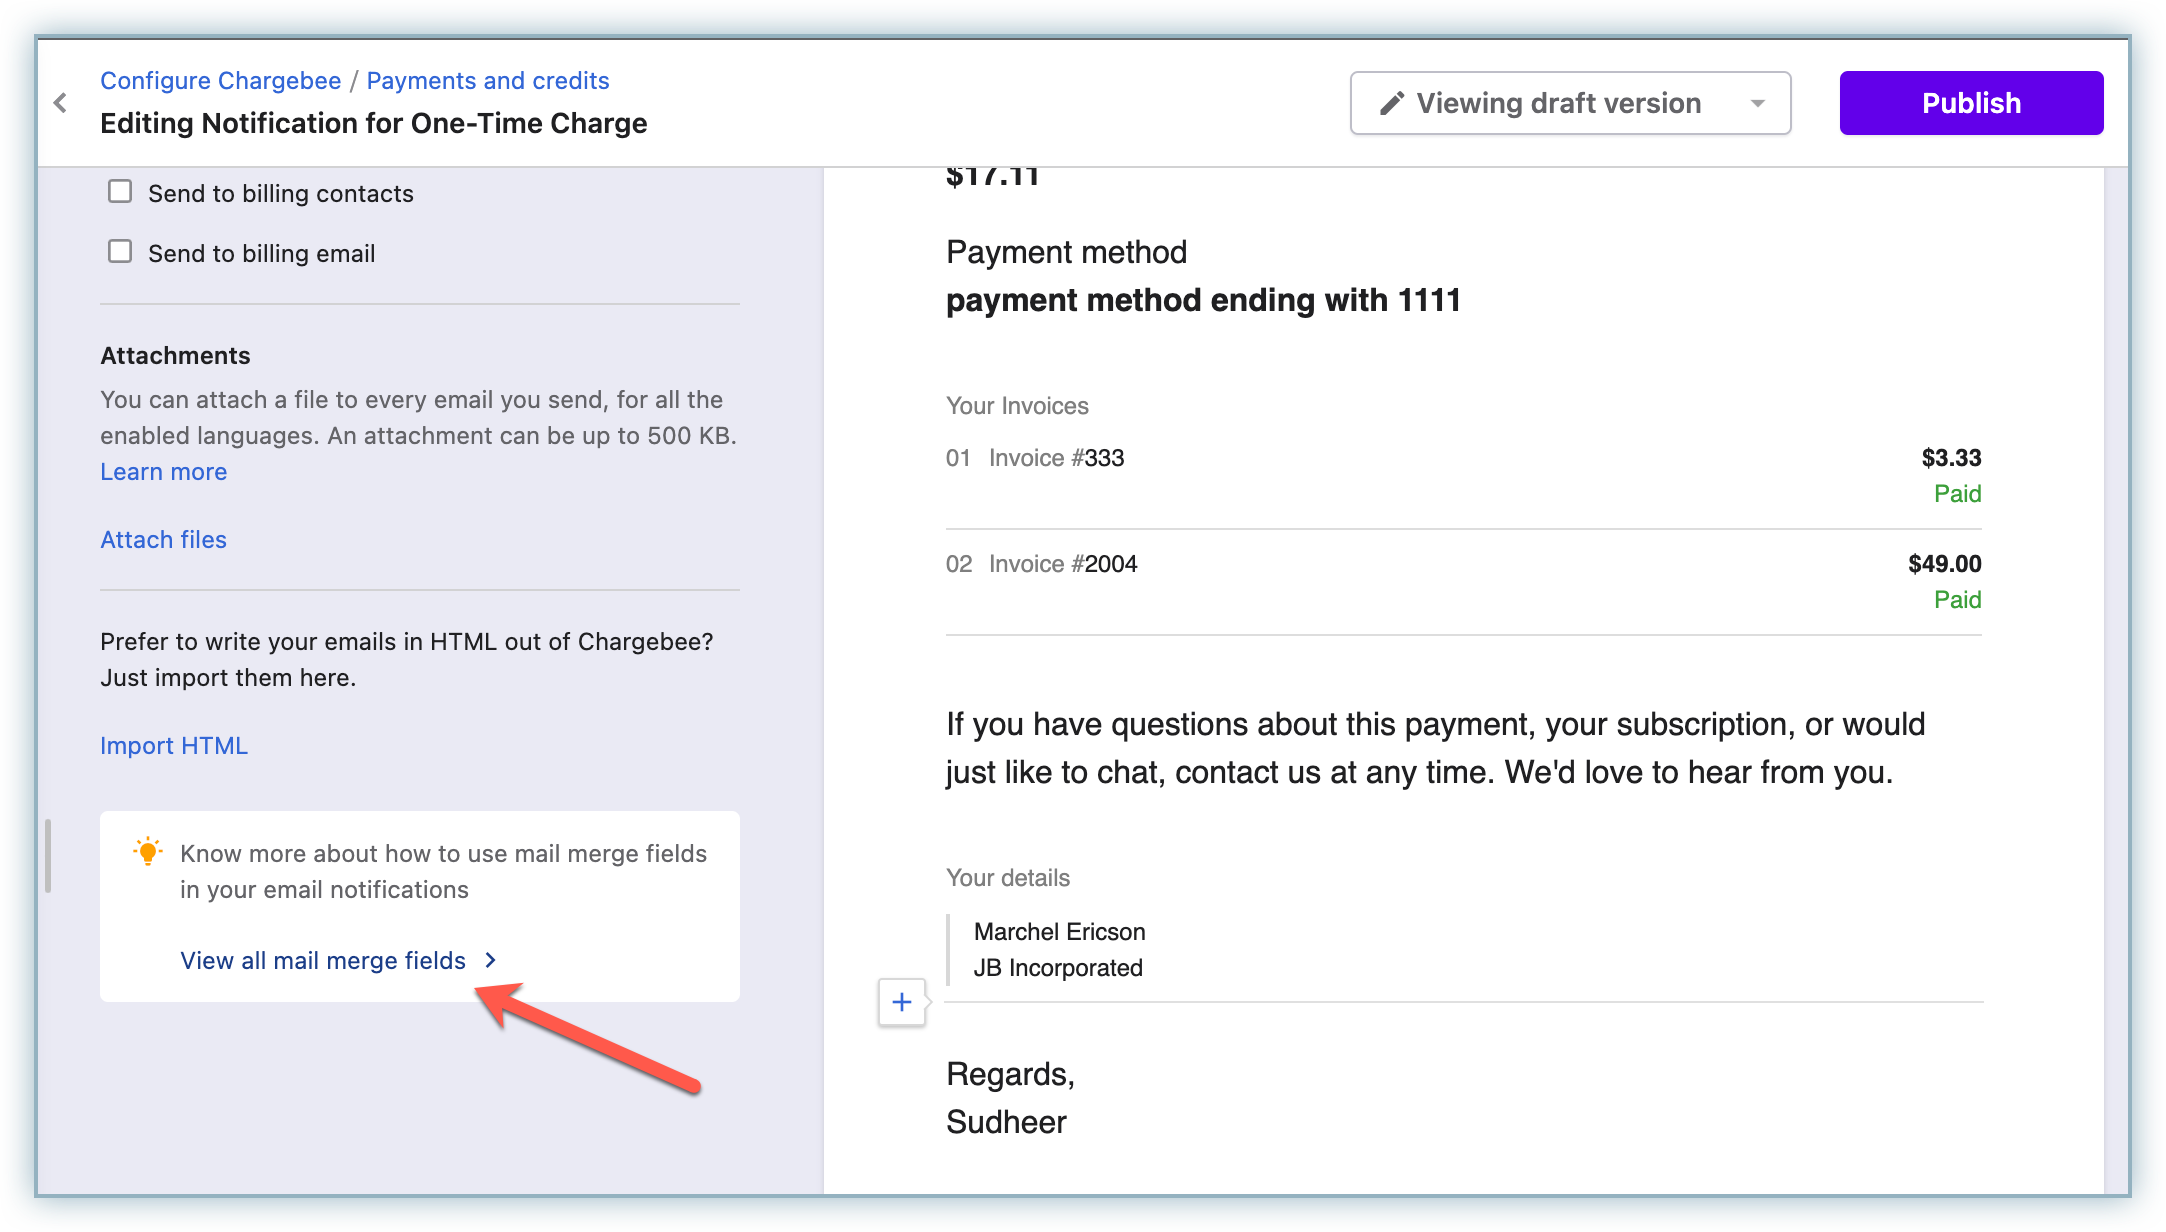
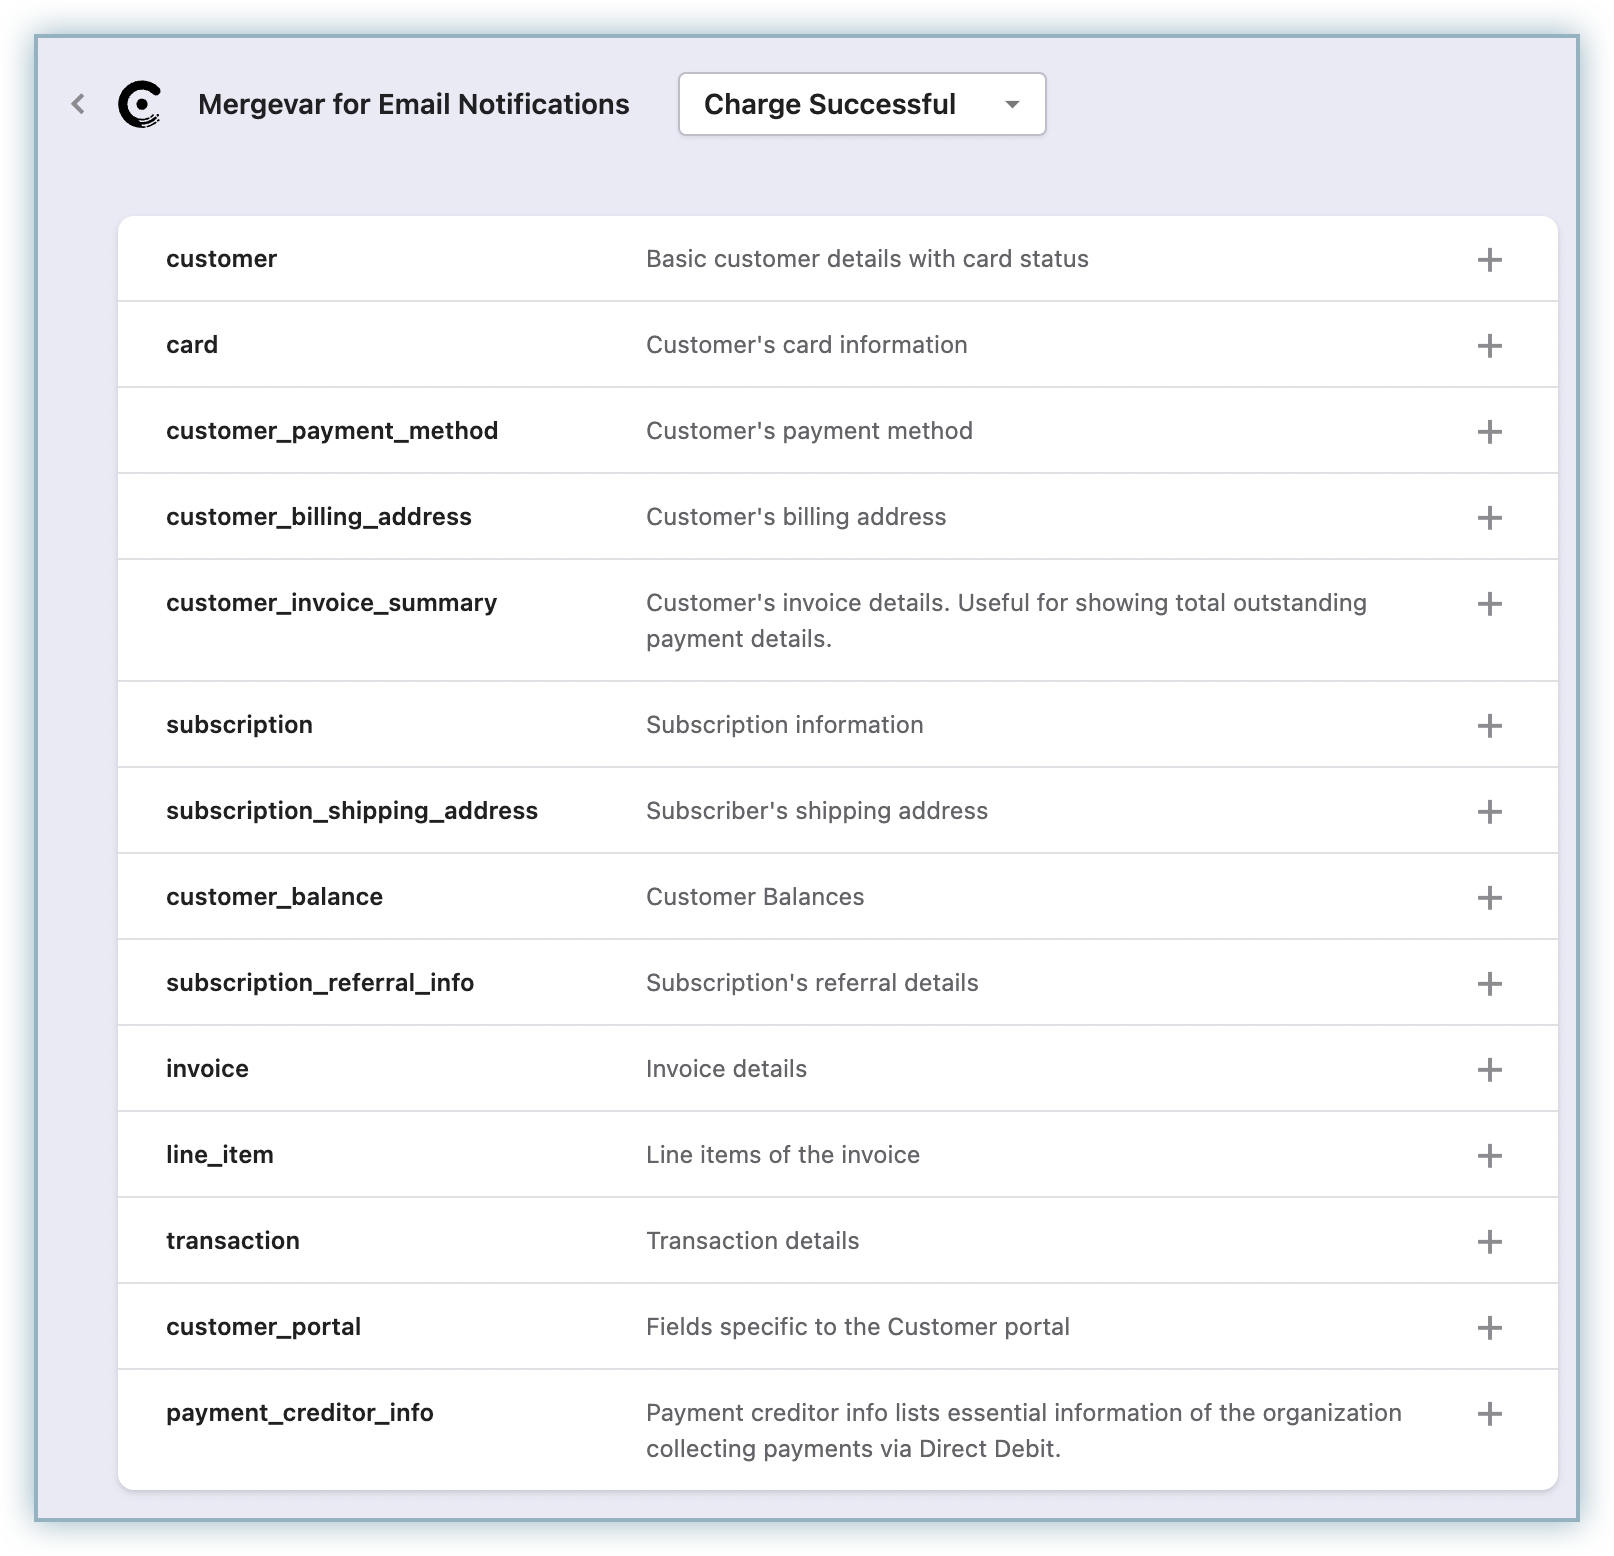
A page appears with various sets of mail merge fields. Click on the desired set to view the fields under it.
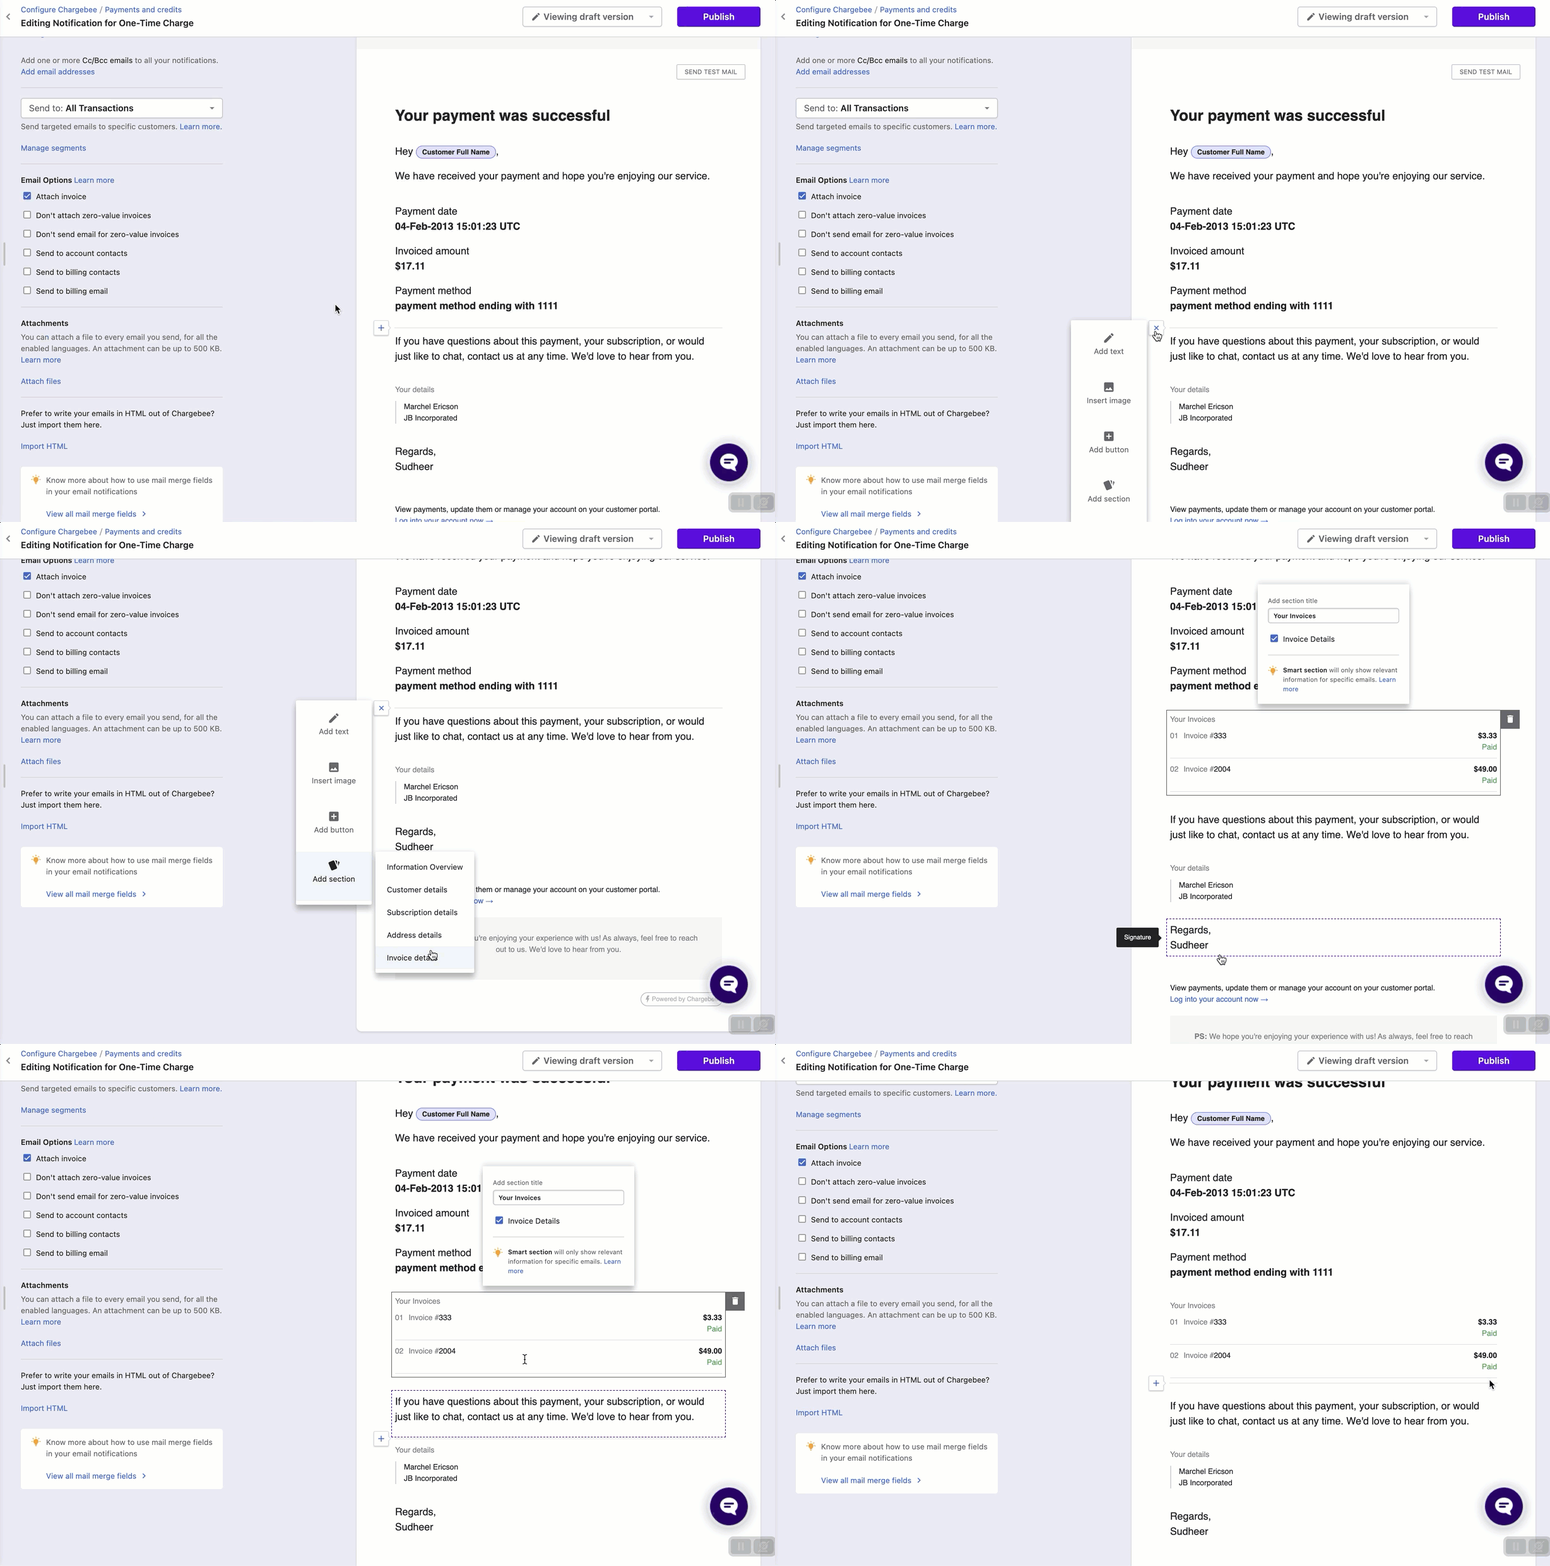
Adding a New Section: Using the Add Section option, add the Invoice Details to your email template directly as a separate section. Learn more
To add a section in your email, follow the steps given below:
a. Click on the + icon after an existing section in the template.
b. Click Add Section and select Invoice Details
