File Attachments & Comments
File Attachments
Introduction
Adding relevant information to a record is always bound to come in handy. You can attach new files to an entity's record, which will serve the purpose of having every related information in one place.
The following are the entities where you can attach files:
- Customers
- Subscriptions
- Invoices
- Credit Notes
- Plans
- Plan Price Points
- Addons
- Addon Price Points
- Charges
- Charge Price Points
- Coupons
The files could be related to any of the above mentioned entities. Let's review some examples when file attachments can be used:
- You've come to an agreement with a customer about the pricing for a plan. After you sign the agreement, the document can be uploaded against the respective customer's record.
- Your customer is eligible for tax exemption and has shared the copy of the document with you. You can attach the document against the respective customer's record.
- You allow your customers to make payments offline via cheque and want to maintain a record of the cheques you receive. By taking a scanned copy of the cheque, you can attach the file against the invoice generated.
Note
The files attached are not made available to your customers.
Attach a file
To attach files, you need to navigate to the respective record in a module. The following example will show you how to upload a file to an existing plan in your Chargebee app:
-
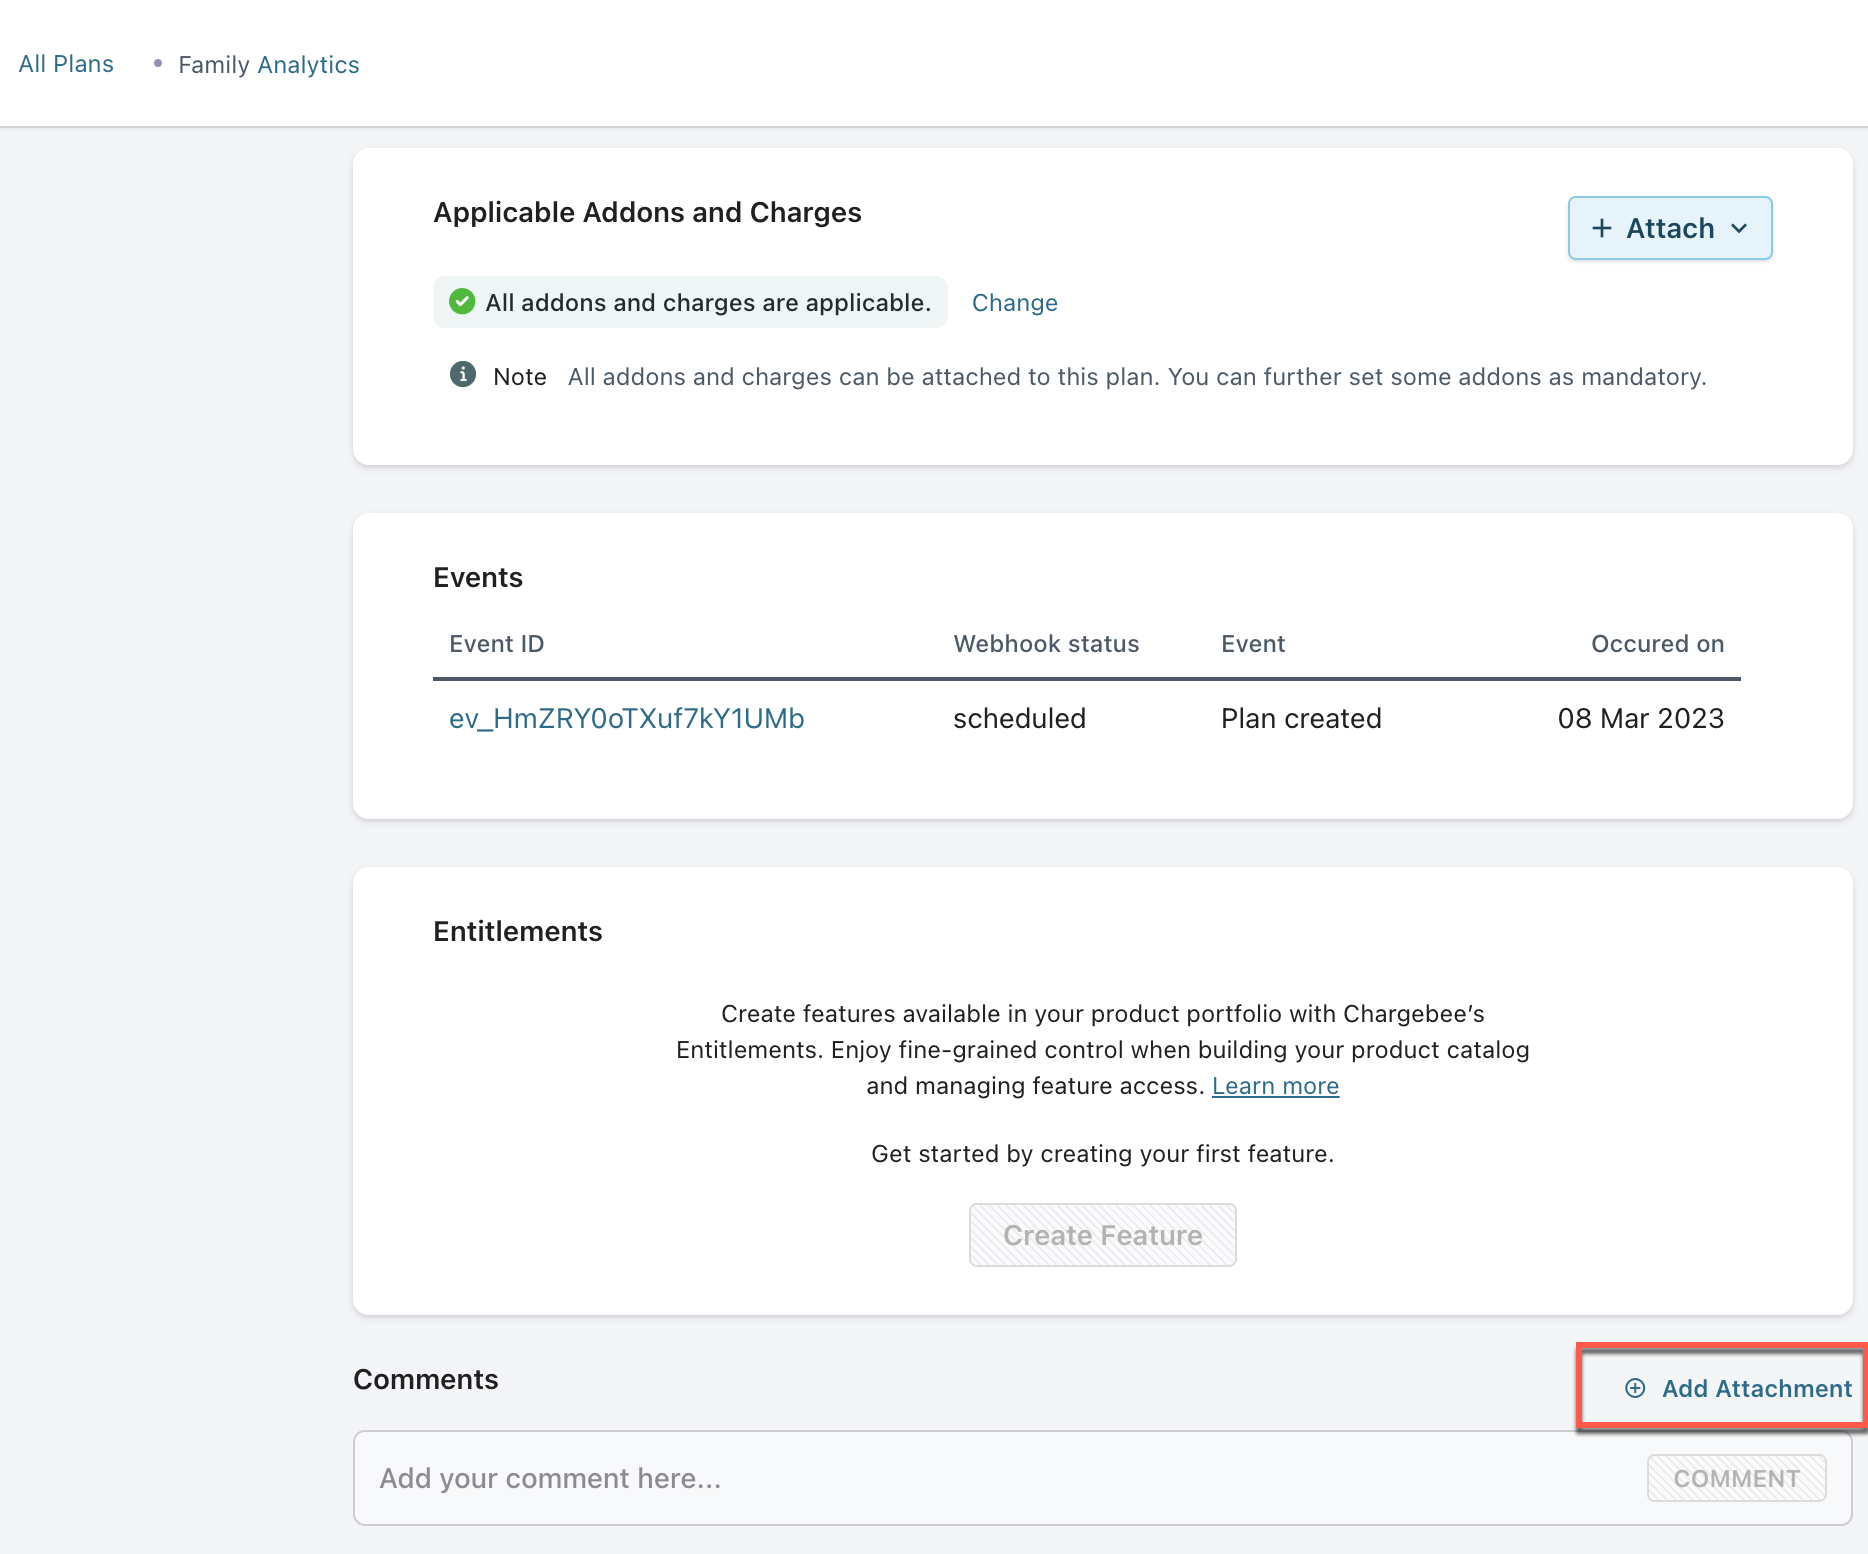
Navigate to Product Catalog > Plans and select a plan you want to upload the file to. Find the section called Comments & Attachments
-
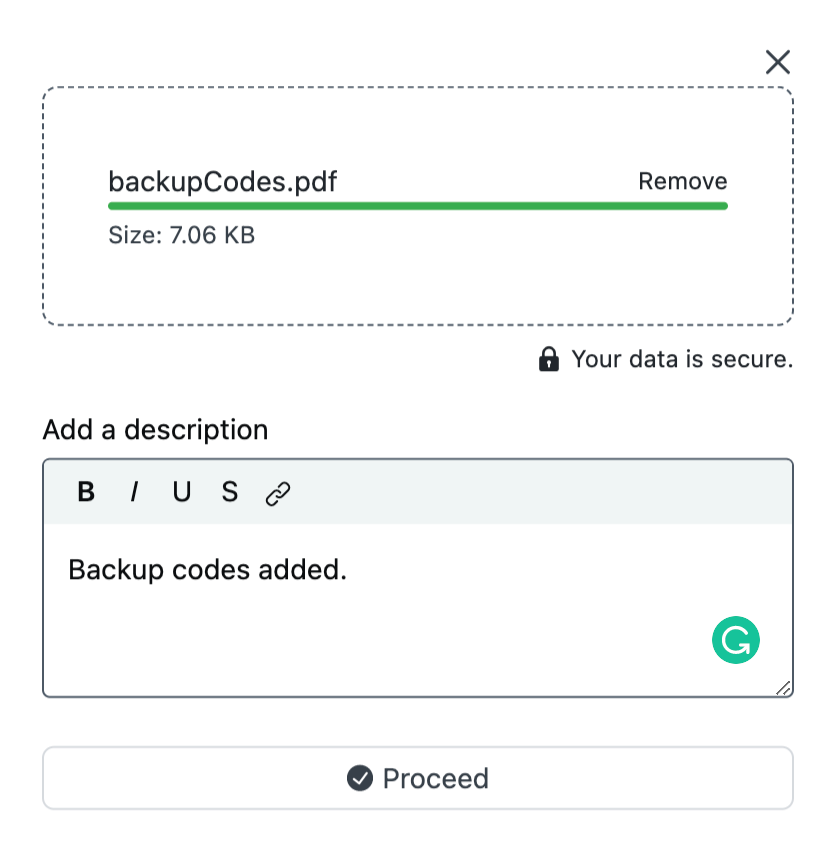
Clicking on Add Attachment will give you the option to drag and drop the file or browse for it. After selecting the file, you will get the option to add a description for the file and upload it.
-
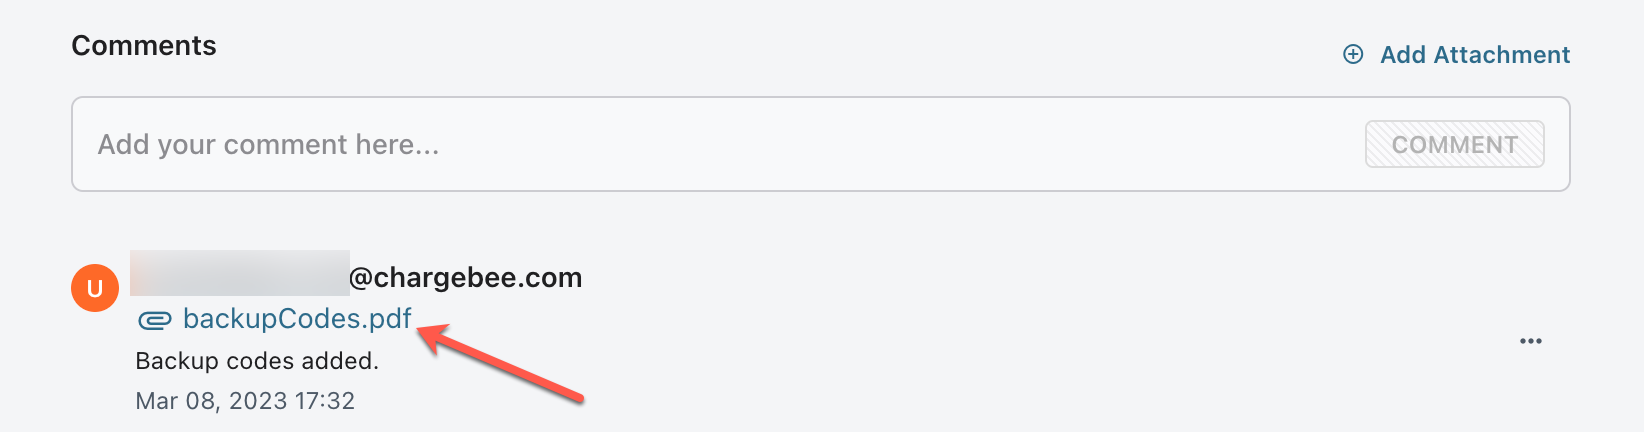
Clicking on Submit will upload the file. You will find the file under the plan you attached it to.
Note
- The size limit for a single attachment is 5 MB.
- You can attach up to 5 files per record.
Delete a file
Files that were attached before can be deleted from the respective module. Clicking the icon next to the file will take you through the deletion.

Comments
You can add comments or small notes to some Chargebee entities. These comments are visible to all Chargebee users who can see the entity you have commented on. The following entities support comments:
- Customers
- Subscriptions
- Invoices
- Credit Notes
- Plans
- Plan Price Points
- Addons
- Addon Price Points
- Charges
- Charge Price Points
- Coupons
Note
Comments are not visible to your customers.
Add a comment
Follow these steps to add a comment to a Chargebee entity:
-
Navigate to the details page of the entity.
-
Scroll down to the last section titled Comments. Any existing comments are shown in this section.
-
In the text box, type in your comment or note. It must be a string up to 1000 characters long.
-
Click Comment and the note shows up on top of the list.
Delete a comment
Follow these steps to delete a comment from a Chargebee entity:
- Navigate to the details page of the entity.
- Scroll down to the last section titled Comments. Any existing comments are shown in this section.
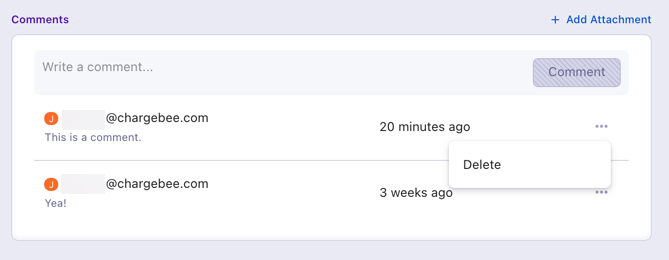
- Click on the ellipsis menu (three dots) for the comment you want to delete.
- Click Delete and the comment is deleted promptly from the list.
FAQs
1) How do I add a description to a file that was attached to a record previously? Navigate to the file you want to add a description for and click on the option that says ‘Add Description'.
2) Can I attach multiple files at once? No, you will have to add files one-by-one.
3) Can comments be edited? Comments in Chargebee cannot be edited. We recommend deleting a comment and adding a new one instead.
Articles & FAQs
Was this article helpful?