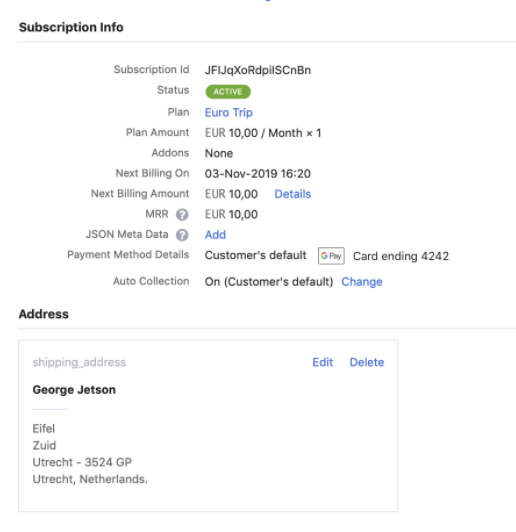
Google Pay allows customers to make payments using payment methods stored in their account. Google Pay via Stripe integration enables users to securely pay using any card (Credit or Debit) associated with their Google account.
Learn more about accepting Google Pay payments using Stripe.
Google requires a thorough review of your domains or subdomains, from which you intend to call the Google Pay API. This is mandatory to receive your Google Production Merchant ID.
The table below highlights guidelines associated with domain review requirements:
| IF you intend to use... | AND... | THEN... |
|---|---|---|
| custom checkout | use Stripe's Payment Button . | no review is required since the payment is processed via Stripe. |
| custom checkout | use direct integration with Google Pay | submit your domain for review. |
| Chargebee's checkout | use Chargebee's subdomain | submit your Chargebee sub-domain for review. |
| Chargebee's checkout | add Chargebee's subdomain to the allow-list on your domain. | submit your domain for review. |
For example, Murphy is an online subscription platform that uses https://www.murphy.com as its domain and its associated Chargebee subdomain is https://www.murphy.chargebee.com.
Complete the following steps in Google Business Console. These details are reviewed by Google before granting you access to Google's Production Merchant ID.
Google requires a screenshot of the checkout page as part of the process to issue a Google Merchant ID. You can enable Google Pay via Stripe in your Chargebee Test site using a dummy Google Merchant ID, take a screenshot of the checkout page, and submit it to Google. Once you receive the Merchant ID, update the configuration in your Chargebee Live site.
Log in to Google's Business Console .
Click Google Pay API.
Click +Add Website.
Enter the following details within the Web Integration page:
Items: This is a listing of a product or service offering Google Pay as a payment method. Review a sample screenshot below.

Pre-purchase screen: This is the Final confirmation, Shopping Cart, Review, or Checkout page from your website.
Payment Method screen: This is the page where the user selects Google Pay as the payment method.
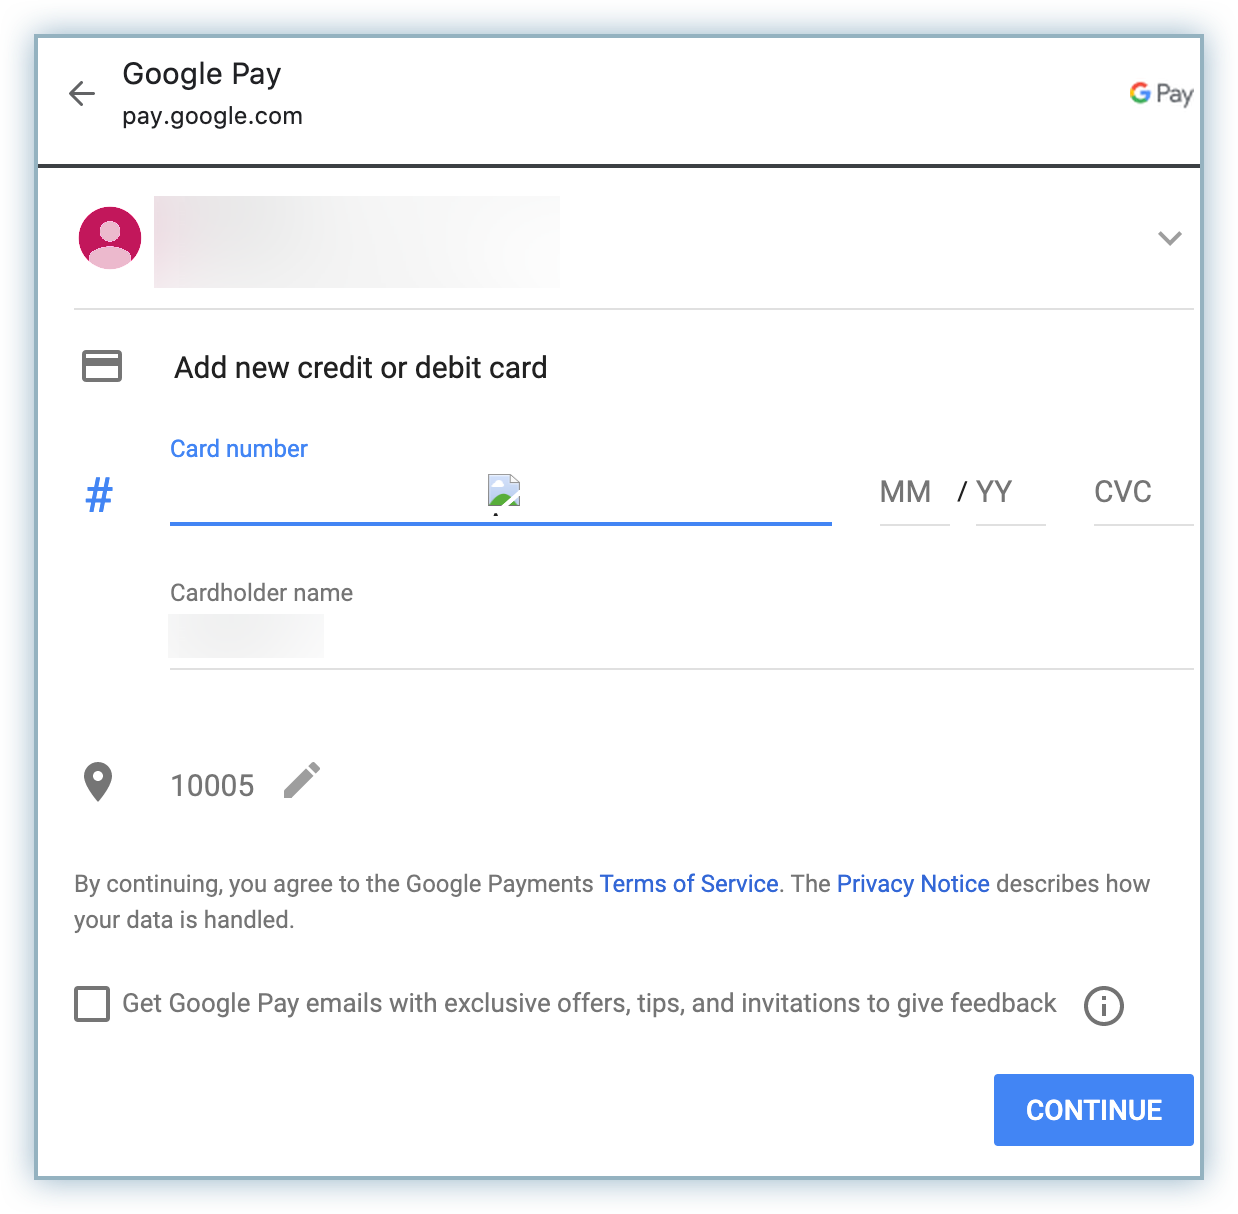
Google Pay API Payment Screen: This is the Google sheet or pop-up window screen where the users are able to view the saved payment methods on their Google account.
Post-purchase screen: This is the notification of a successful transaction for a payment processed using Google Pay.
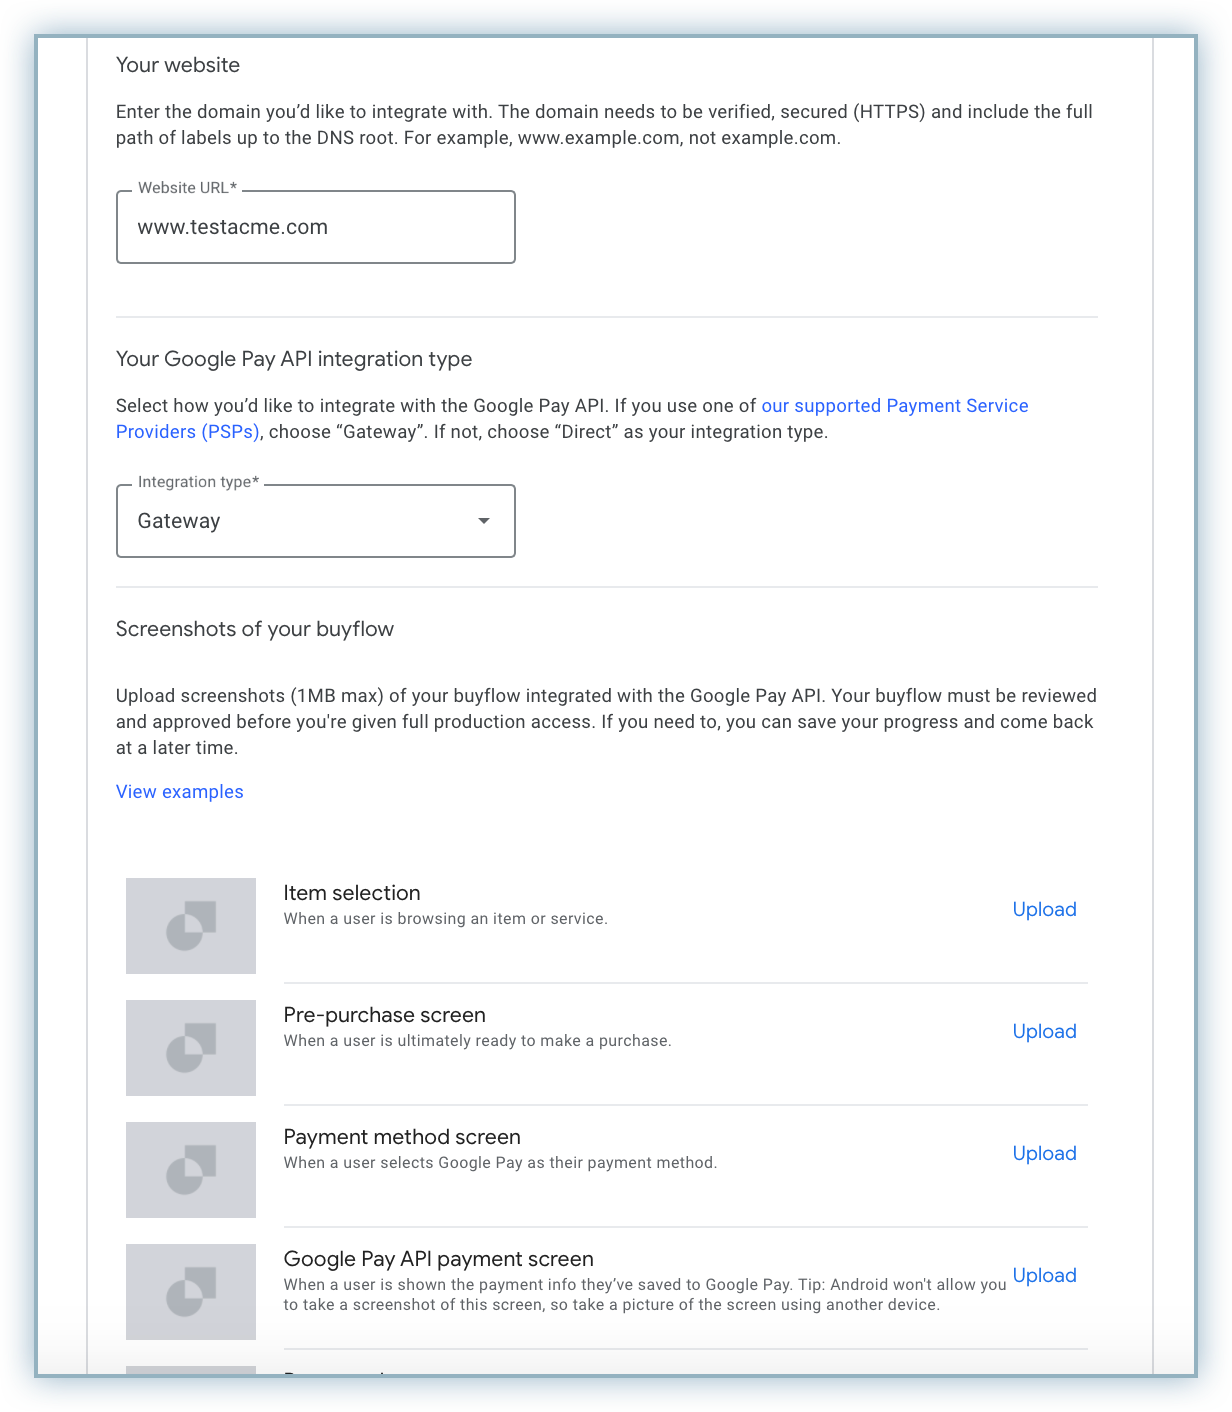
Click Save Changes to verify the details you input in the previous step.
Click Submit for Approval.
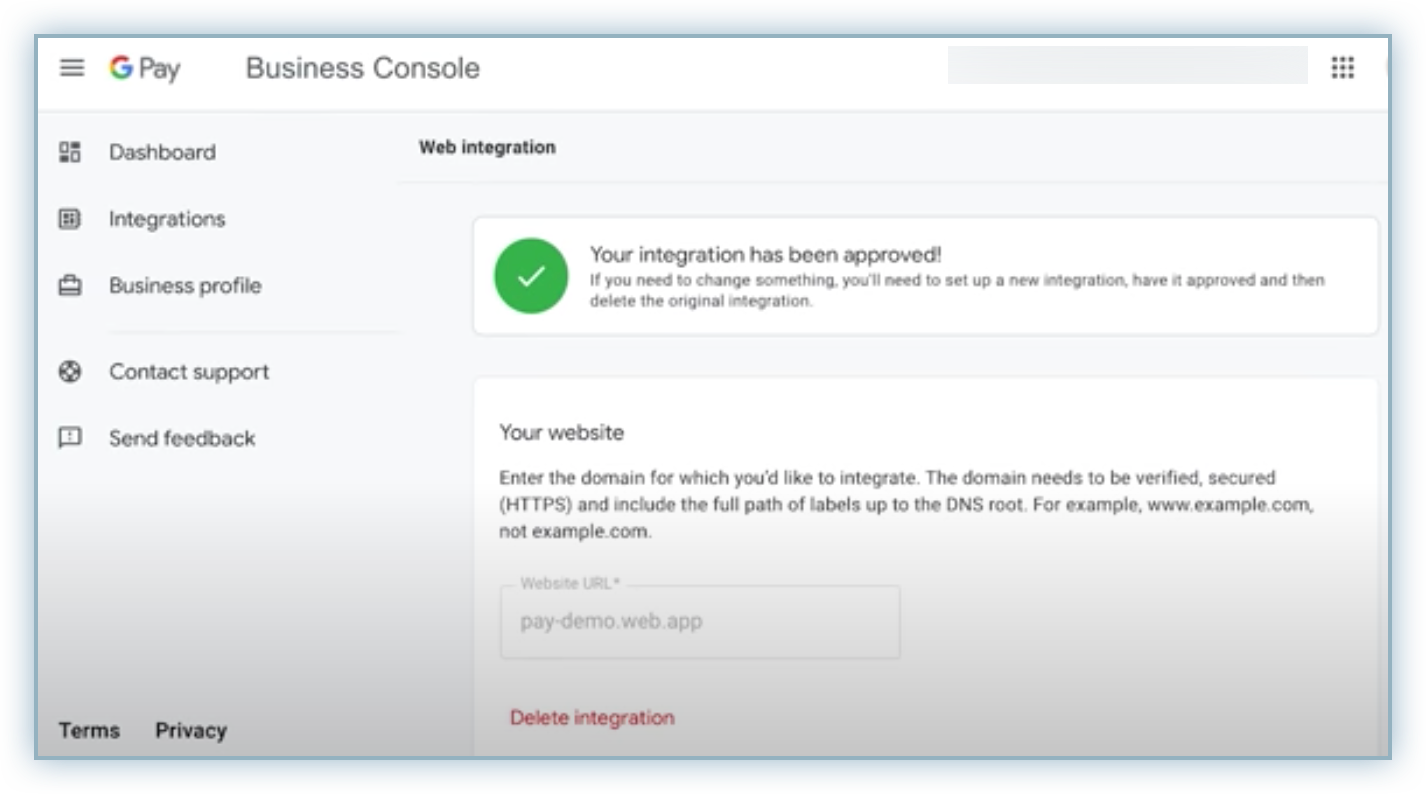
You will receive notification of approval by email and your Google Business Console dashboard displays the approval status too. Review the screenshot below for an approved integration:
Follow the steps below to configure Google Pay via Stripe for your Chargebee site:
Configure your Stripe Payment Gateway in Chargebee. If you have already configured Stripe, click Settings > Configure payment gateway > Stripe.
Toggle to enable Google Pay.
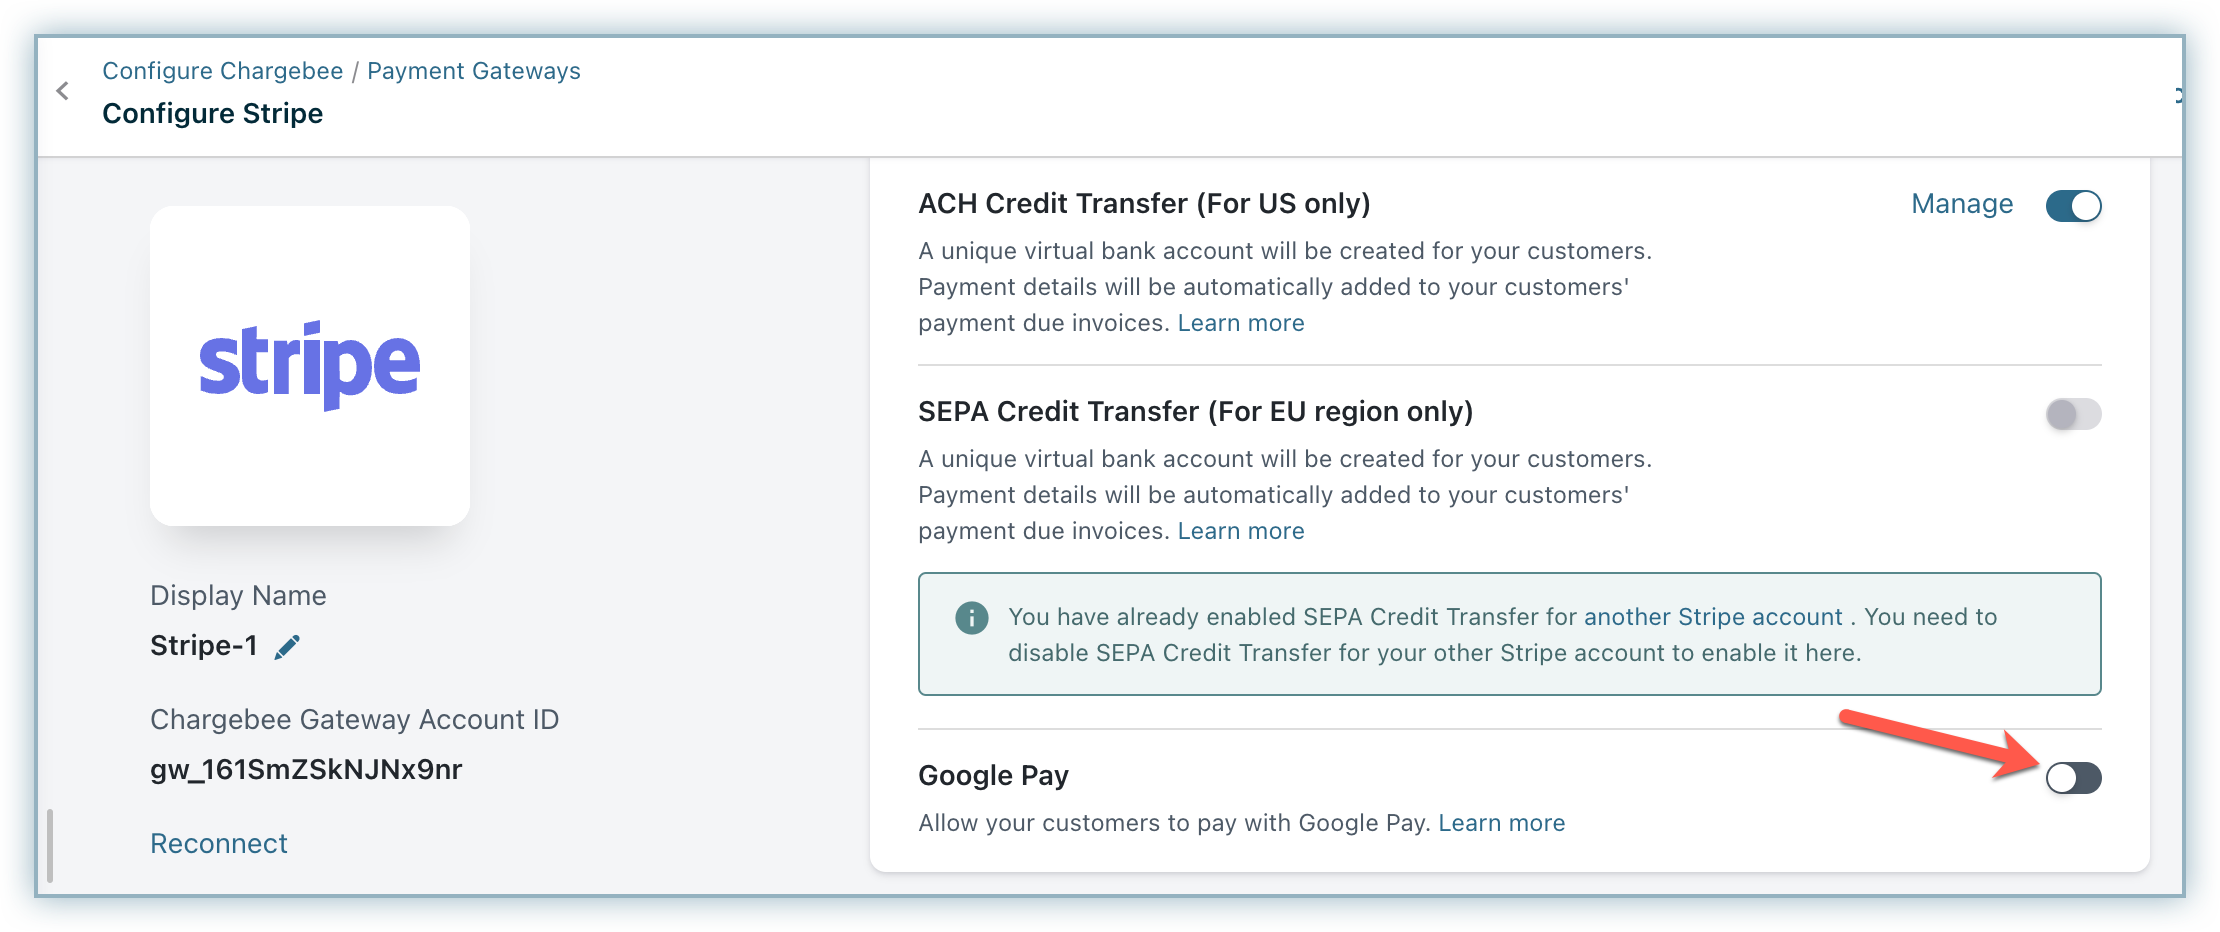
Update the Google Merchant ID field and click Save.
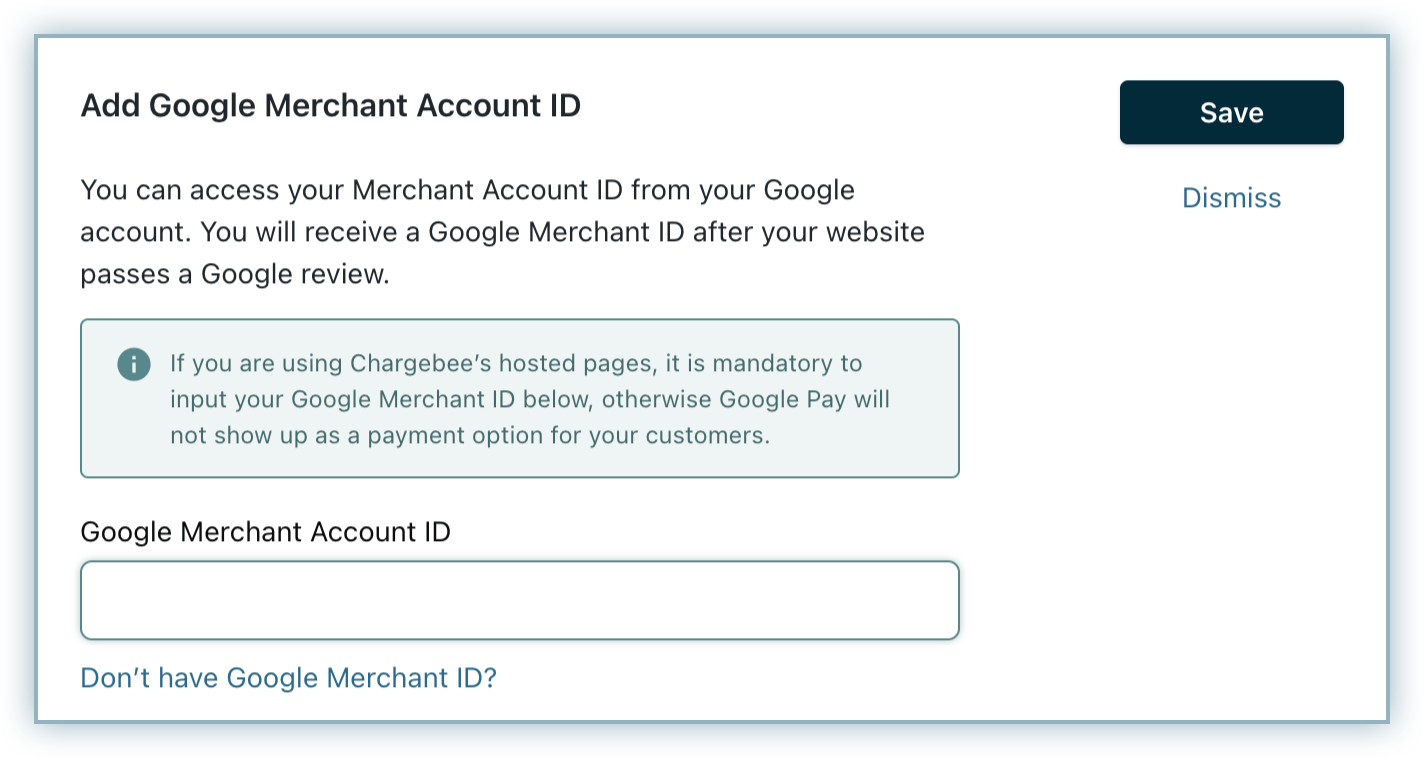
This step is mandatory if you intend to use Chargebee's Hosted pages.
The customer's payment flow when a customer selects Google Pay using Chargebee's checkout is as follows:
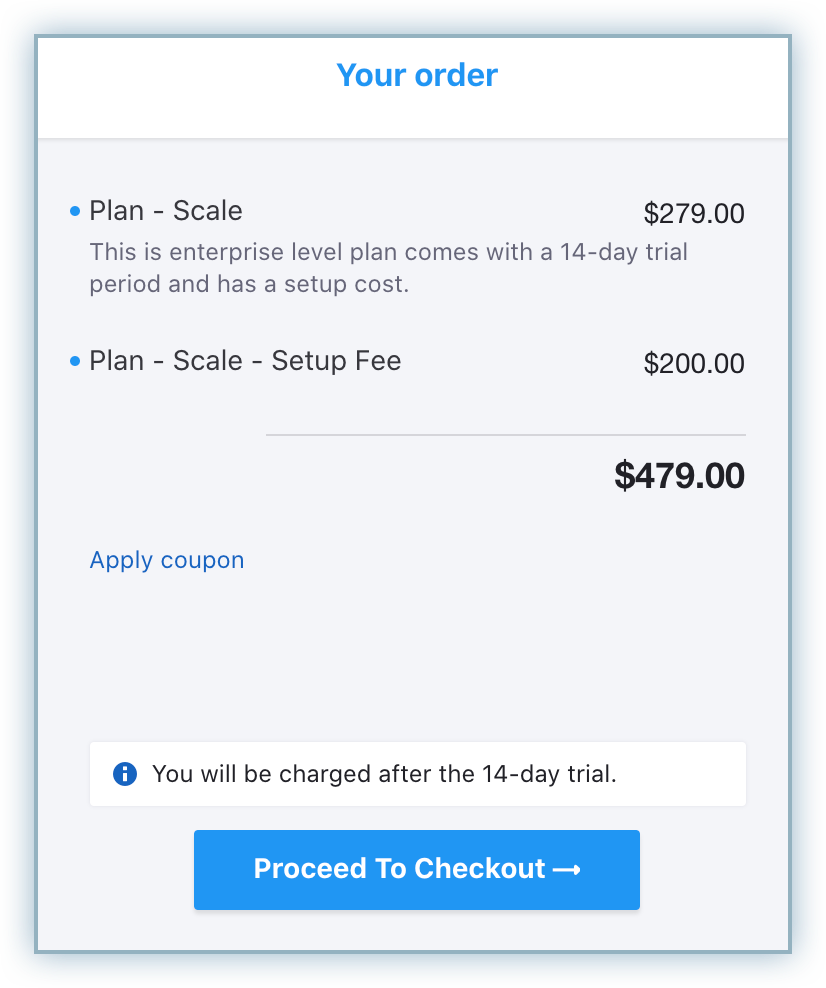
Click Proceed to Checkout from Your order screen to initiate a purchase.
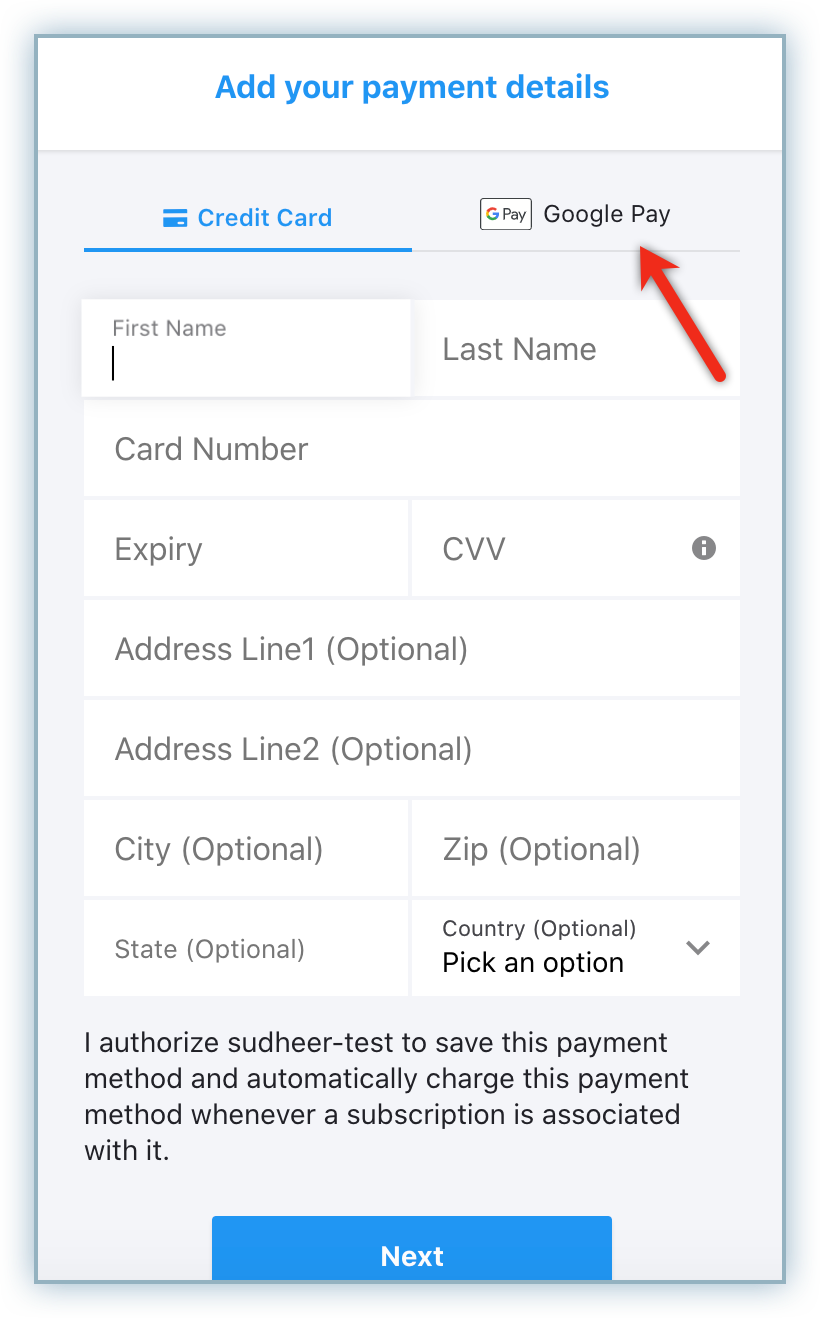
Click the Google Pay tab from the Add your payment details pop-up window.
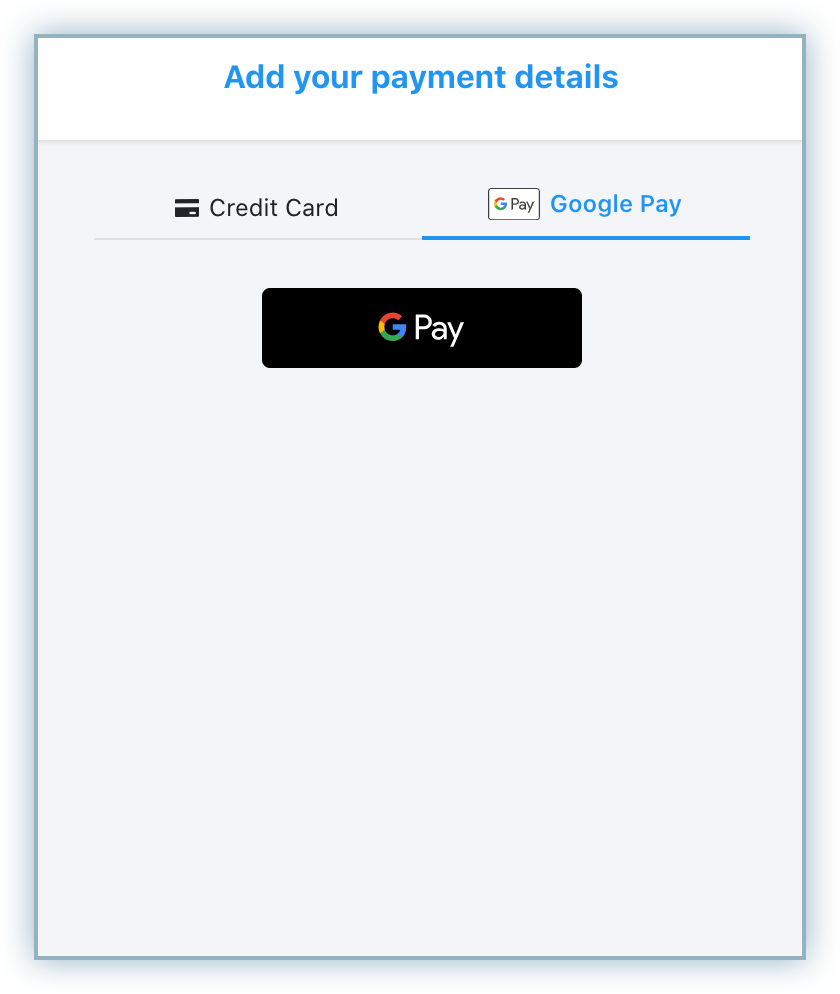
Click GPay.
The Google Pay sheet/pop-up displays and the customer is prompted to log in to their Google Account. The customer can choose to select an existing card or add a new card to make the payment.
Once the payment is made, the customer is redirected to Chargebee.
On completing the checkout, the payment method is linked to the customer. Recurring payments will happen using the selected card in Google Pay.
