This feature is a Private Beta Release. Contact support to enable EBANX for your Test and Live site.
EBANX is a payment gateway and financial technology company that focuses on facilitating local payments for businesses operating in Latin America. As a payment gateway, EBANX provides a range of services to enable international merchants to accept payments from customers in Latin American countries.
A key benefit of Ebanx is its capability to enable businesses to accept and process payments within Latin America locally, rather than as cross-border transactions, without the necessity of establishing a local entity in Latin American markets. By utilizing a domestic processor, businesses can potentially achieve higher payment authorization rates, minimize payment failures, and potentially save on processing and international fees. Moreover, this approach eliminates the expenses associated with setting up and maintaining a local entity solely for local payment processing purposes.
This integration between EBANX and Chargebee supports the following countries and their currencies:
| Country | Currency | Country | Currency | Country | Currency |
|---|---|---|---|---|---|
| Argentina | ARS (Peso) | Bolivia | BOB (Boliviano) | Brazil | BRL (Real) |
| Chile | CLP (Peso) | Colombia | COP (Peso) | Costa Rica | CRC (Colón) |
| Dominican Republic | DOP (Peso) | Ecuador | USD (Dollar) | El Salvador | USD (Dollar) |
| Guatemala | GTQ (Quetzal) | Mexico | MXN (Peso) | Panama | PAB (Balboa) |
| Paraguay | PYG (Guarani) | Peru | PEN (Nuevo Sol) | Uruguay | UYU (Peso) |
In addition to supporting major global card schemes like Visa and Mastercard, our integration extends its capabilities to include popular local card schemes across Latin America. This expansion enhances your regional presence, granting access to a broader customer demographic. Notable schemes encompassed within this integration are Elo and Hipercard in Brazil, along with others such as CMR_FALABELLA, ARGENCARD, and CENCOSUD, providing comprehensive coverage across the region's diverse payment landscape.
Chargebee offers the following options to integrate with EBANX:
Review the table below for additional information:
| Integration Method | Description | PCI Requirements |
|---|---|---|
| Chargebee Hosted Pages NOTE: HPv3 is supported. |
In this method, the card information of the customers are collected by Chargebee's checkout and directly passed on to EBANX. | Low (Your PCI compliance requirements are greatly reduced due to usage of Chargebee's checkout) |
| Chargebee API + EBANX Gateway | In this method, collecting card information should be handled at your end and passed on to Chargebee via the API. Chargebee will route this card information directly to EBANX. | High (card information will be collected by you directly, you will have to take care of PCI Compliance requirements) |
| Chargebee JS | Raw card details You will collect raw card details via your custom checkout and pass them to Chargebee.js 3DS Helper to conduct 3DS flow. However, this will need you to ensure PCI compliance. |
High (card information will be collected by you directly, you will have to take care of PCI Compliance requirements) |
| Chargebee JS (Chargebee Components and Fields) | In this method, the card information of the customers are collected by Chargebee's components and fields and tokenized with Ebanx. | Low (Your PCI compliance requirements are greatly reduced due to usage of Chargebee's components and fields) |
| EBANX.js + Chargebee API | Using EBANX's Web Components+Chargebee.js. Collect Card details using EBANX's hosted fields and tokenize using Chargebee.js. |
Low |
Follow the steps below to fetch the information that you will be required to enter during your gateway configuration in your Chargebee site:
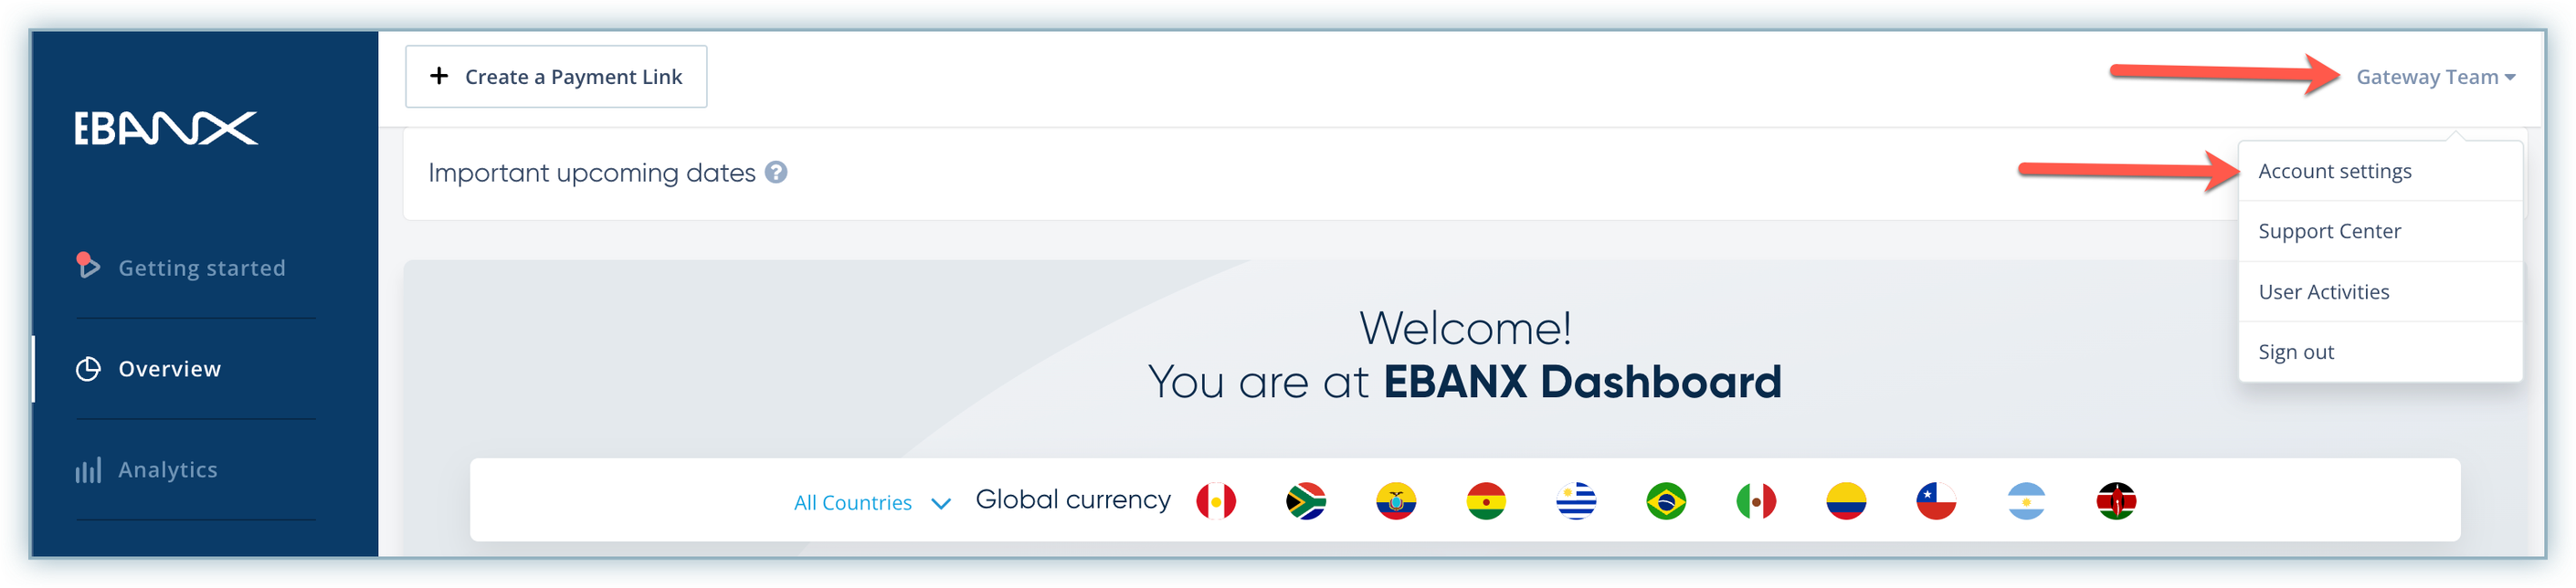
Login to your EBANX account .
Click on your profile name to expand the drop-down menu, and click Account Settings.
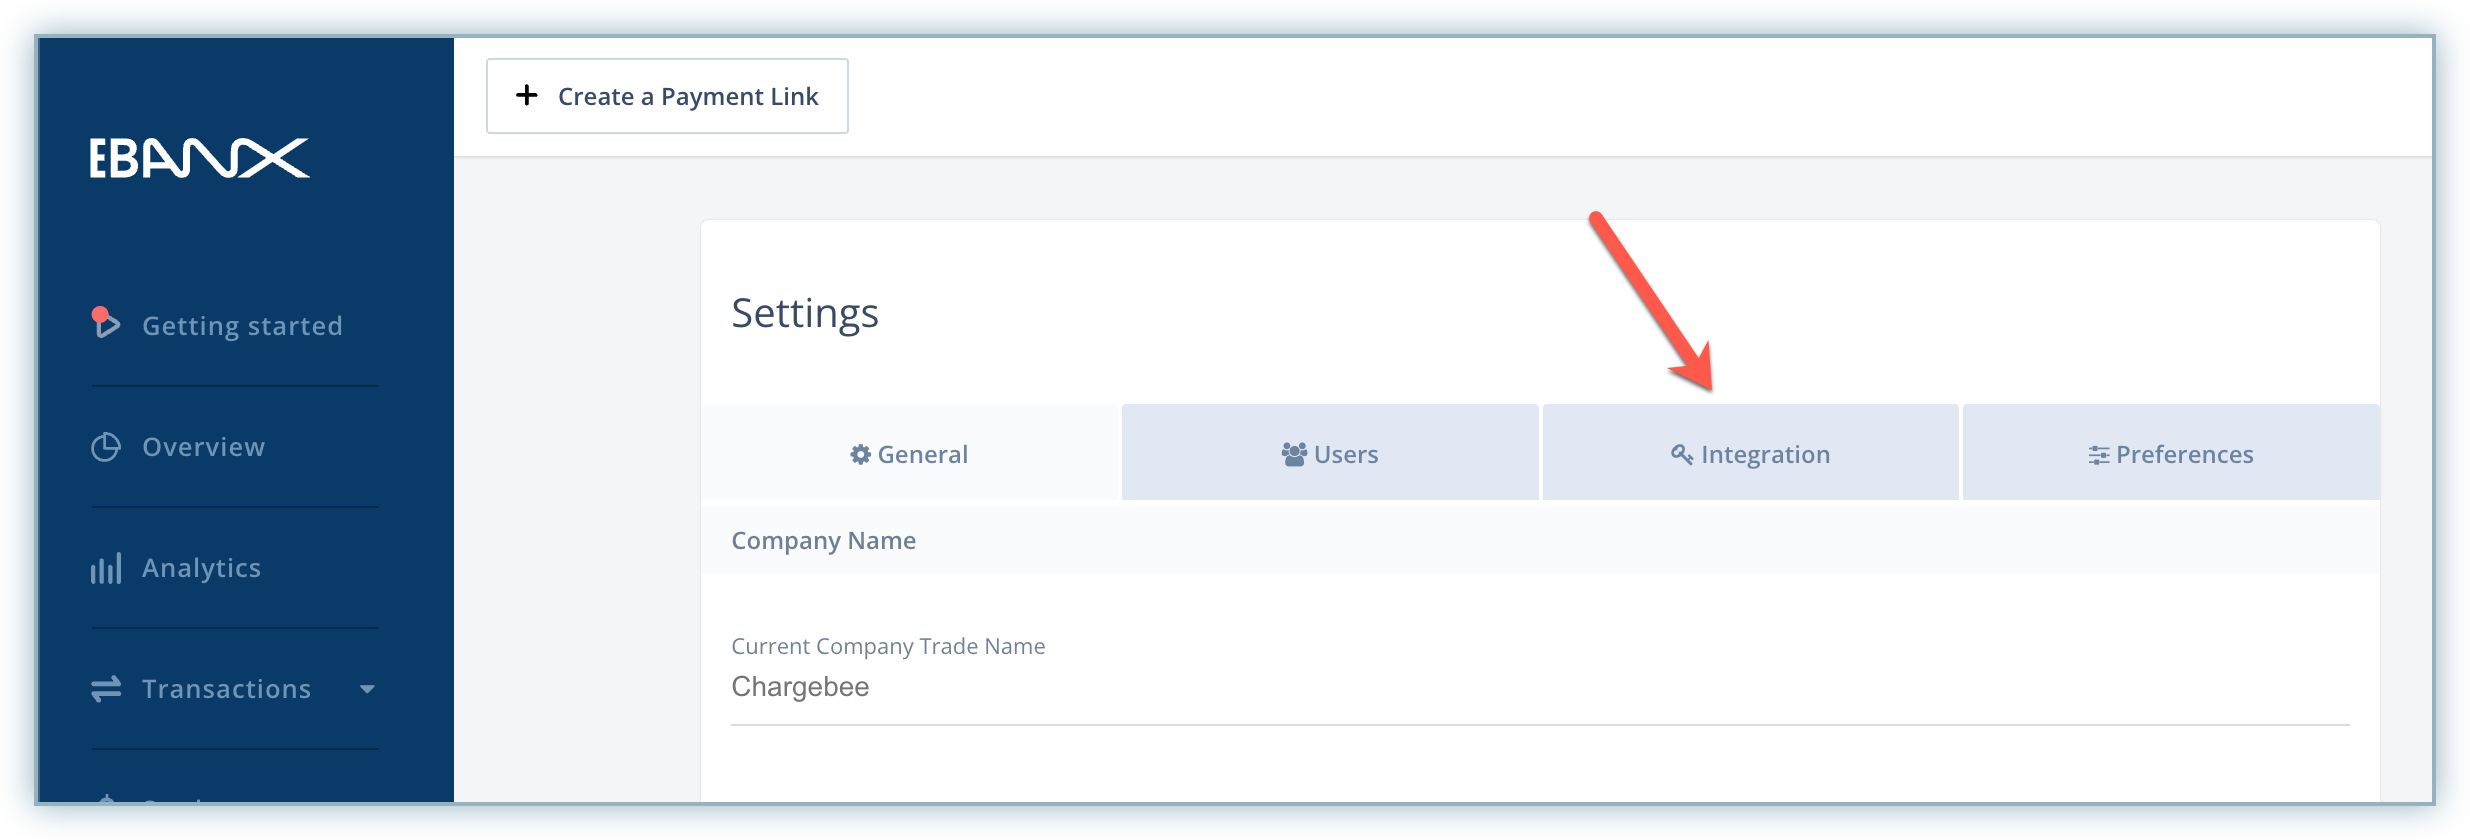
Select the Integration tab on the Settings page.
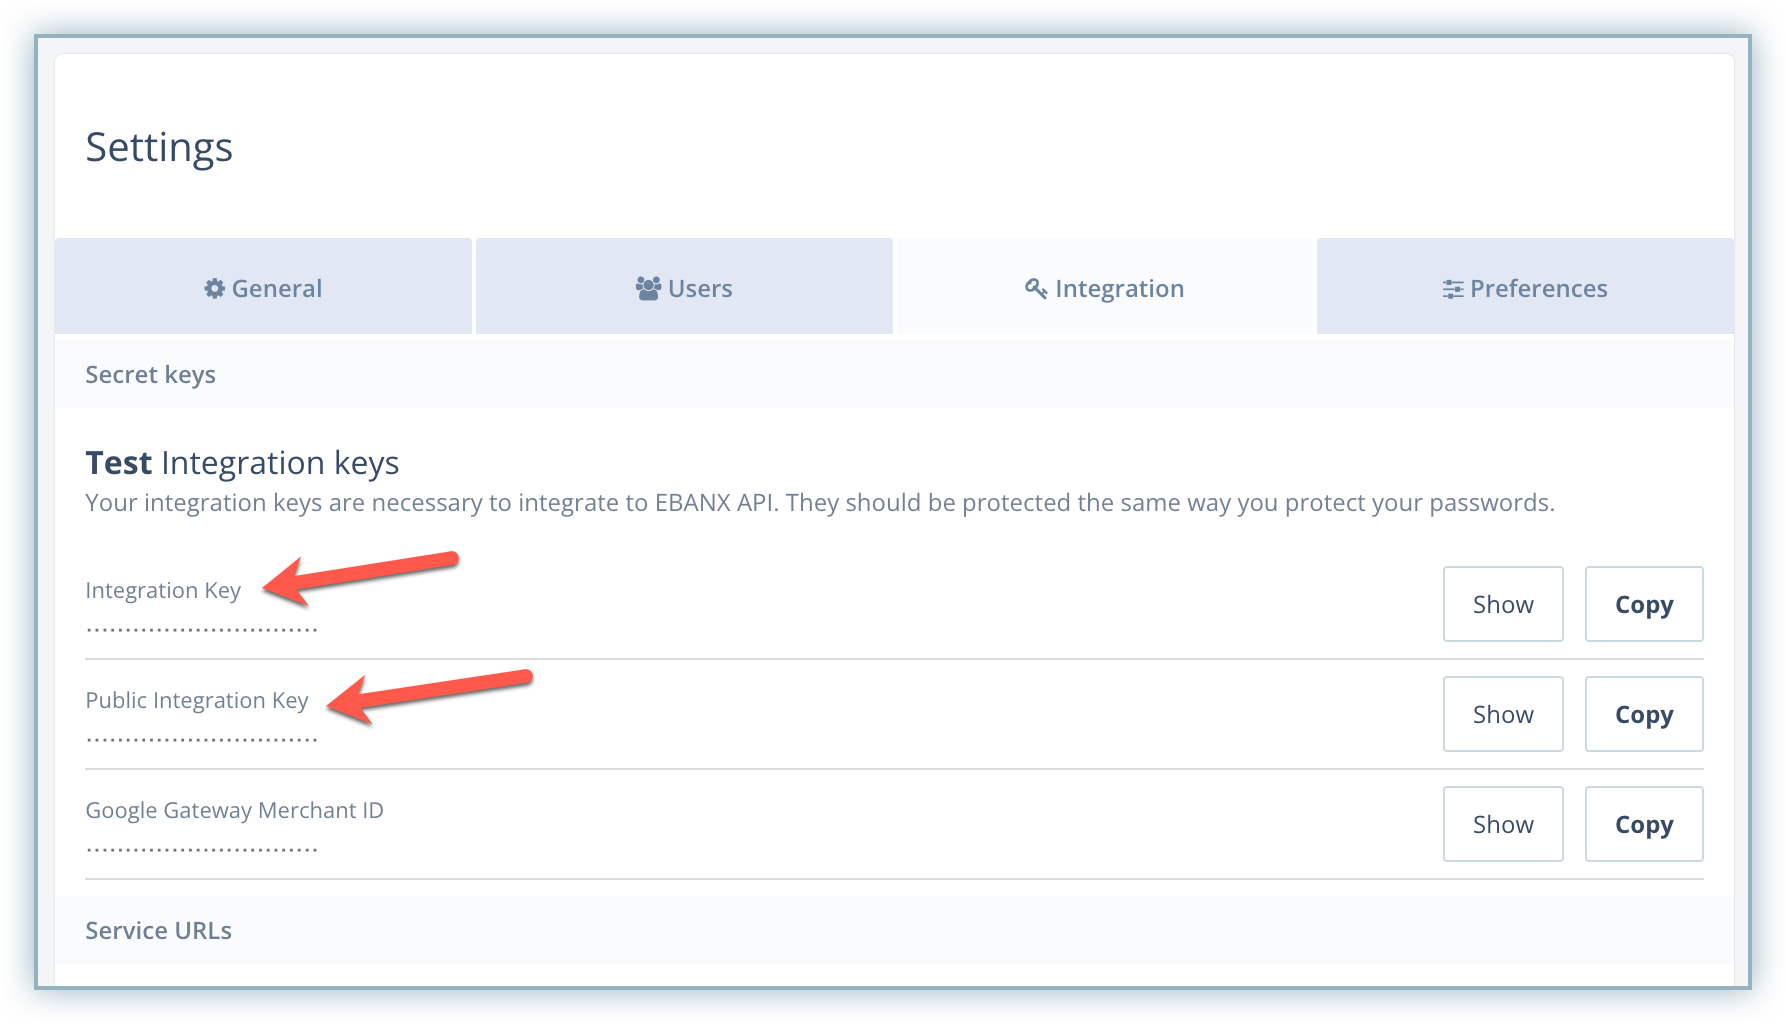
Copy the Integration Key and Public Integration Key under the Test Integration Keys section. Save these for future use during the gateway configuration in your Chargebee site.
Follow the steps below to add and configure EBANX as a gateway in your Chargebee site:
Login to your Chargebee site .
Go to Settings > Configure Chargebee > Payment Gateways.
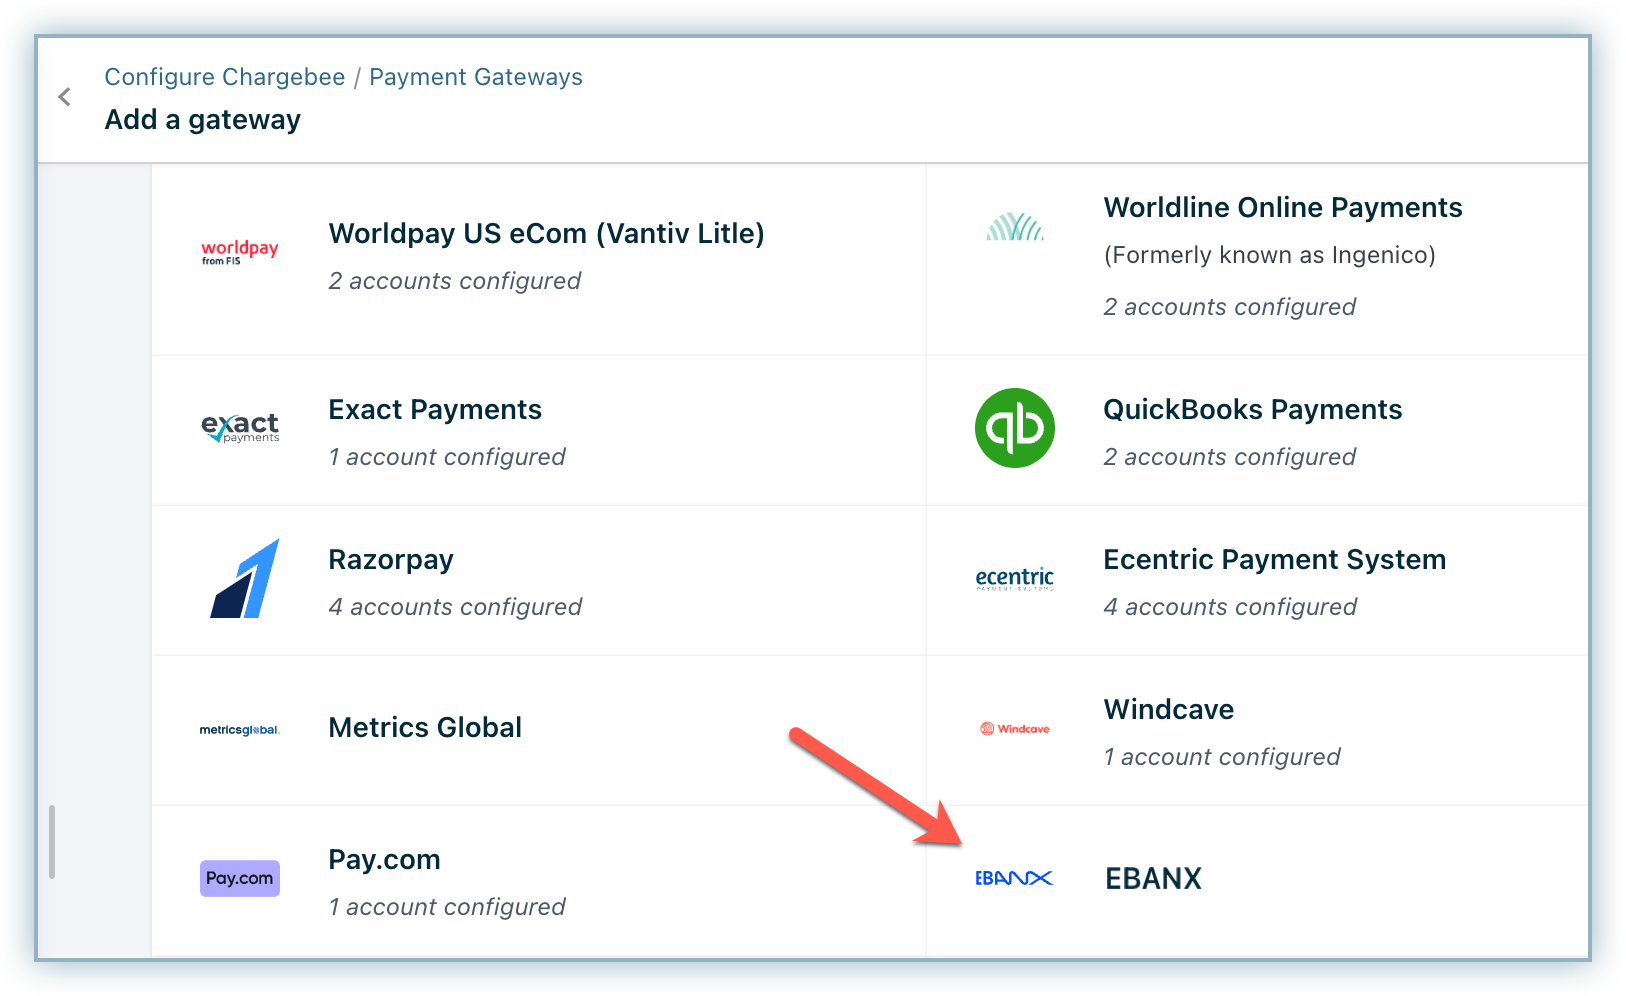
Click the Add Gateway button in the top right corner and select EBANX from the list of gateways.
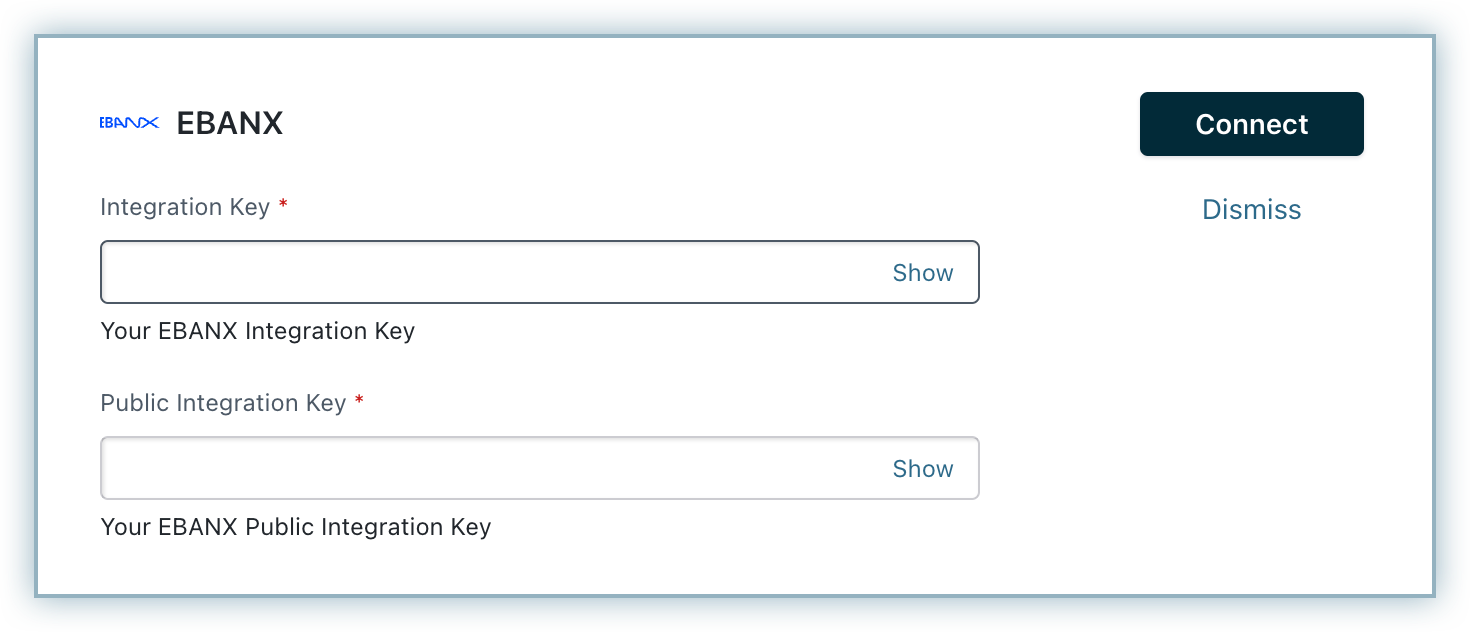
Enter the Integration Key and Public Integration Key in the dedicated fields as copied from your EBANX account.
Click Connect. EBANX will be added to your account successfully if the added credentials are correct.
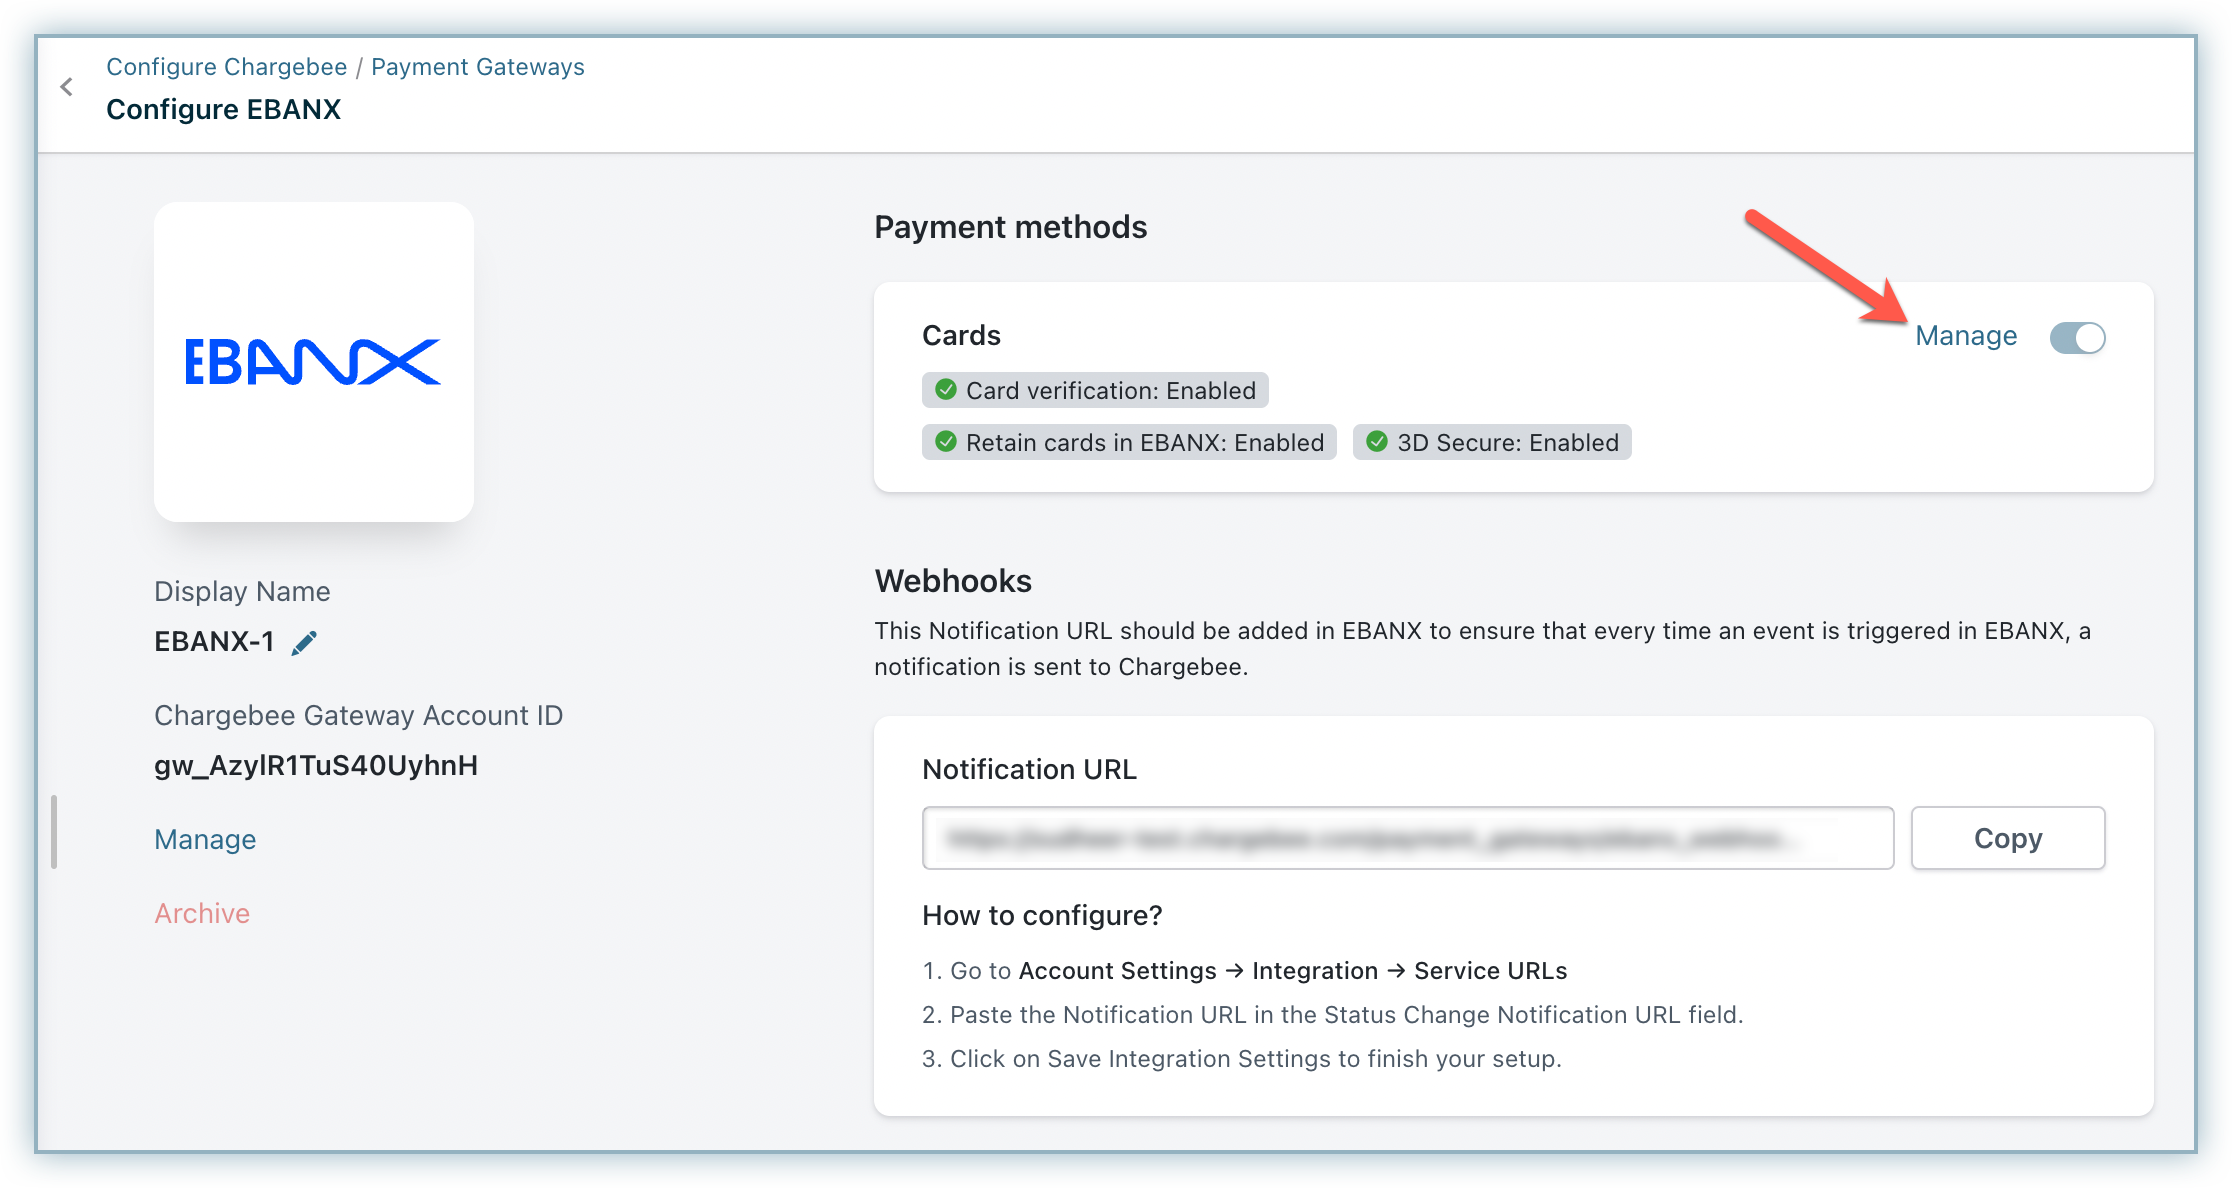
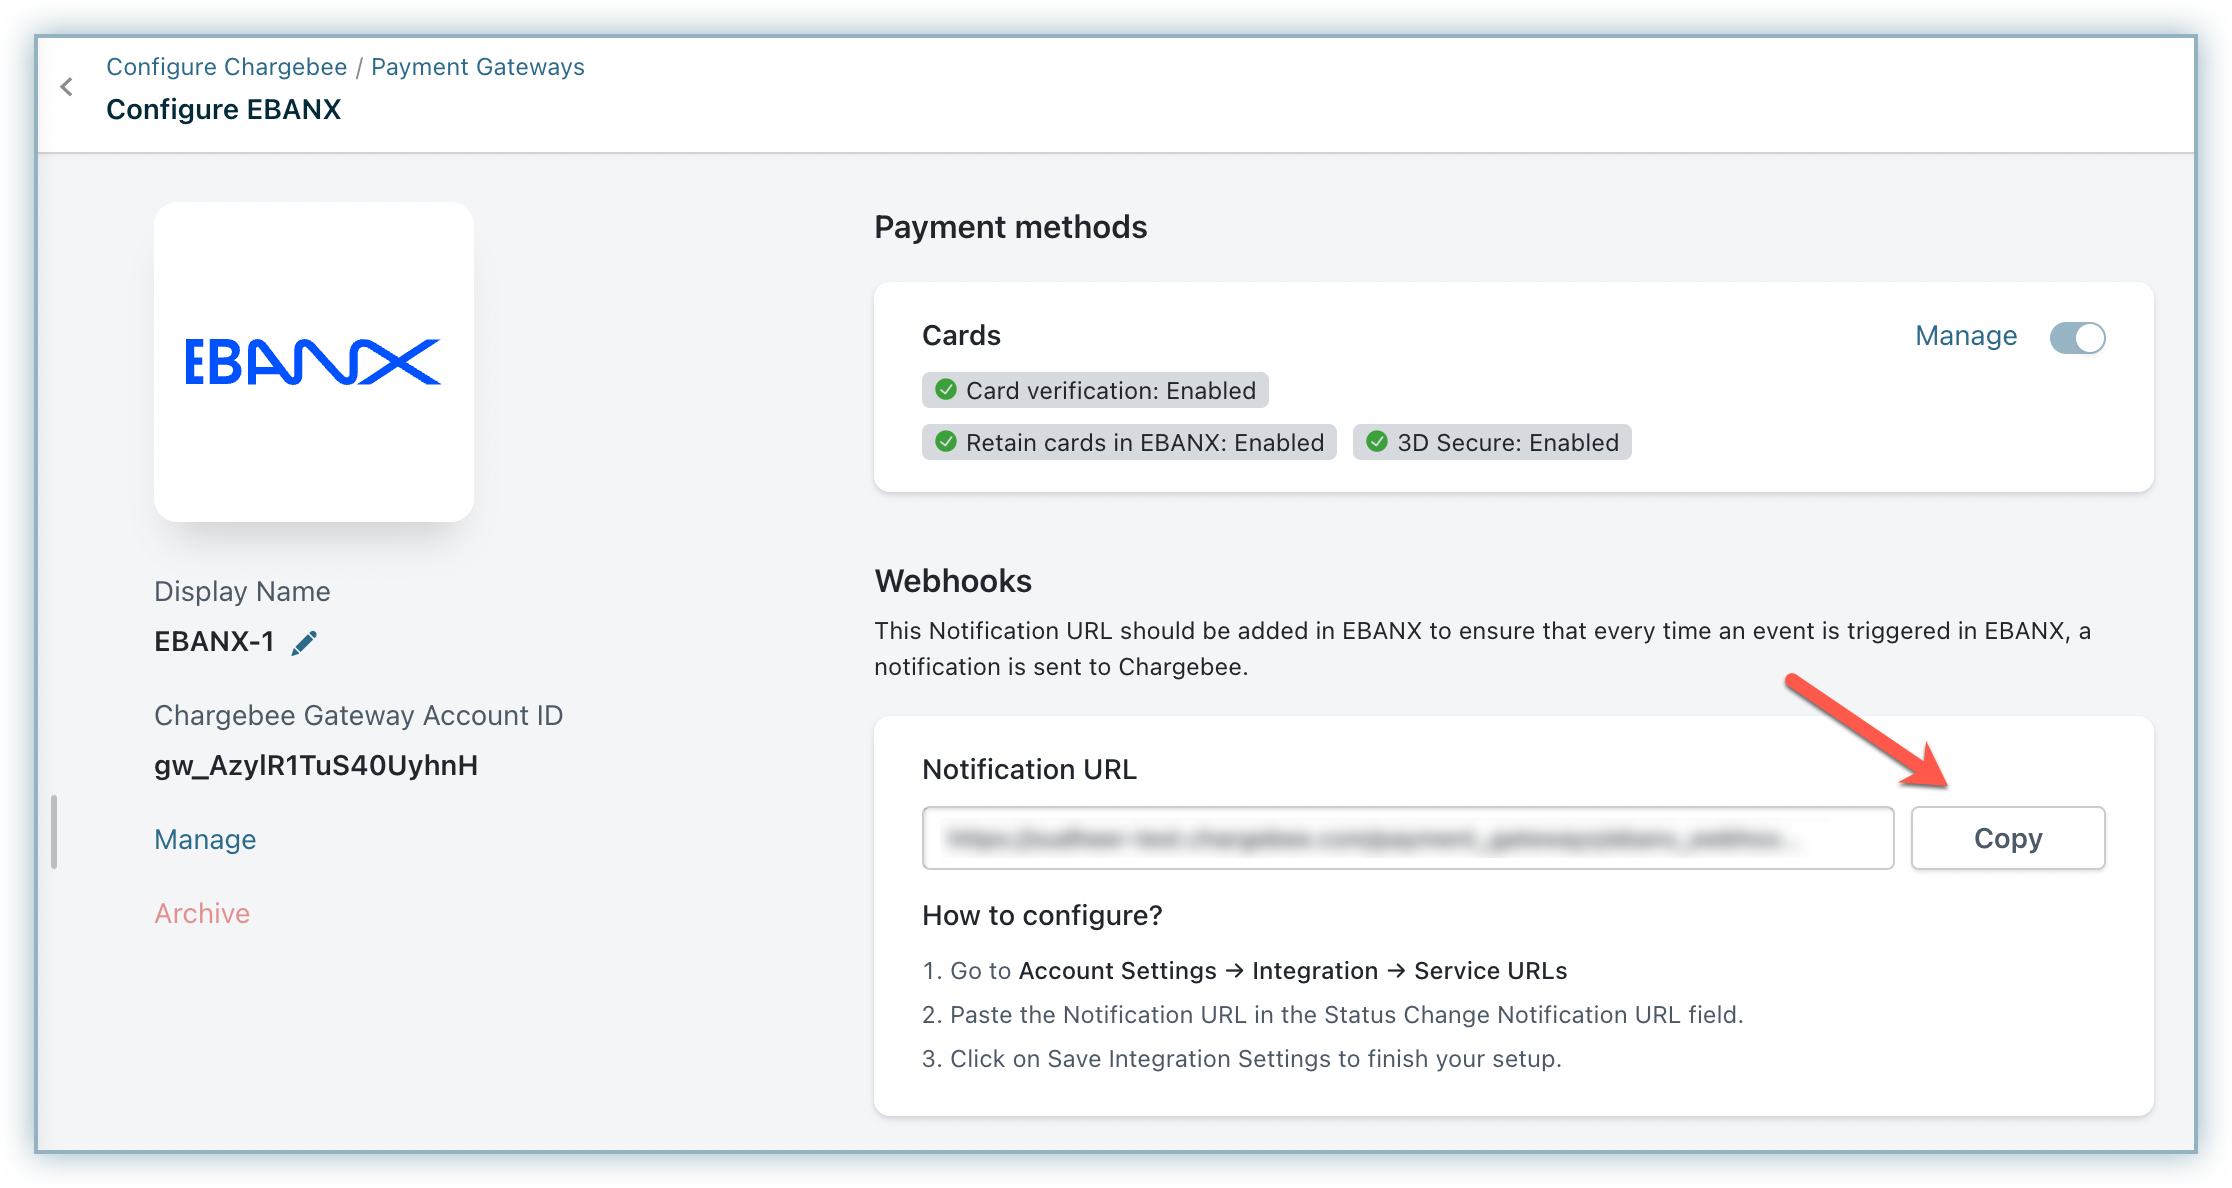
Click Manage to set up card-related settings on the Configure EBANX page.
Enable the following as per your requirements:
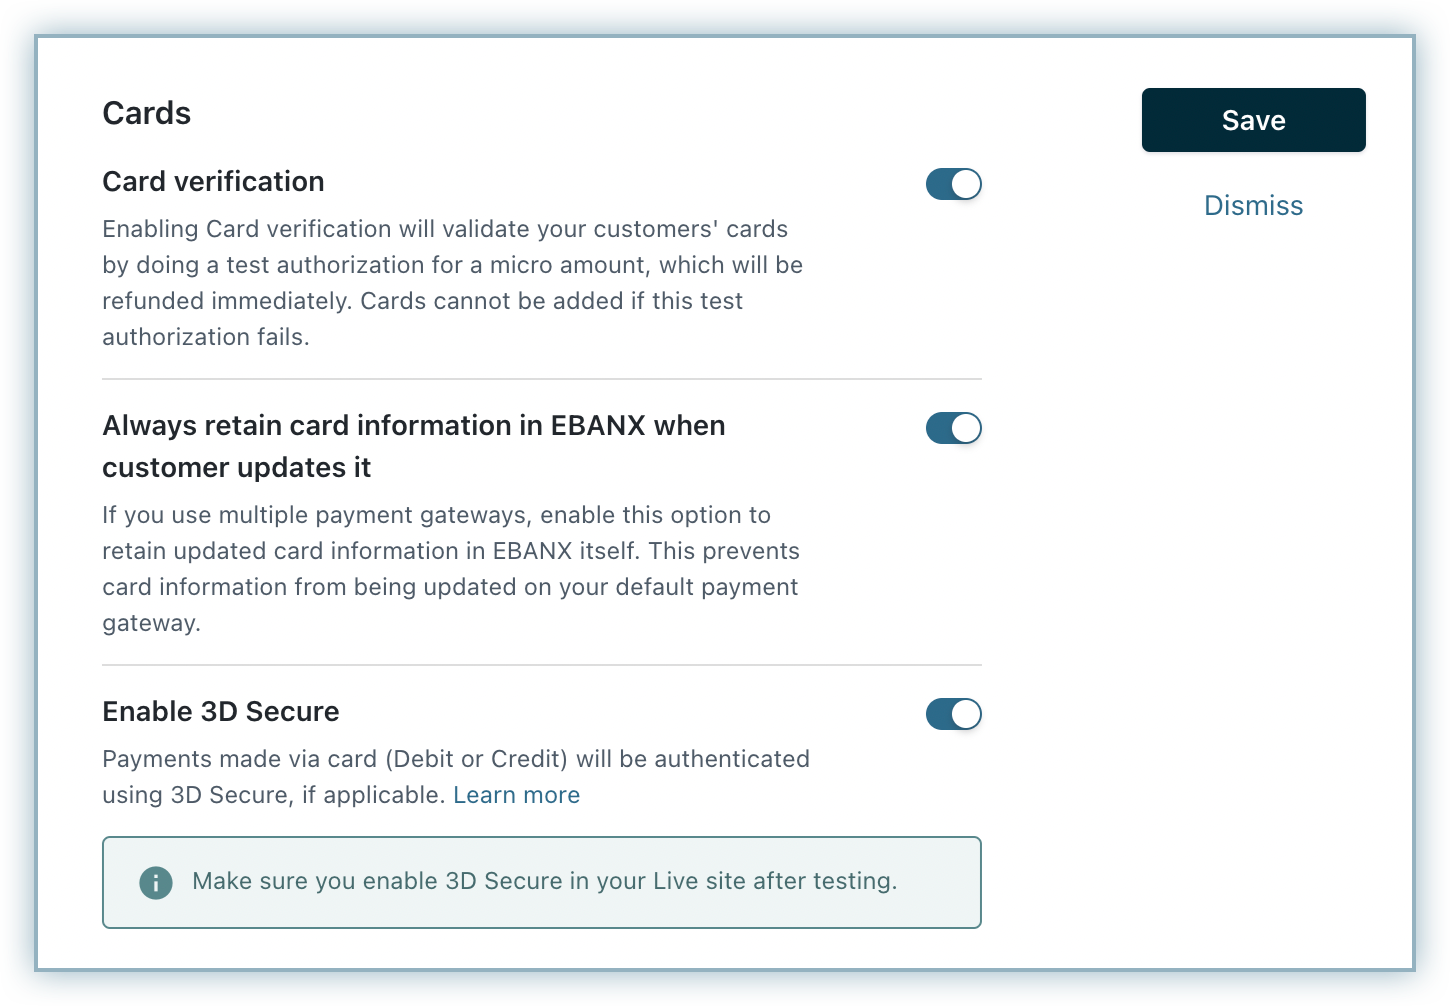
Click Save and then click Apply on the Configure EBANX page.
Webhooks are indispensable when it comes to integrating Chargebee with EBANX as they pass crucial payment information such as payment status, based on which users can take action. Webhooks in this integration should be configured manually. In this integration, the webhooks are used for information regarding refunds and chargebacks.
Follow these steps to configure Webhooks:
Copy the Notification URL from the Configure EBANX page in your Chargebee site.
Move to your EBANX account, click on your profile name to expand the drop-down menu, and click Account Settings.
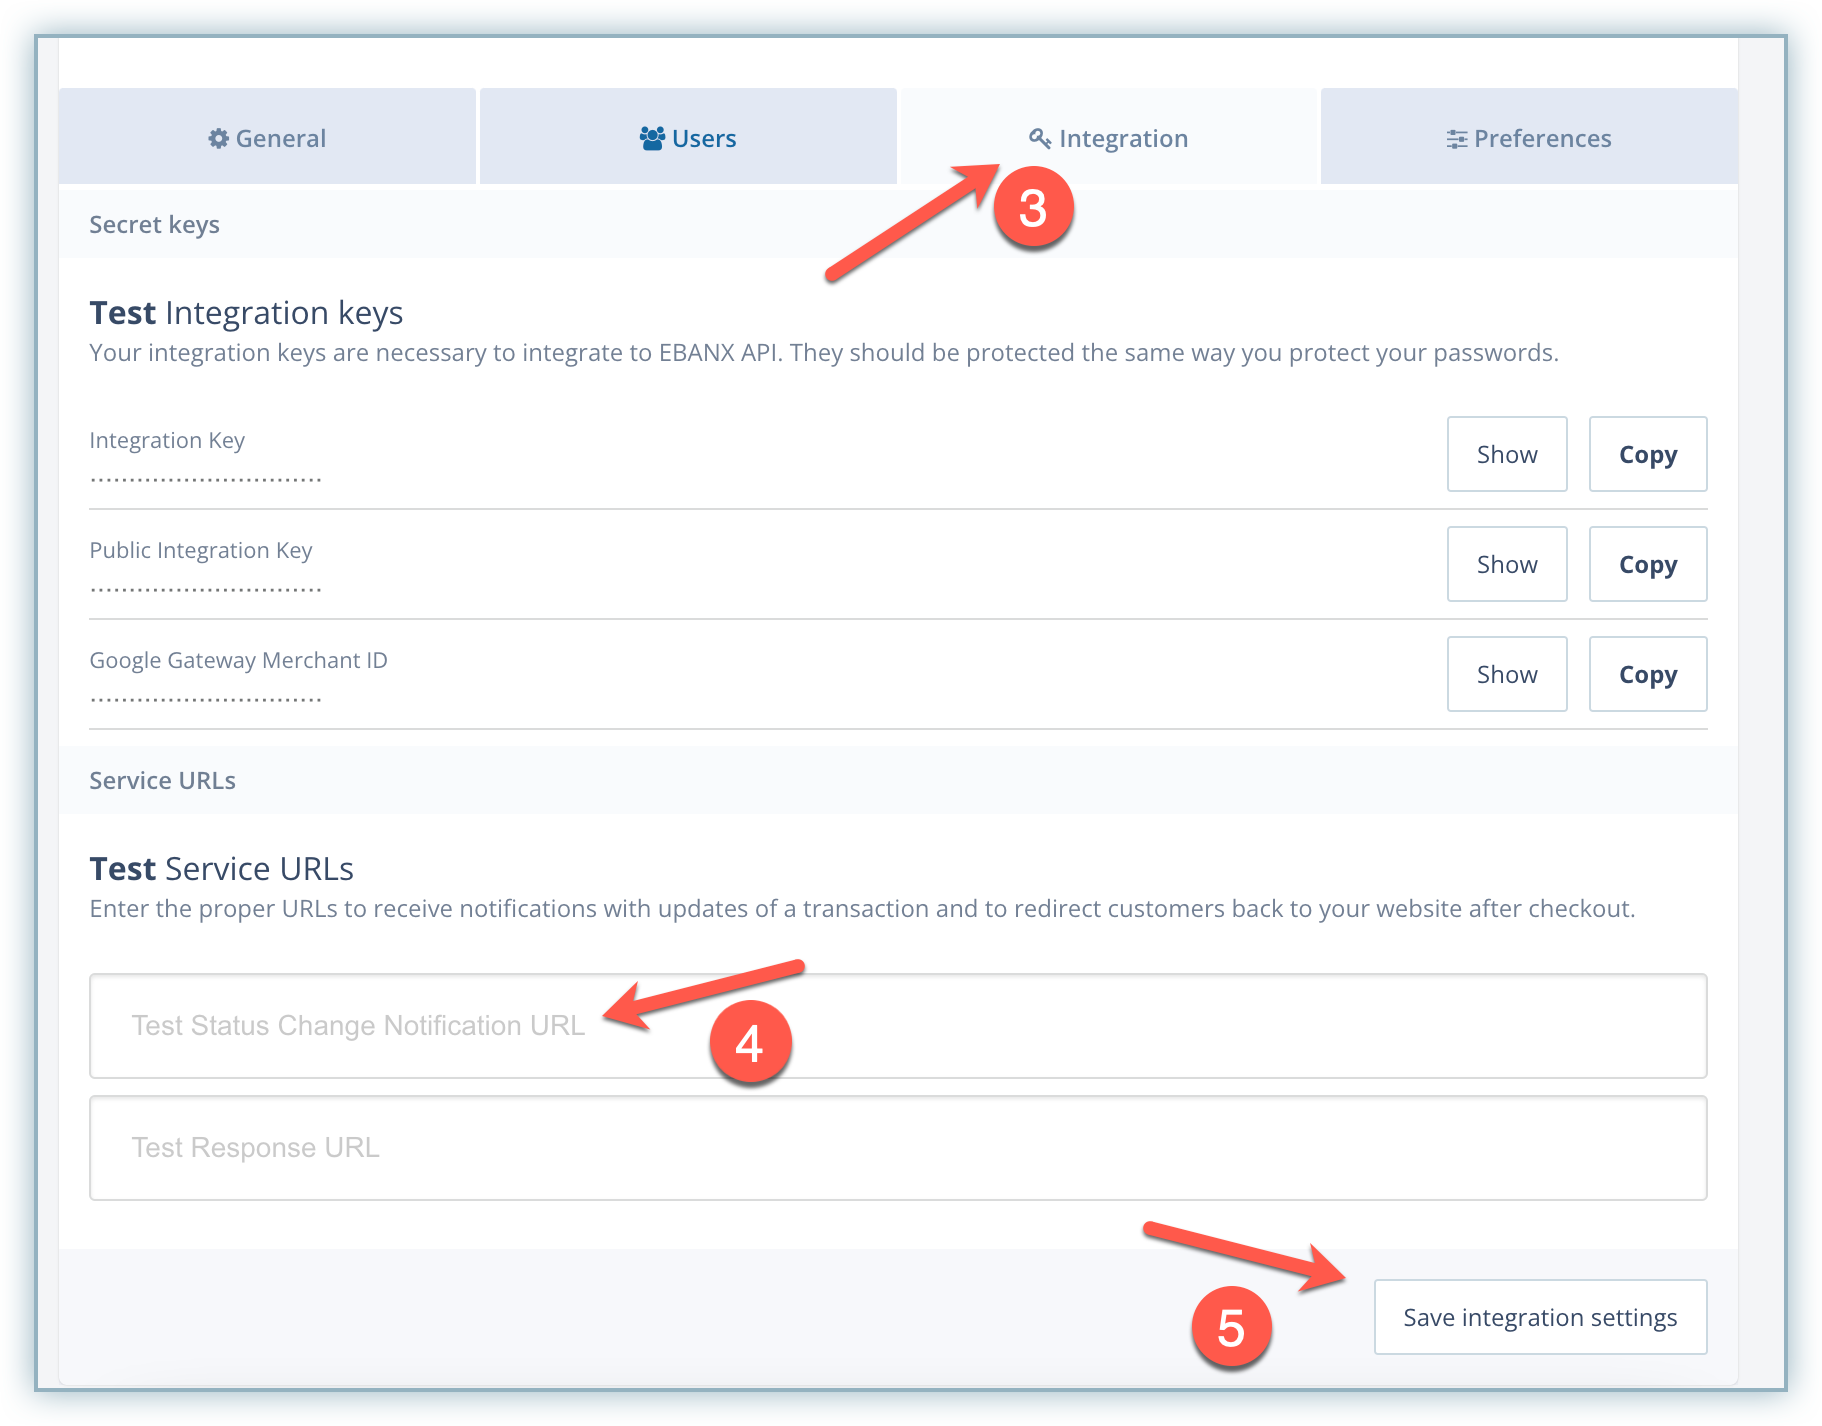
Select the Integration tab on the Settings page.
Paste the Notification URL copied from your Chargebee site into the Test Status Change Notification URL field under the Test Service URLs section.
Click Save Integration Settings.
Chargebee supports the use of EBANX Device Fingerprint as the Device ID for fraud management. This Device ID is linked to the payment. Anti-fraud tools utilize this information to detect potential fraud attempts. Learn more about Device Fingerprint by EBANX.
This feature is supported if you are using the following integration options:
Ebanx integration mandatorily needs the following information, especially in Latin American region:
Let us dive deeper into each setting:
Follow these steps to enable this from your Chargebee site:
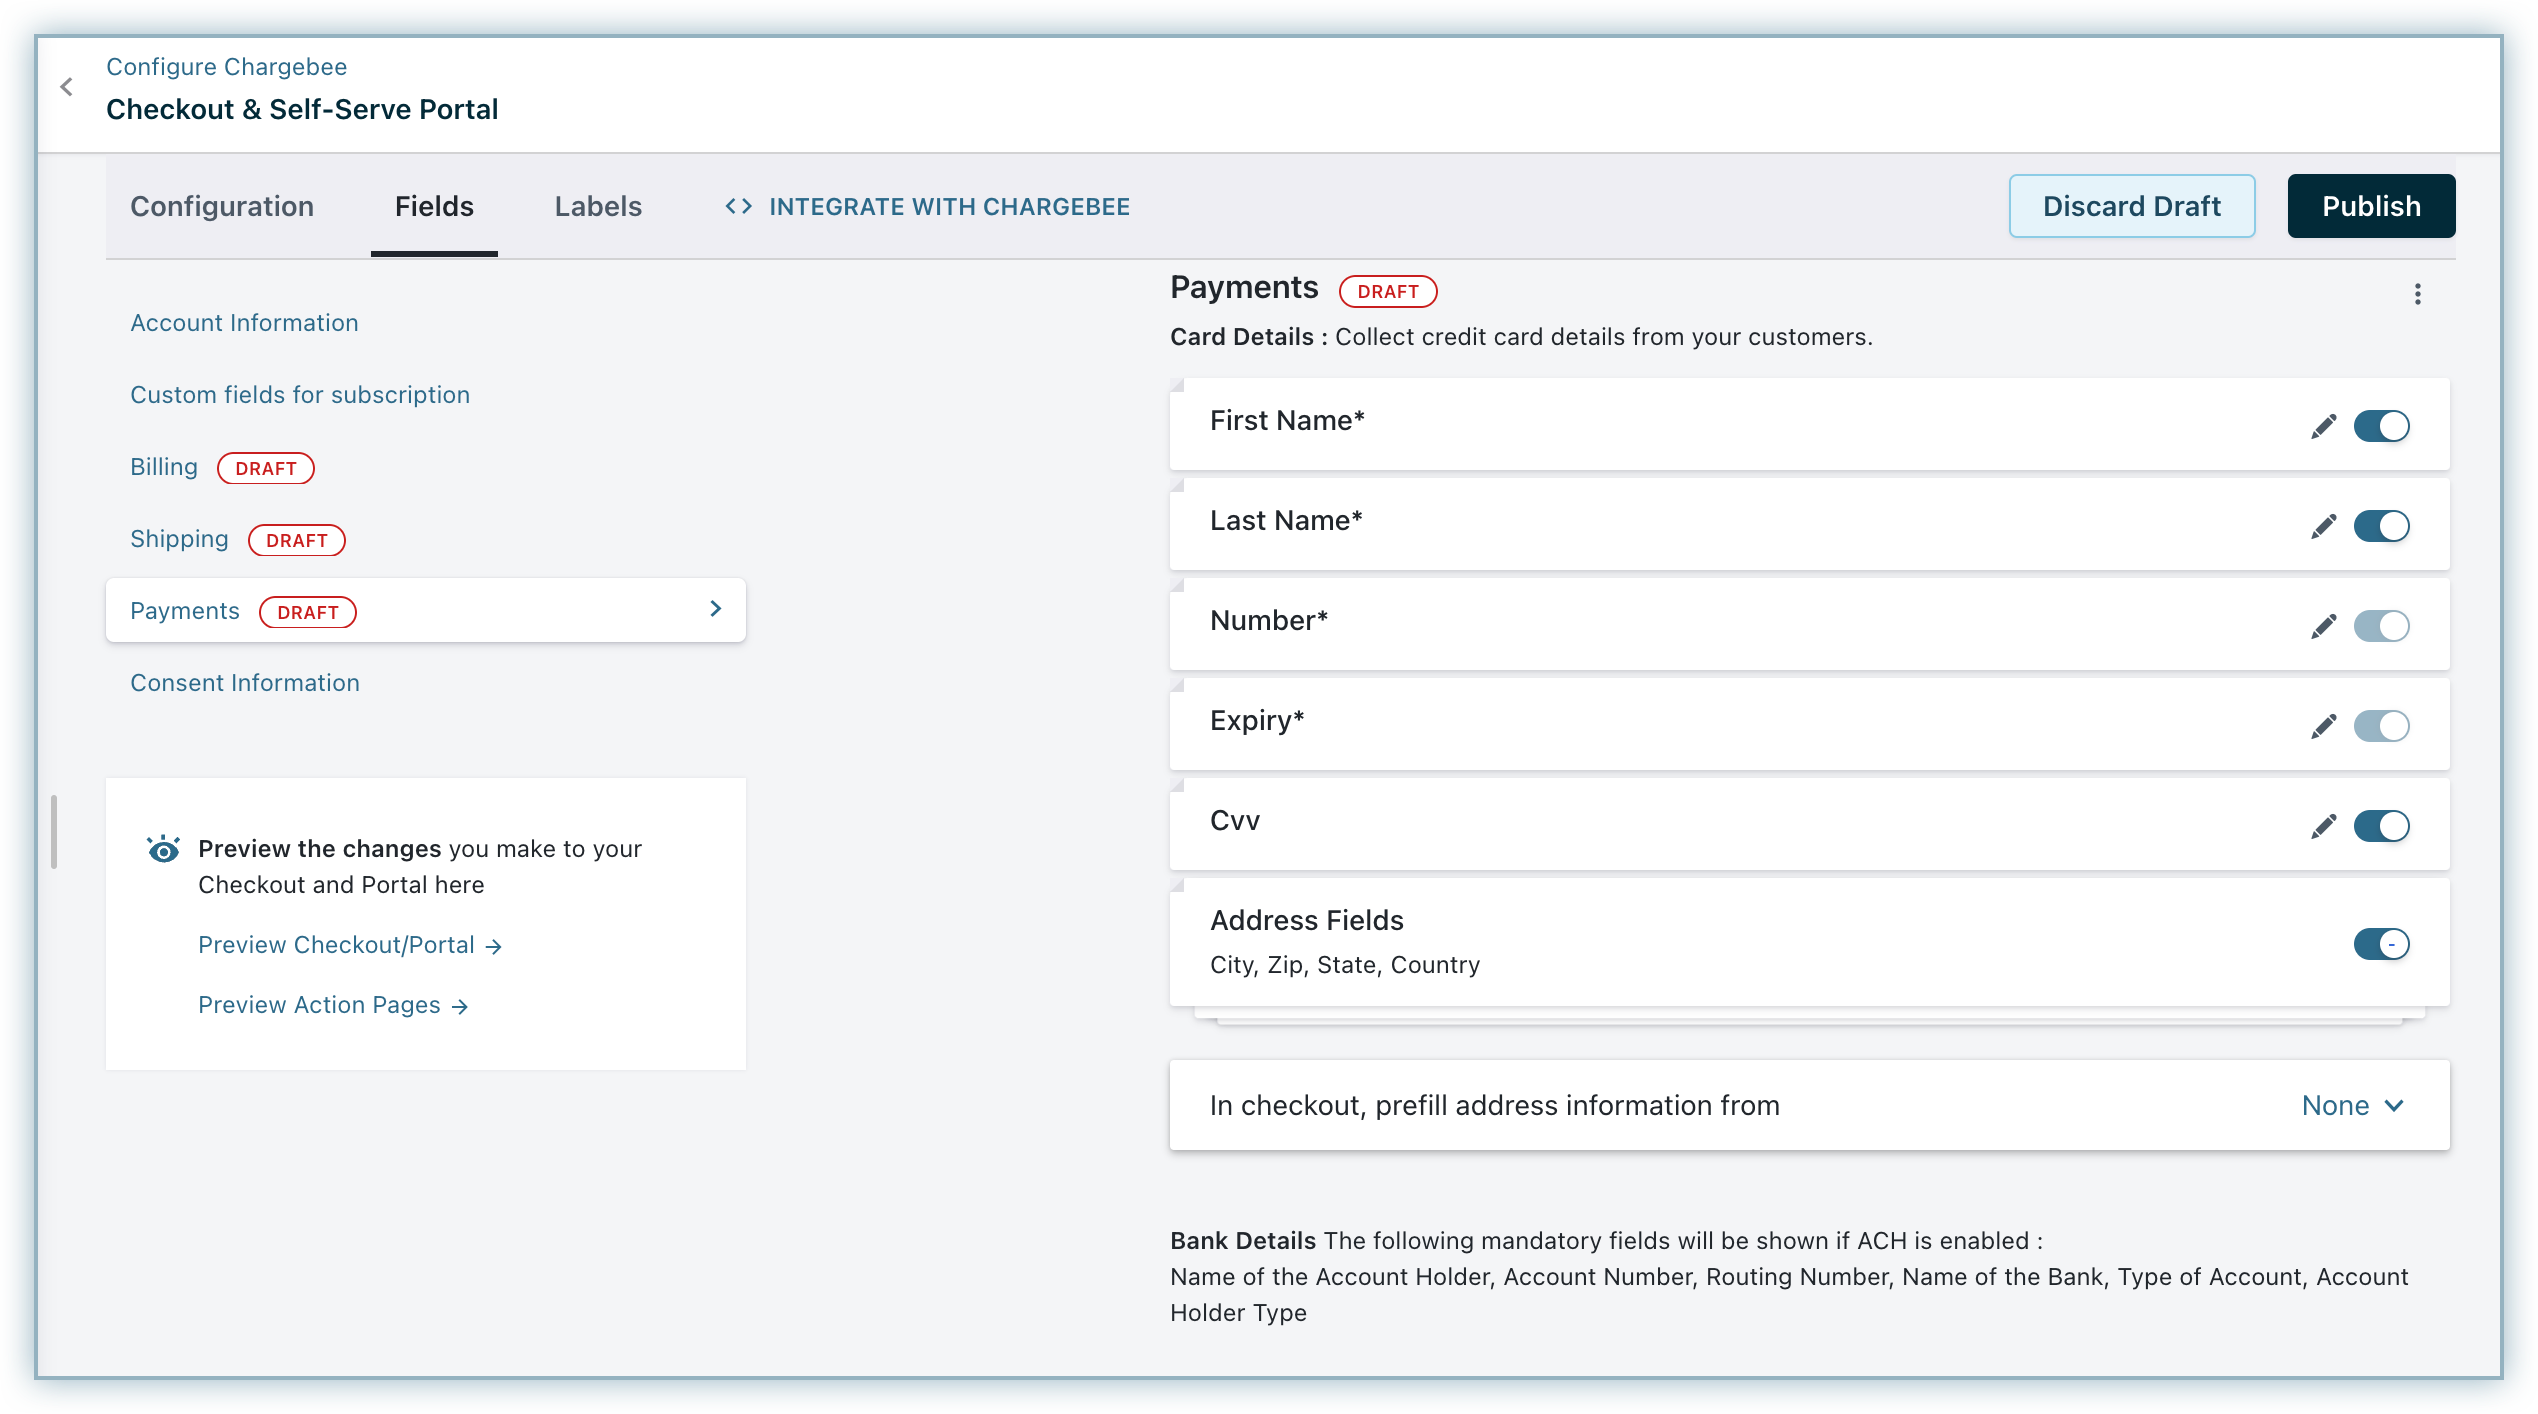
Go to Settings > Configure Chargebee > Checkout and Self-Serve Portal.
Switch to the Fields tab and select Payments.
You must enable the above-listed fields and make it mandatory including the First and Last name.
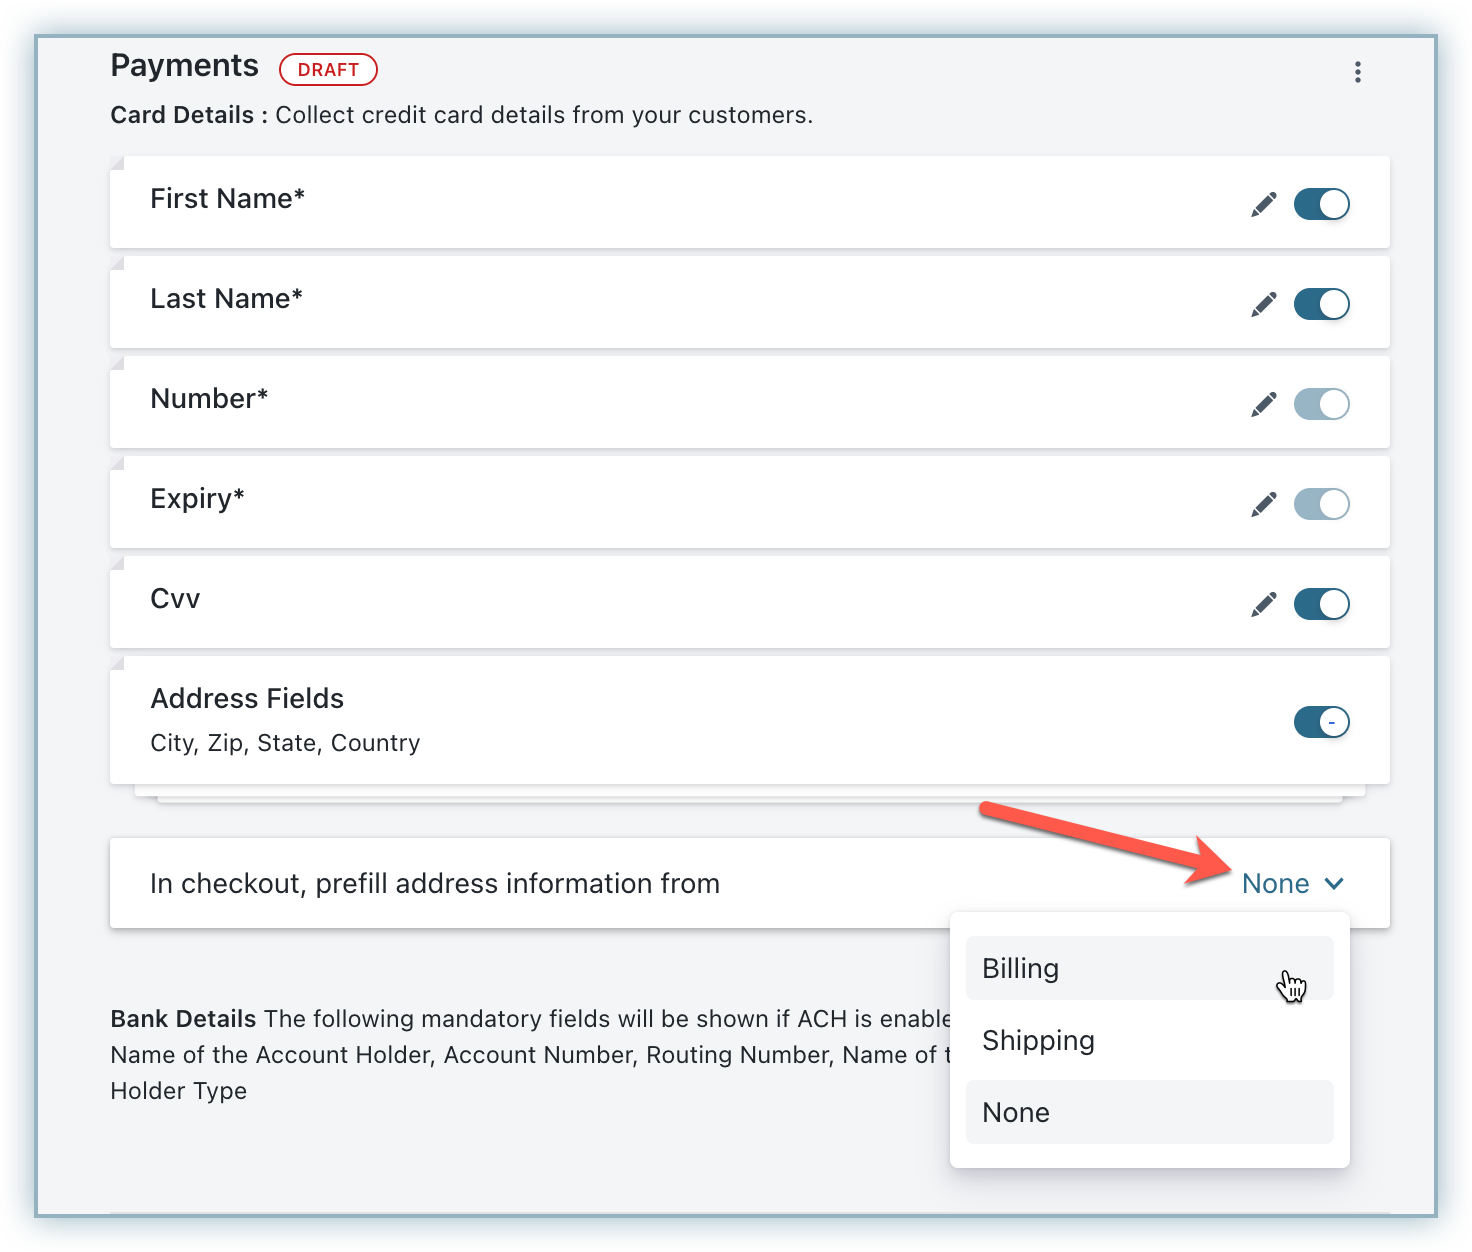
Click Publish. Address fields will appear only if None is selected from the In checkout, prefill address information from drop-down menu.
Choose to prefill address-related information from Billing or Shipping details by selecting the relevant option under the In checkout, prefill address information from drop-down menu.
Document ID is a unique number employed to verify an individual's identity, and its format varies based on the customer's country of origin. For instance, Argentina uses CDI and CUIL, while Brazil employs CNPJ and CPF, among others. Document ID is mandatory in certain Latin American markets for successful payment processing.
The Document ID is mandatorily needed for payment processing in the following countries:
Ebanx > payer > document under it. It is advisable to perform validation for this parameter on your front end.Learn more about document validation.
provided as the value in the card_cvv_mode field to Ebanx. Conversely, for Merchant-Initiated Payments (MIT), Chargebee will send recurrent as the value in the card_cvv_mode field to Ebanx, ensuring proper classification as recurring/MIT payments.Your customers perform the following steps through the checkout flow using EBANX:
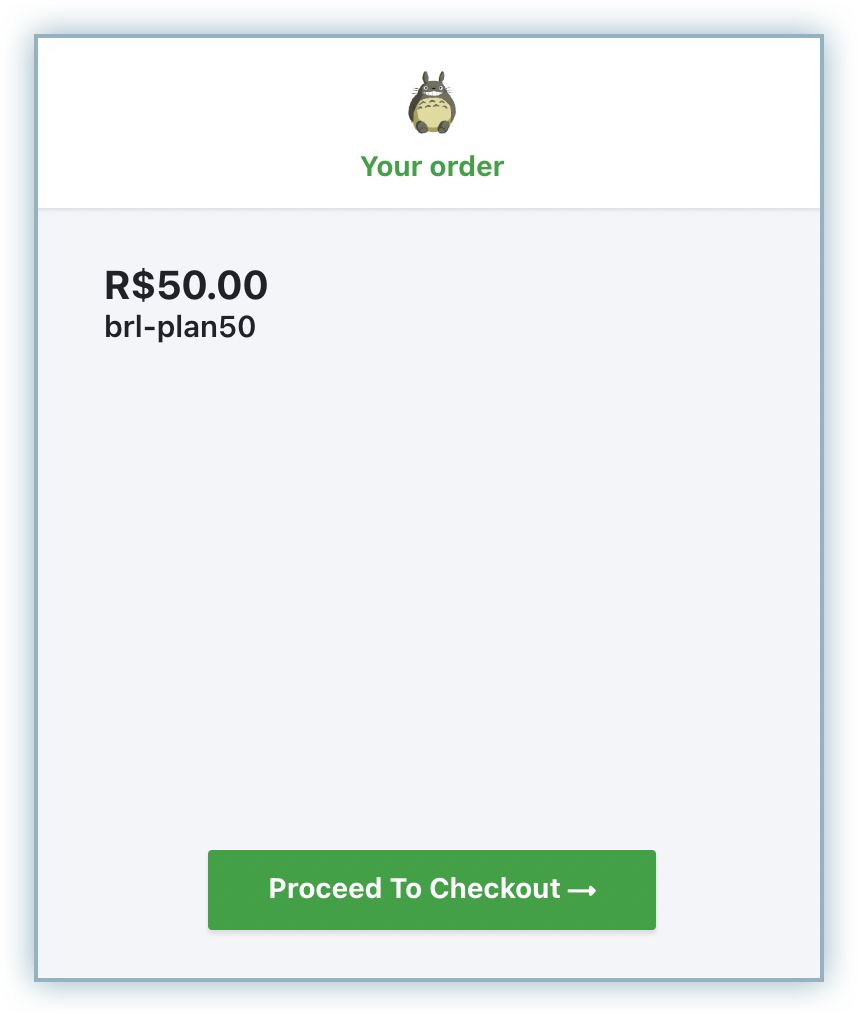
Review the plan details and click Proceed to Checkout.
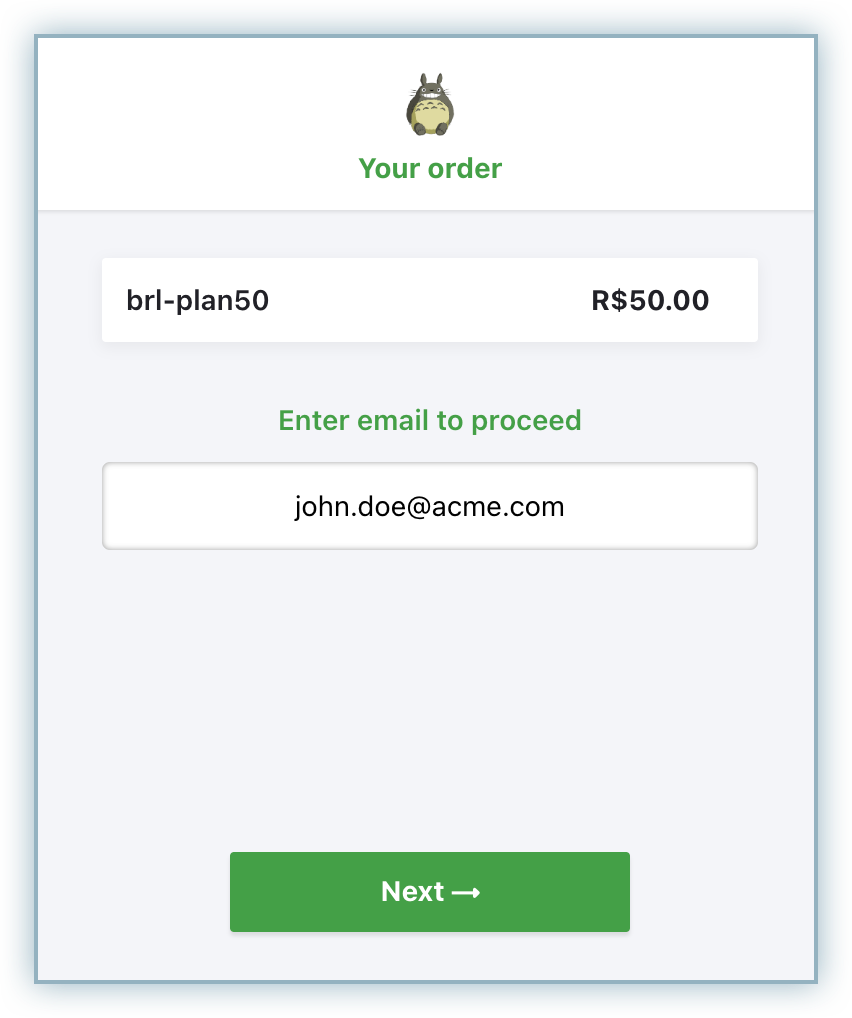
Enter the email address to proceed and click Next.
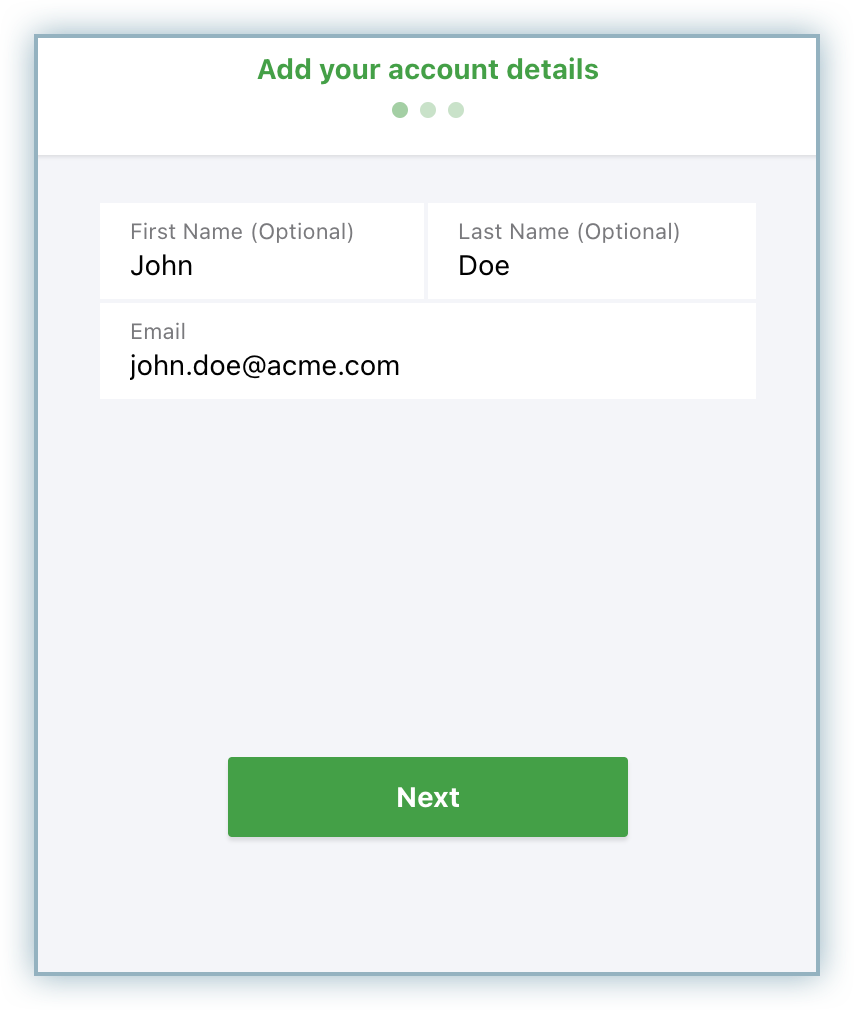
Enter relevant information for your Account Details and click Next.
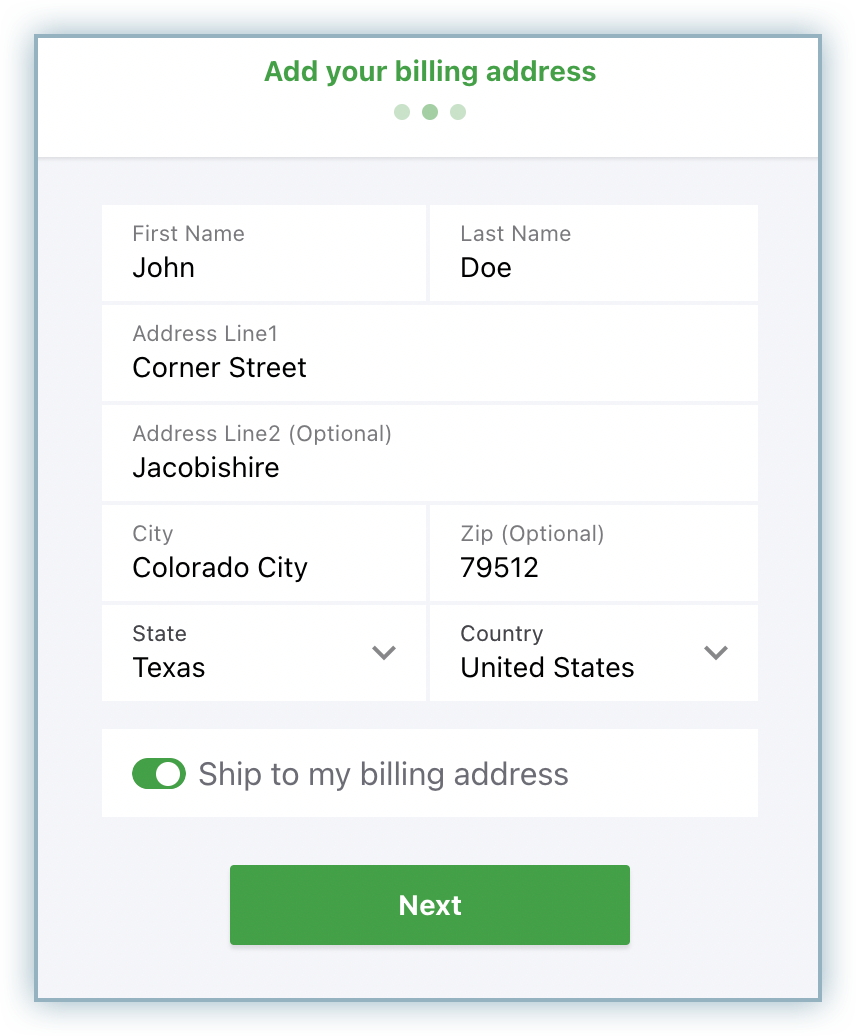
Enter the relevant information for your Billing Address and click Next.
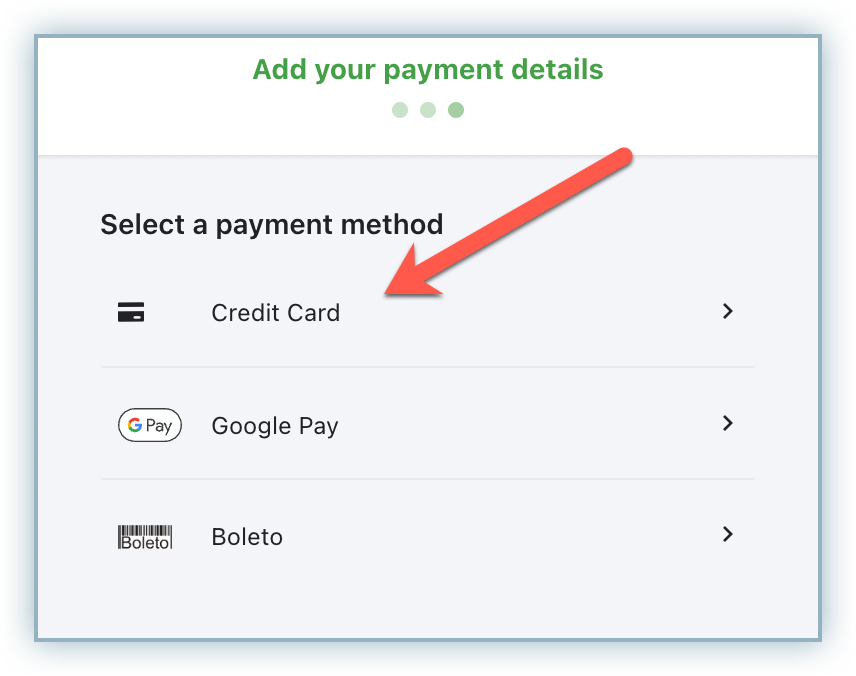
Select Credit Card as the payment method.
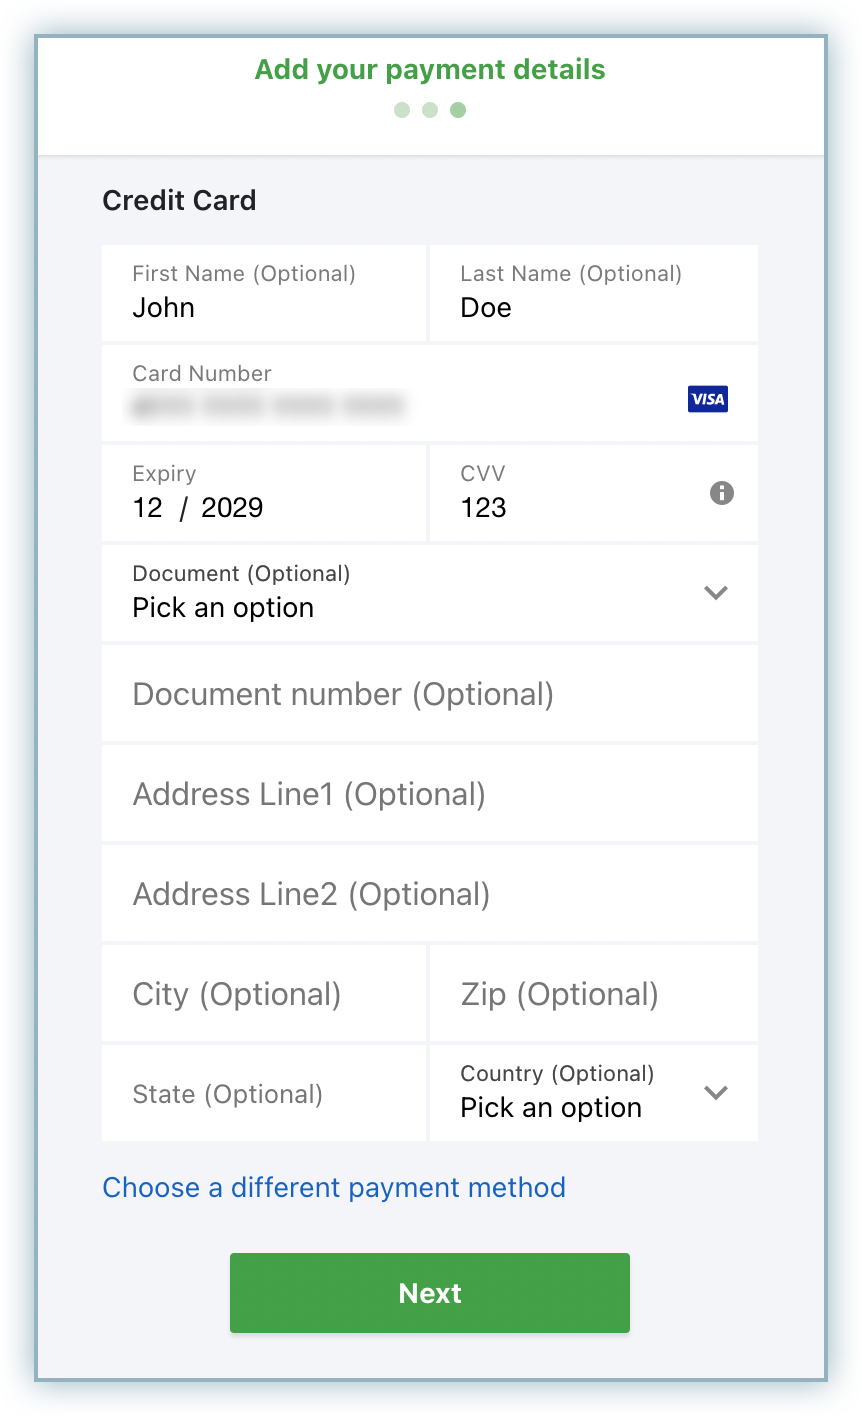
Enter the payment (credit card in this case) details, select the document type and enter the document number. Click Next. These document-related fields will be enabled only when EBANX is used as the payment gateway and appropriate smart routing settings have been done.
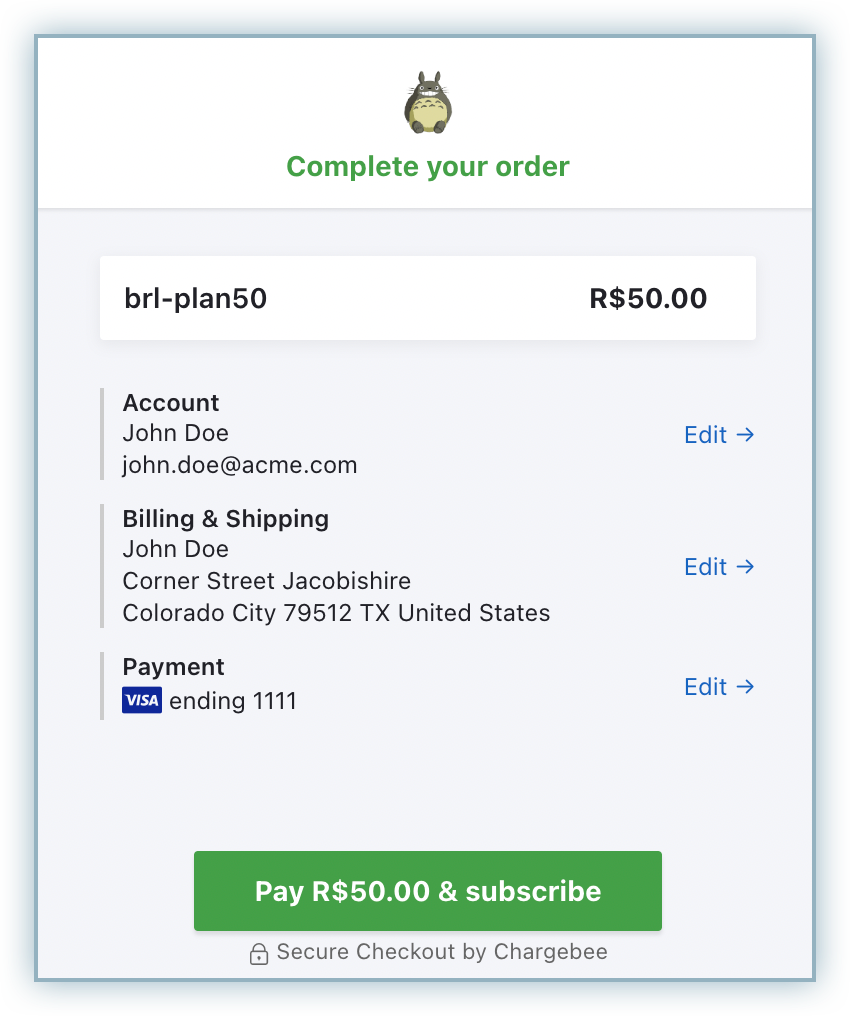
On the Complete Your Order page, review the plan and payment-related details and then click Pay