In today’s fast-paced digital economy, ensuring efficient and reliable payment processes is paramount for businesses of all sizes. Setting up recurring ACH (Automated Clearing House) payments in QuickBooks Online is a strategic move to streamline billing, enhance cash flow stability, and offer your customers a seamless payment experience.
This comprehensive guide will walk you through the essential steps to integrate recurring ACH payments into your QuickBooks Online account. This empowers your business to leverage the benefits of a modern, automated payment system. It saves time and reduces the hassle of manual processing, contributing to a smoother financial management ecosystem.
Specifically for SaaS or subscription-based companies, we will delve into how the Chargebee integration can further streamline these steps. This optimizes your payment workflows and enhances overall efficiency.
Table of Contents
What Do You Need to Receive ACH Payments Through QuickBooks?
Before you can set up and receive ACH payments through QuickBooks, there are three things you’ll need:
- Client-authorized ACH
- QuickBooks Online
- QuickBooks Payments
Let’s take a closer look.
Client-authorized ACH
Before you can receive payments through the ACH network, you’ll need to set up ACH authorization. Customers can fill out an authorization form on paper or online. They can even give their authorization over the phone.
No matter which method you use to obtain ACH authorization, make sure to follow all the rules and guidelines. If a customer disputes a transaction and your company doesn’t have an authorization form or you fail to follow certain procedures, you may lose the dispute.
Here’s an example of what an ACH authorization form looks like:

There’s no official or standardized format for ACH authorization forms. However, they must have the following to be valid:
- Payer’s name and contact info
- Payee’s name and contact info
- Payee’s email address for online transactions
- Payer’s bank details (bank name, account number, and routing number)
- Payment details (amount, frequency, and start date)
You’ll also need to include a statement on the form that permits your company to debit a customer’s account in the future. Then, you’ll need to explain to your customer how they can revoke their authorization and provide a required notice period.
You can set up ACH authorization with your customers in the following ways:
- Online: You can download ACH authorization form templates through sites like Jotform and DocHub, and make them available on your website for download. You can also add a link to the authorization form when you send an invoice to a customer (more on that shortly). If a customer completes an online form, you must send them a written notice of the authorization. This can be done via email.
- By paper: Another option is to mail a paper ACH authorization form (one that you create yourself) and have your customers fill it out and send it back. You’ll need to send a copy of this form to your customer and retain the original for at least two years.
- Over the phone: Finally, you can obtain authorization from your customers over the phone if you have an existing relationship with the customer or the customer initiated the call. There are different requirements for one-off payments and recurring transactions. For one-off payments, you’ll need to record audio of the authorization or send a written notice to your customer. You must keep the audio recording or notice for at least two years. For recurring transactions, you’ll need to send written confirmation to your customer and verbal authorization through an audio recording.
QuickBooks Online
QuickBooks offers a separate payment solution for QuickBooks Desktop, but there’s no option to set up recurring ACH payments. You’ll need QuickBooks Online to set up recurring monthly ACH payments with your customers.
QuickBooks Online (QBO) is a cloud-based accounting software from Intuit that’s geared toward small to medium-sized businesses. It allows you to access and manage your financial accounts from any device with an internet connection.
QuickBooks Payments
To set up recurring ACH payments, you’ll need QuickBooks Payments — a payment-processing solution that lets businesses offer various payment options to their customers.
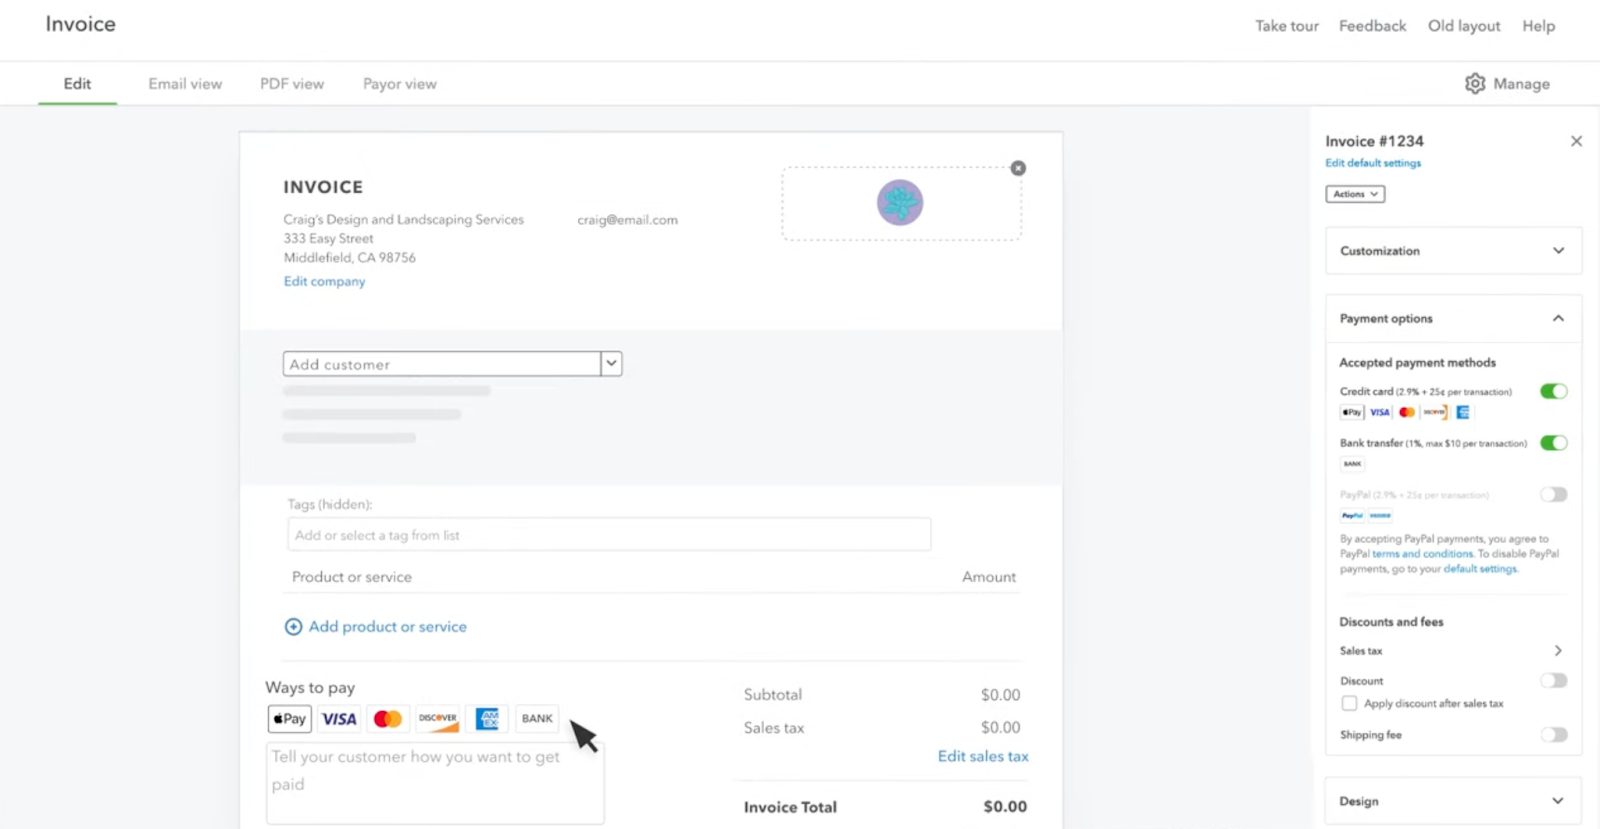
With QuickBooks Payments, you can add links to your invoices so customers can pay using their preferred payment method (PayPal, credit card, or ACH transfer). QuickBooks will then process and record the transaction in your account.
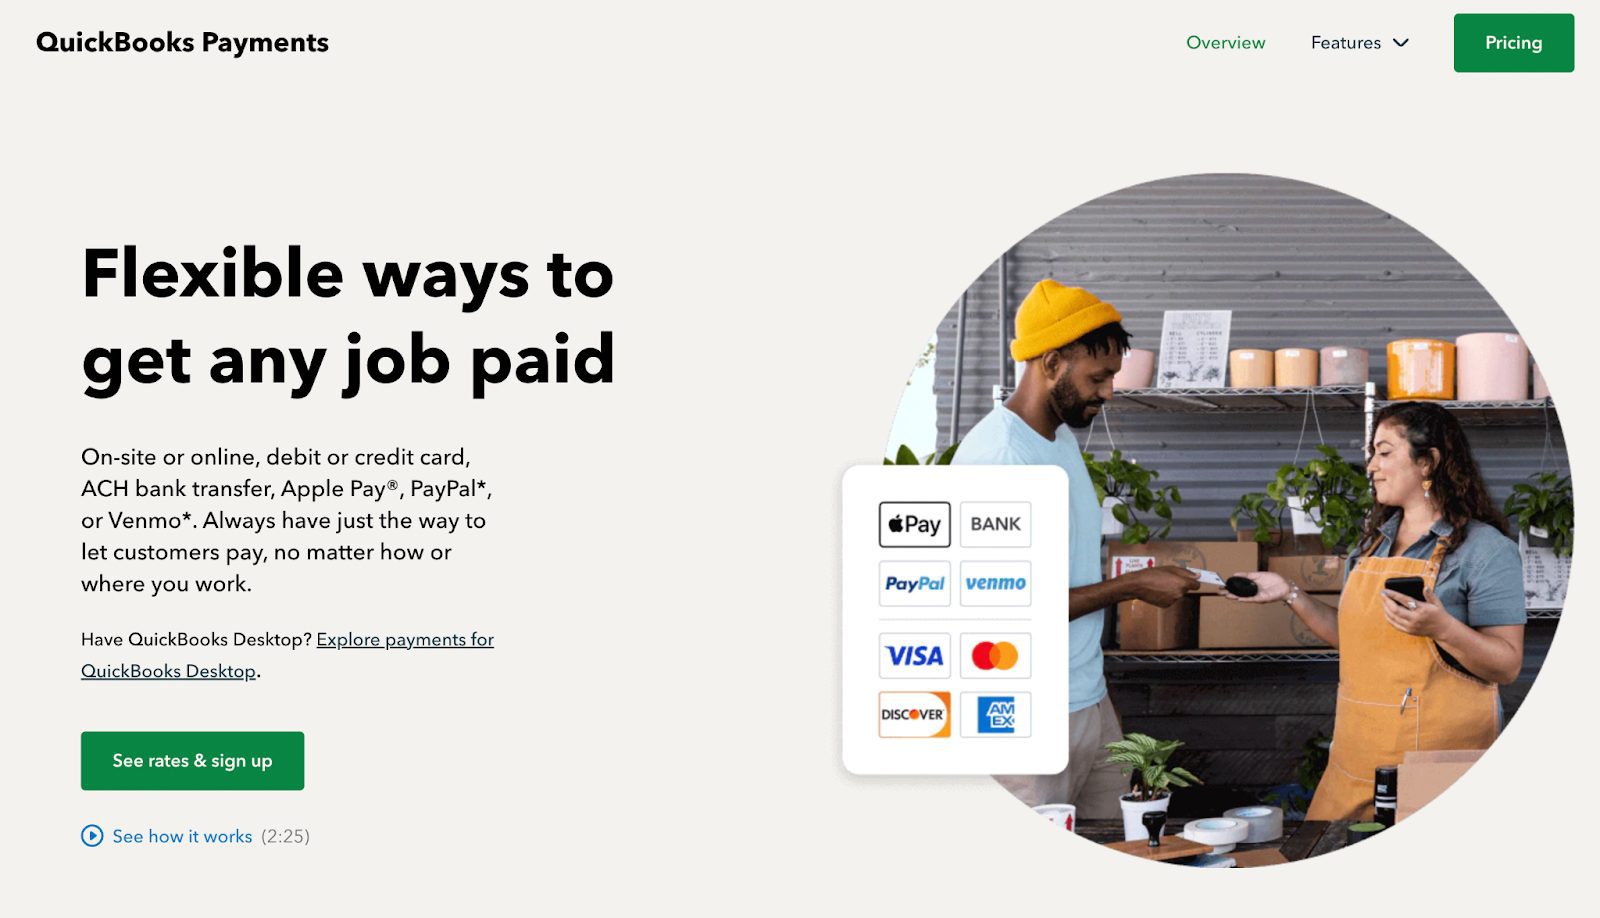
There’s no setup fee or monthly charges, and you can cancel anytime. However, a caveat to QuickBooks Payments is that you’ll need a QuickBooks Online account. If you already have a QBO account, you can add QuickBooks Payments to it instead of creating a new account.
Signing up only takes a few minutes.
In QuickBooks Online, click the gear icon at the top right of the page, and then click “Account and Settings.” In the Payments tab, click “Learn more” followed by “Set up Payments.”

Enter information about your business, connect your bank, and click “Activate Payments.” You’ll get an email once you’ve been approved (this usually takes a few days).
QuickBooks Payments charges the following rates:
- ACH: 1% (max $10)
- Credit card – online invoice: 2.9% + 25¢ per transaction
- Credit card – reader: 2.4% + 25¢ per transaction
- Credit card – keyed: 3.4% + 25¢ per transaction
Once you’re approved, you can create invoices within QBO and add links to them with different payment options for your customers.
To recap, you’ll need the following three things to set up recurring ACH payments in QuickBooks Online:
- Client ACH authorization forms
- QuickBooks Online
- QuickBooks Payments
Now let’s look at how you can set everything up.
5 Steps to Set Up and Receive Recurring ACH Payments in QuickBooks
Connect QuickBooks Payments to your QuickBooks Online account if you haven’t already. Refer to this resource to connect QuickBooks Payments and QuickBooks Online.
Follow these steps to set up recurring ACH payments from your customers.
- Add a Recurring Transaction
- Choose a Transaction Type
- Create a Recurring Sales Receipt
- Enter Your Customers’ Information
- Confirm That You Have a Signed Authorization
Let’s analyze in detail.
1. Add a Recurring Transaction
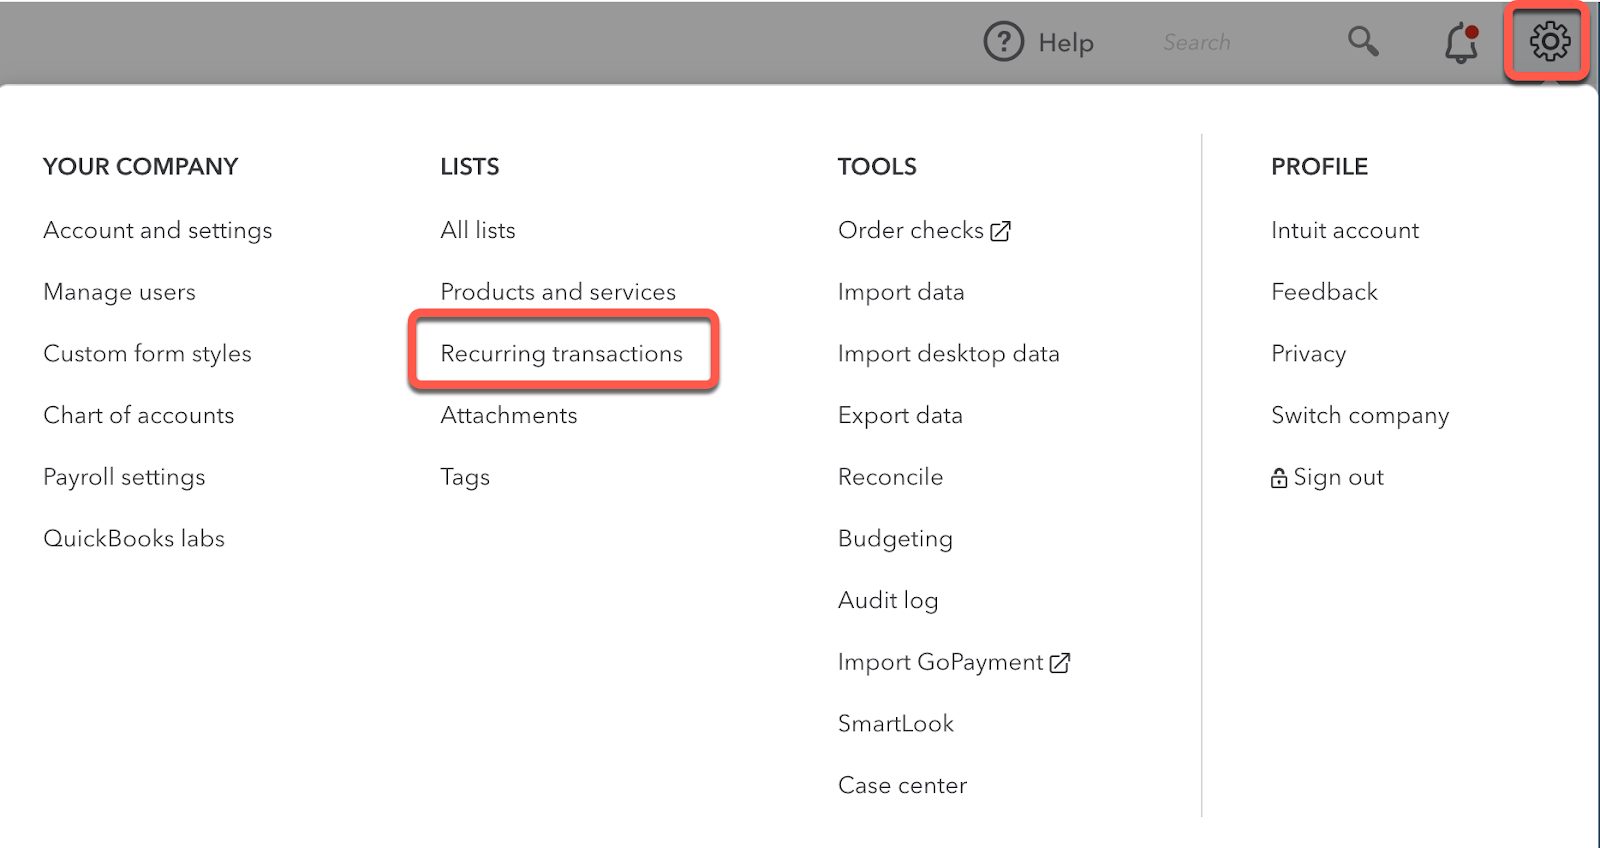
Log in to your QuickBooks Online account and click the Gear icon at the top right corner. Then click “Recurring transactions.”
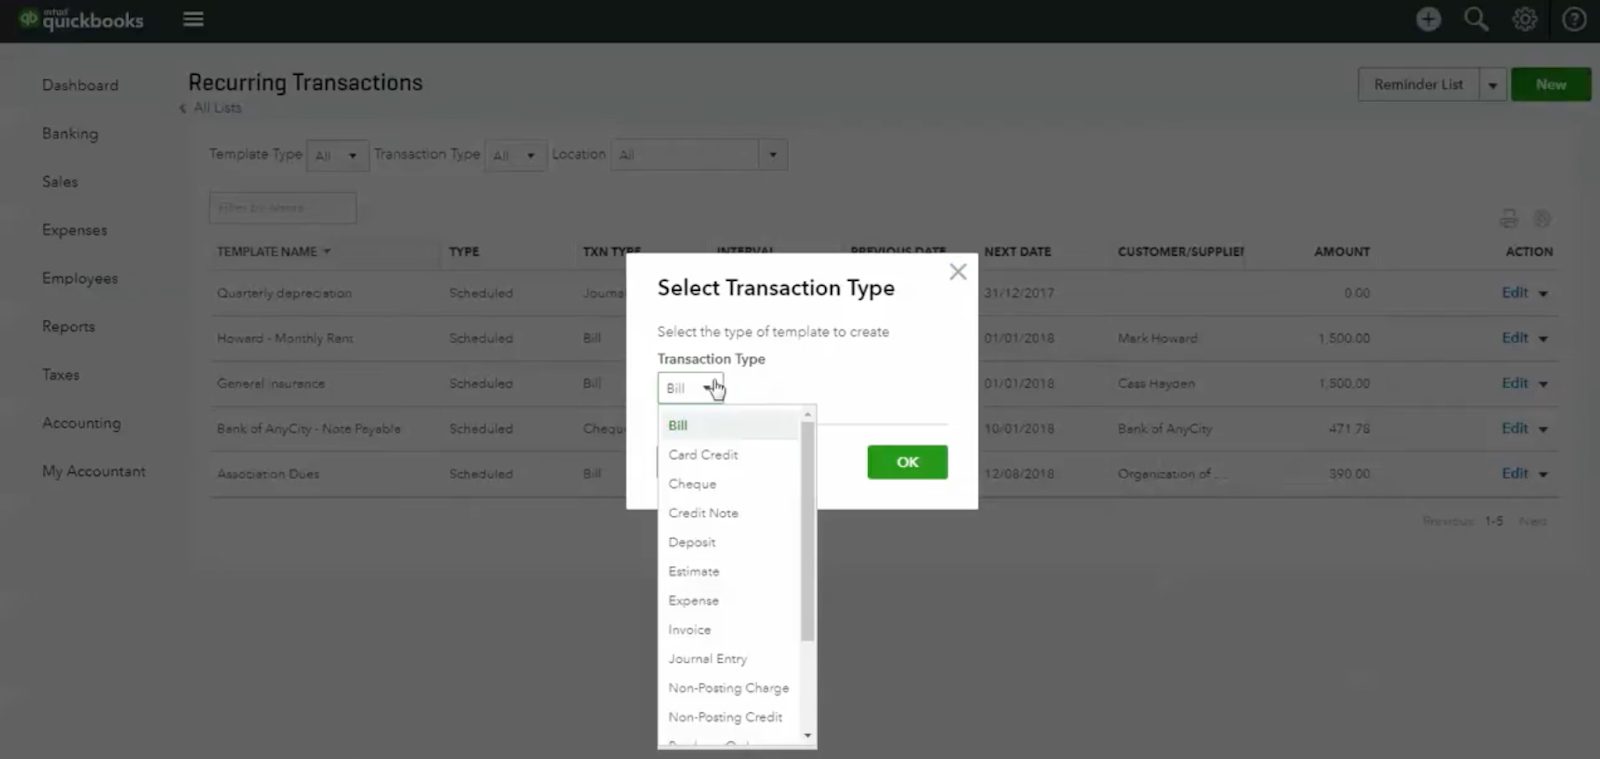
2. Choose a Transaction Type
Next, click the green “New” button at the top right corner and you’ll see an option to select a transaction type. Scroll through the dropdown list, select “Sales receipt,” and click the “OK” button.
3. Create a Recurring Sales Receipt
Then you’ll see the following page to create a sales receipt:

Here’s a breakdown:
- Enter a template name for the receipt so you can remember it later.
- Select “Scheduled” as the recurring type. This means that your customers’ accounts will be debited on the date and frequency you specify.
- Select “Automatically send emails.” This will email a copy of the invoice to your customers. While you can uncheck this box, it’s best to leave it checked.
- Set a time interval, which can be daily, weekly, monthly, or yearly, depending on your arrangement with a customer.
- Set a start date and an end date if the agreement is only for a certain period of time. Otherwise, you can leave it as “None” as long as you have the authorization to bill your customer regularly.
- In the payment method dropdown menu, select “Check” to process customer transactions using the ACH Network. Note that “Check” in this instance means “eCheck” as ACH is an electronic payment.
Almost there.
4. Enter Your Customers’ Information
Once you select “Check,” a box will pop up and ask you to enter your customers’ banking information — account number, routing number, account type, etc.

Be sure to enter a customer’s bank information here carefully, or you won’t be able to initiate the ACH bank transfer and receive payment successfully.
5. Confirm That You Have a Signed Authorization
Suppose you haven’t already received an ACH authorization form from your customer. In that case, you can click the “Signed authorization” link to download or print the authorization form to send to your customer.
Once you receive the authorization form, click the box that states that you have signed authorization from your customer. Click “Save,” and you’re done!
You can view a list of each recurring QuickBooks ACH payment you’ve set up from the same screen where you created a sales receipt. Clicking the drop-down arrow in the “Action” column will also show options to duplicate, pause, or delete certain transactions altogether.
Once you’ve successfully set up your QuickBooks accounts to receive recurring ACH payments, your customers’ accounts will automatically be debited. This removes the hassle of following up on invoices, especially if you’re a subscription-based business.
Streamline Recurring Payments With the QuickBooks and Chargebee Integration
There’s a lot to love about recurring payments — they reduce the time needed to process payments and make your cash flow more predictable. But if you’re a subscription business looking for a better way to manage recurring transactions, we’ve got just the thing.
Chargebee is a subscription management and recurring billing platform that helps you manage the entire subscription lifecycle for all your customers. It also enables you to streamline your accounting and reconcile your bank accounts with a few clicks.
With the Chargebee and QuickBooks integration, you can sync:
- Invoices
- Payments
- Refunds
- Taxes
- Refunds
Watch the video below to learn more about our QuickBooks integration:
While payment failures are less common with ACH payments, they can still occur if customers switch banks or their account has insufficient funds. With subscription management features like smart dunning, you can configure payment retry settings and recover lost revenue.
Automate Recurring Payments With Chargebee
Accepting ACH payments can help your company save on transaction fees, reduce involuntary churn, and create better customer experiences. If you’re using QuickBooks Online, you can set up recurring ACH payments in your account by following the steps detailed here.
Of course, if you want to take advantage of more robust subscription management features like smart payment retries and gain full visibility into your customers, then schedule a free demo today to learn more about Chargebee.
