Introduction
Monetizing an API for a SaaS product might seem challenging, but it’s simple and straightforward with Chargebee`s metered billing feature. For example, if you are building an AI-powered application and want to charge your users based on their usage, then this is the tutorial you need to start with. Here we will see how to set up usage-based billing in a Next.js application. It involves mainly the following steps,
- Creating a metered plan in Chargebee.
- Creating a NextJS serverless API.
- Subscribing user to a recurring subscription.
- Creating custom API keys to authenticate APIs.
- Finally, reporting the API usage to Chargebee.
Inspirational Quotes - Demo Application
We will build a demo application where the API would return random inspirational quotes. This can be easily extended to your real-world applications.
Prerequisites
To try out the tutorial yourself, you'll need the following:
- This tutorial is only valid for latest product catalog from Chargebee.
- A Chargebee account. Signup for a free trial if you don't have one.
- A plan with a trial period in Chargebee.
- Your Chargebee API key for your test site.
- Automated metered billing to be enabled in your site.
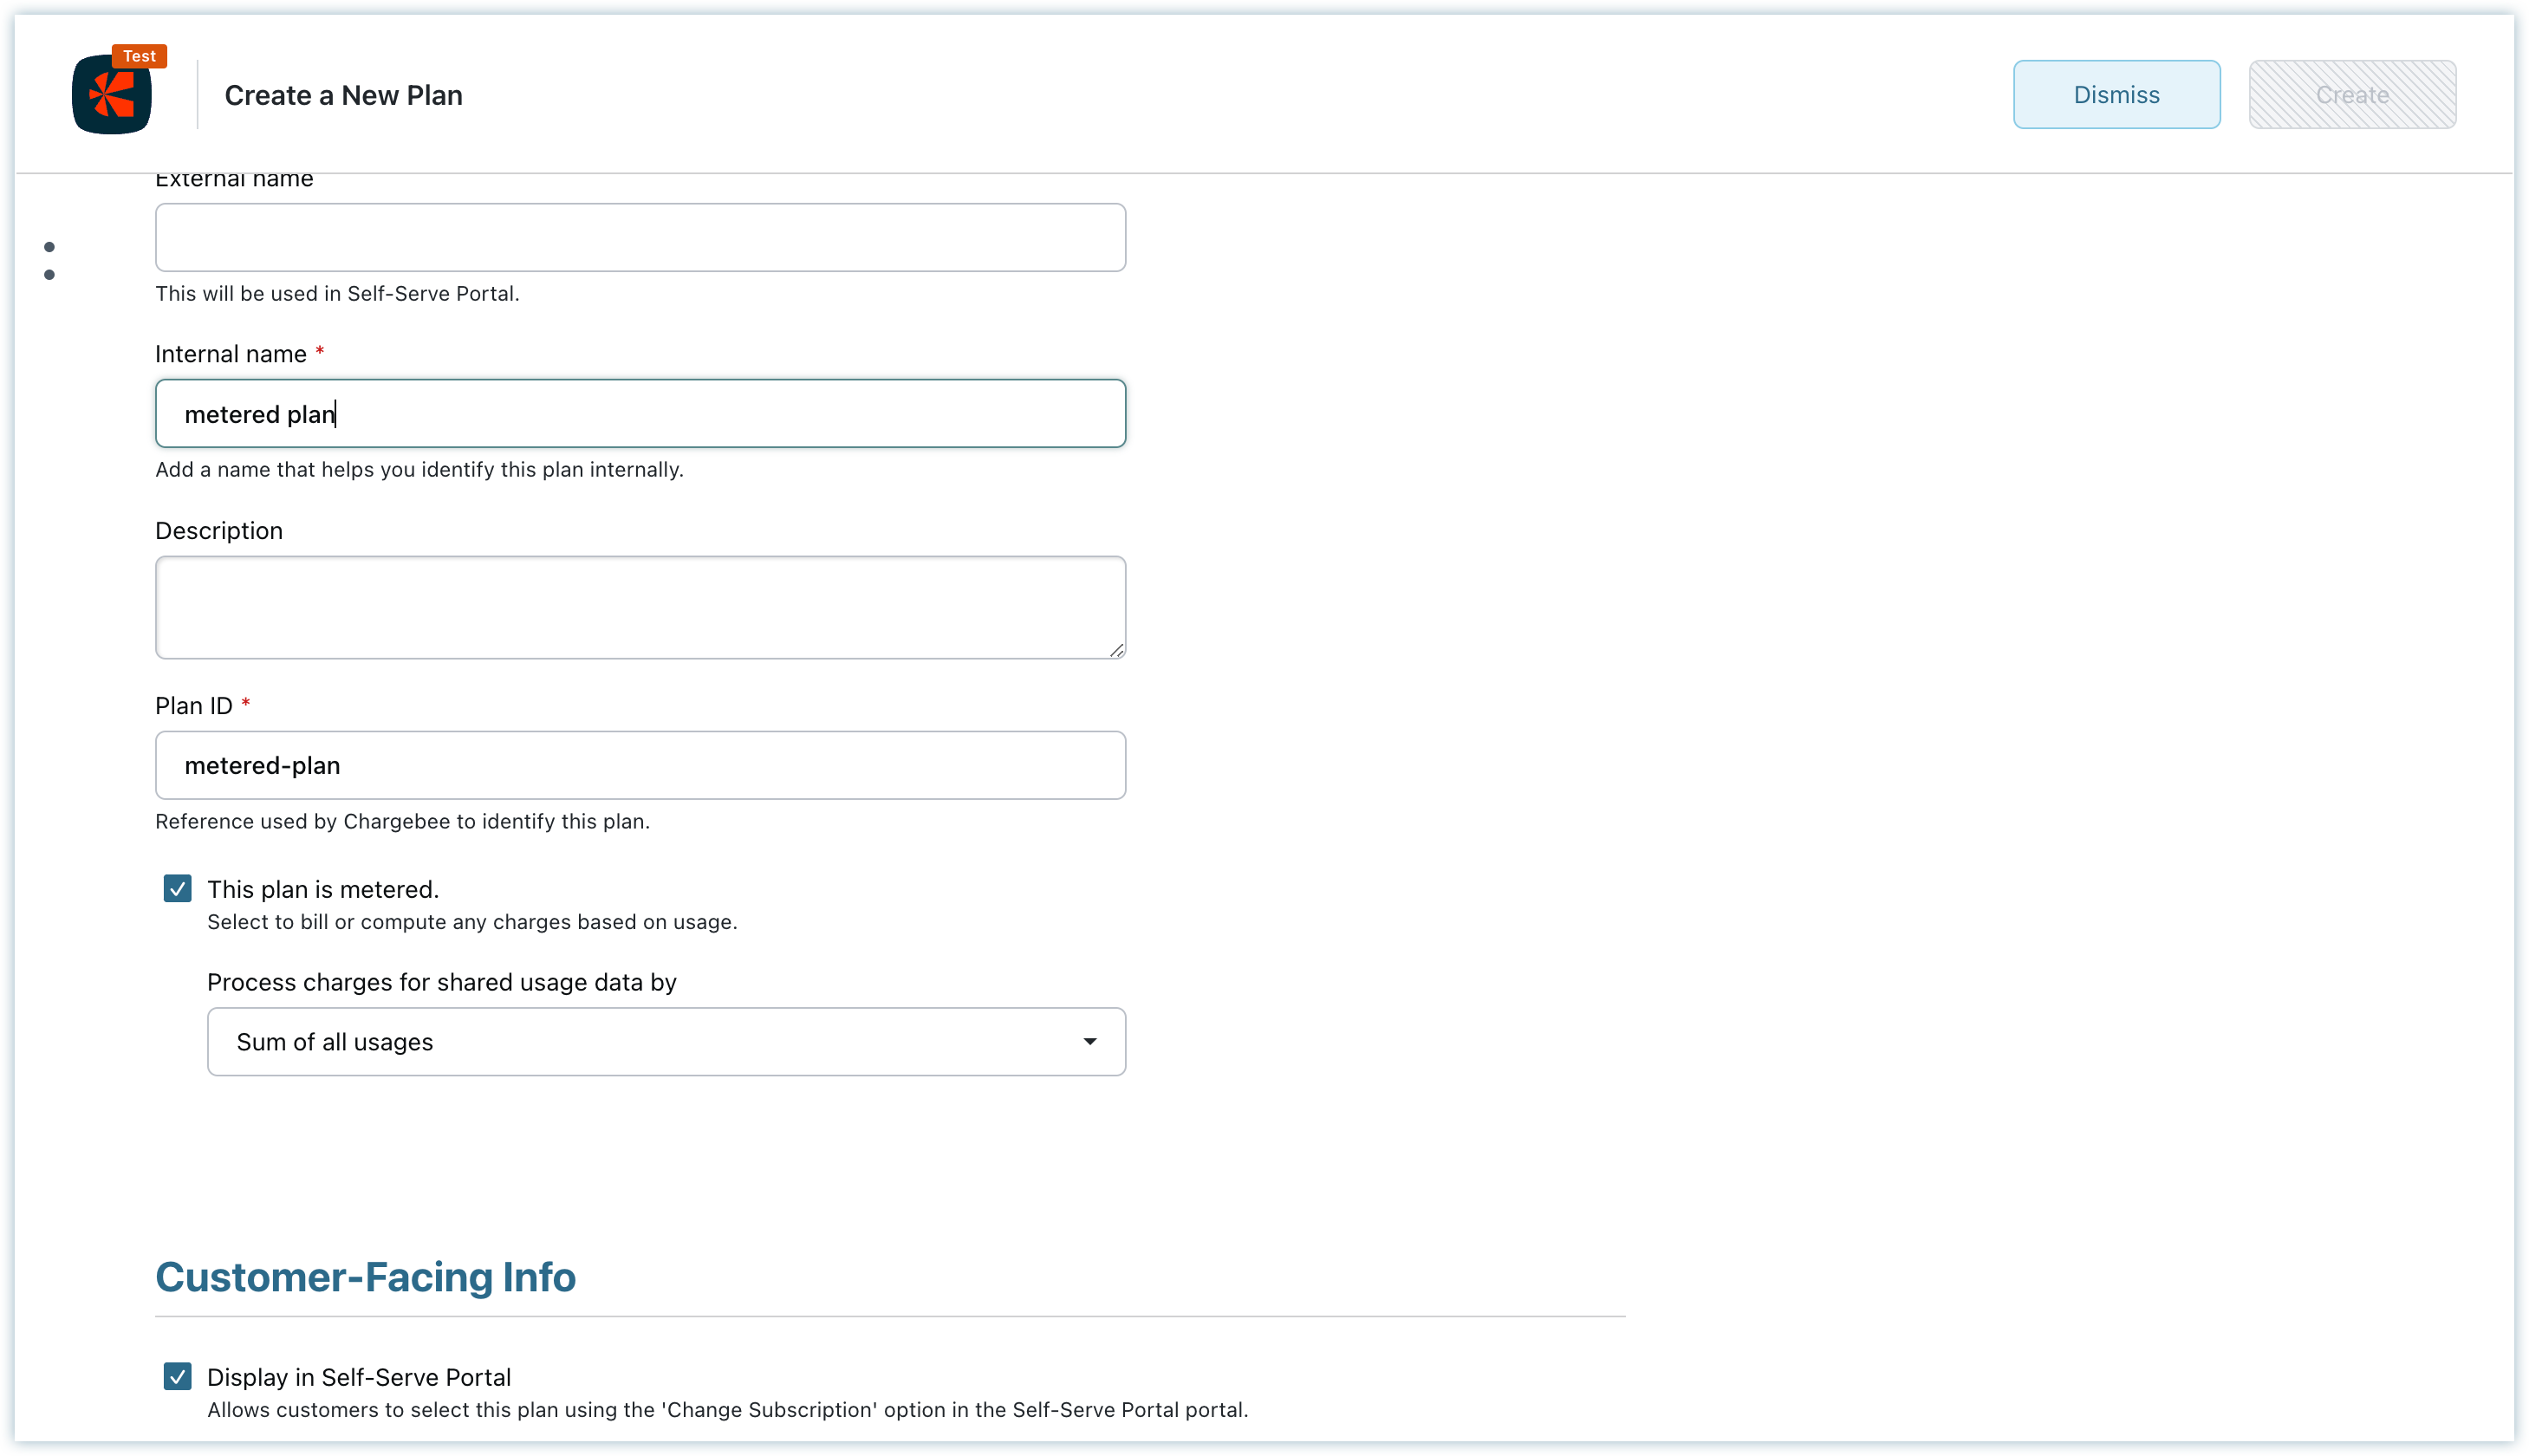
Creating a Metered Plan in Chargebee
Let's start configuring the product catalog by creating a metered plan.
Creating a NextJS serverless API
We need to create a GET API file app/api/generate/route.ts. Assume that this is the core API that we want to charge our customers. Here we are generating a random quote and responding back.
// app/api/generate/route.ts

// Ignoring the imports to avoid losing the focus.

export async function GET(req: NextRequest) {
  const headersList = headers()

  /**
   * Validating the API Key and retrieve the associated user details.
   */
  const apiKey = headersList.get('api-key') as string

  const prisma = new PrismaClient()

  const user = await prisma.user.findUnique({
    where: {
      apiKey,
    },
  })

  if (!user) {
    return NextResponse.json({ message: 'Invalid API Key' }, { status: 400 })
  }

  return NextResponse.json({
    quote: getRandomInspirationalQuote(),
  })
}
Subscribing User to a Recurring Subscription
Chargebee Checkout redirects users to a hosted webpage where they can securely enter their payment information. Here let us create a POST API file app/api/checkout/route.ts. This takes care of creating a user record in the database and initializing a checkout session.
// app/api/checkout/route.ts

export async function POST(req: NextRequest) {
  const { email } = (await req.json()) as { email: string }

  /**
   * We are using PRISMA ORM for creating a user record
   */
  const prisma = new PrismaClient()
  const user = await prisma.user.create({
    data: {
      email,
    },
  })

  await prisma.$disconnect()

  /**
   * Creating a fresh hosted page checkout session in Chargebee
   */
  const payload: HostedPage.CheckoutNewForItemsInputParam = {
    subscription: {
      id: user.id,
    },
    subscription_items: [
      {
        item_price_id: PLAN_NAME,
      },
    ],
    customer: {
      id: user.id,
      email,
    },
  }

  const result = await getChargebee().hosted_page.checkout_new_for_items(payload).request()
  // url => "https://public-demos-test.chargebee.com/pages/v3/4UnlDpwbc8tXsNXUcuLdoh48iC7lBzhQk/",

  return NextResponse.json(result.hosted_page)
}
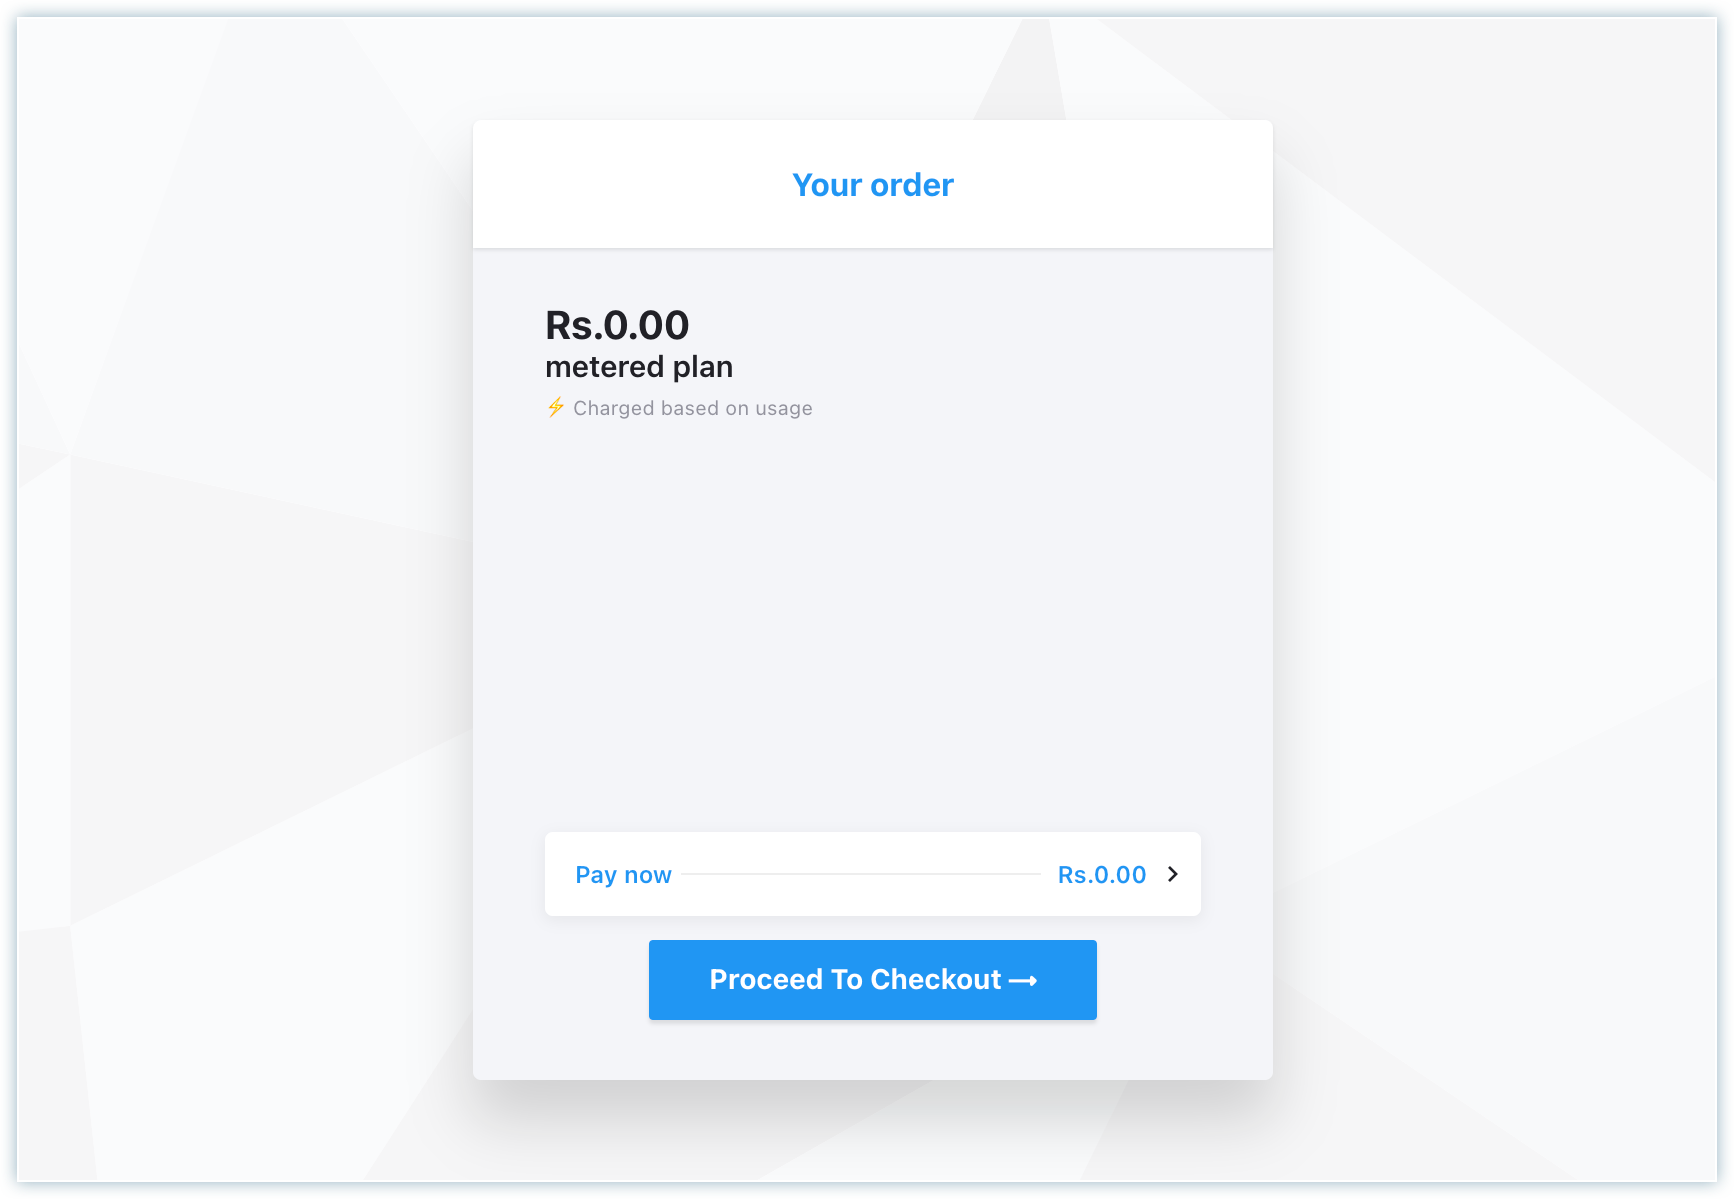
When we call this endpoint it returns a URL where the user can subscribe to the metered plan.
Webhooks
When the user subscribes to a plan, Chargebee will create a customer and subscription on its end, then send the data back to our server via a webhook. For that, we need to create a POST API app/webhooks/route.ts that will update the user table and generates the API key for the user to start using the application.
// app/webhooks/route.ts

export async function POST(req: NextRequest) {
  try {
    const headersList = headers()

    /**
     * Handling Chargebee's webhook
     * https://www.chargebee.com/docs/2.0/events_and_webhooks.html#handling-webhooks
     */

    const requestIp = headersList.get('x-real-ip') || headersList.get('x-forwarded-for')

    if (process.env.NODE_ENV === 'development' || isValidRequest(requestIp!)) {
      const payload = (await req.json()) as any
      const eventType = payload.event_type
      const content = payload.content

      switch (eventType) {
        case 'subscription_created':
          const { subscription } = content
          const userId = subscription.customer_id
          const prisma = new PrismaClient()
          const apiKey = generateKey()

          await prisma.user.update({
            where: {
              id: parseInt(userId),
            },
            data: {
              apiKey,
            },
          })

          await prisma.$disconnect()

          console.log(`💰 New user ${userId} subscribed to plan ${PLAN_NAME} \n API Key: ${apiKey}`)

          break
      }
      return NextResponse.json({ message: 'Successfully processed' }, { status: 200 })
    } else {
      return NextResponse.json(
        { error: 'IP Address Not Allowed' },
        { status: 405, headers: { Allow: 'POST' } }
      )
    }
  } catch (err) {
    return NextResponse.json(
      { error: `Webhook Error`, message: (err as any).message },
      { status: 400 }
    )
  }
}
Here you can see we are listening for the subscription_created event which gets triggered as soon as the user subscribes to the plan. In the next step, we can see how to generate API key.
Creating custom API keys to authenticate requests to the API
Although it is beyond the scope of the current tutorial, we still want to emphasize this step. We will implement it by using the following utility function.
Depending upon your code platform, you can consume the library. For Node.js, the alternative is to use crypto library.
// src/lib/utils.ts

import { customAlphabet } from 'nanoid'

const API_KEY_PREFIX = 'key_'

export const generateKey = () =>
  API_KEY_PREFIX +
  customAlphabet('0123456789ABCDEFGHIJKLMNOPQRSTUVWXYZabcdefghijklmnopqrstuvwxyz', 32)()
Reporting API usage to Chargebee
User can get the usage reports by invoking this API app/api/usage/\[userId\]/route.ts.
// app/api/usage/[userId]/route.ts

export async function GET(req: NextRequest, { params }: { params: { userId: string } }) {
  const userId = params.userId

  const result = await getChargebee()
    .usage.list({
      subscription_id: {
        is: userId,
      },
      limit: 100,
    })
    .request()

  return NextResponse.json(result)
}

/**
 * =>
 * "list": [
		{
			"usage": {
				"id": "usage_16Bhj9TlH5tiw3AUt",
				"usage_date": 1690517677,
				"subscription_id": "1",
				"item_price_id": "metered-plan-inr-monthly",
				"quantity": "1",
				"source": "api",
				"updated_at": 1690517678,
				"created_at": 1690517678,
				"resource_version": 1690517678598,
			}
		},
    ... etc
 */
A pending invoice is generated only at the end of the current billing cycle which contains the amount computed based on these usage records reported earlier.
Tip: After creating a pending invoice, you can display an invoice PDF to your customers and their usage records using view usages pdf functionality.
Utilizing Chargebee's metered billing functionality enables seamless monetization of your endpoints. To explore additional supported configurations, please take a look at the documentation on metered billing here. This empowers you with the flexibility to experiment and customize these options to align precisely with your unique requirements.
We're always happy to help you with any questions you might have!
support@chargebee.com